How to Use Ngrok With Docker
Intro
I wrote two posts about Cloudflare tunnel and Traefik hub recently. In those posts I also mentioned Ngrok so I figured why not writing a dedicated post for it?
It is actually interesting to see how Traefik Hub is built for containers while Ngrok and Cloudflare tunnel are focusing on running their binaries as a local service (at least that’s the impression their documentation gave me). I run application in containers as much as possible. In my opinion containers are much easier to manage and migrate. I hope more company will realize the importance of container and publish docs dedicated for docker.
Anyway, let’s get started.
Prerequisite:
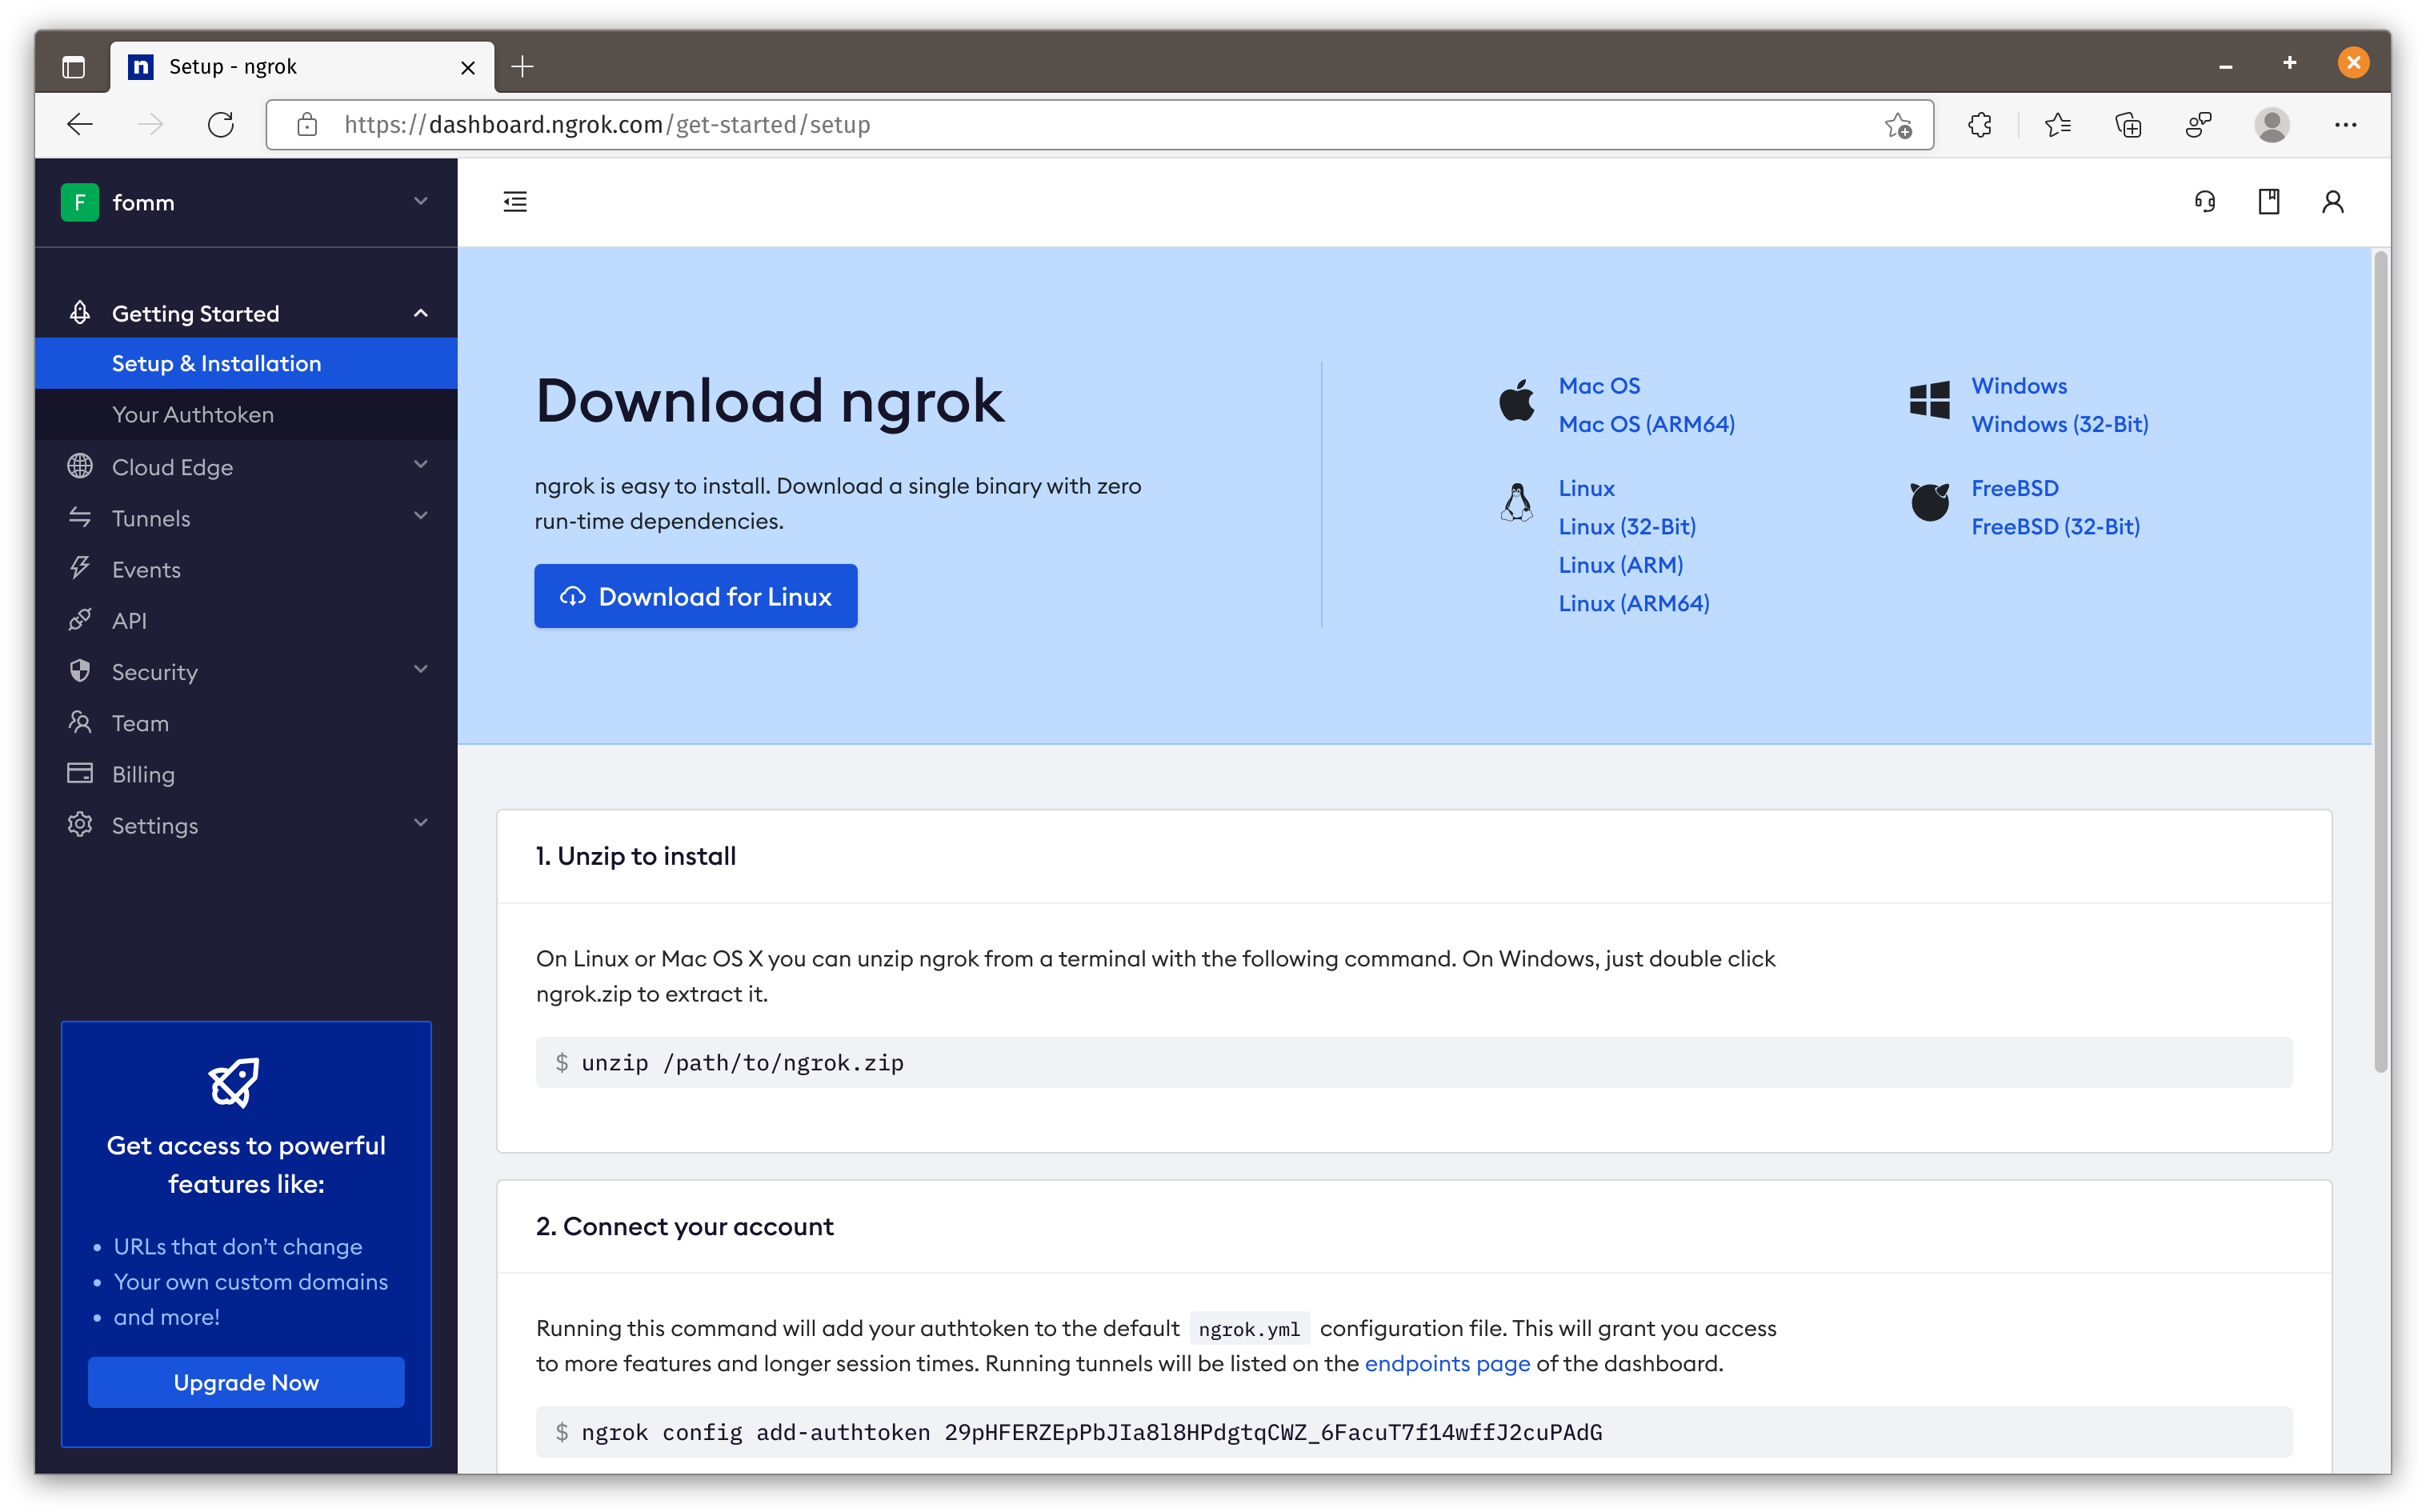
You need to register an account at https://ngrok.com/.
Demos
Create docker network
I prefer to run applications on different network. Let’s create a new docker network first.
1 | docker network create ngrok |
Create your first tunnel
Let’s log in to Ngrok to get the Authtoken. You can see my Authtoken is 29pHFERZEpPbJIa8l8HPdgtqCWZ_6FacuT7f14wffJ2cuPAdG.
Let’s save our token as environment variable and then create our tunnel.
1 | export AUTH_TOKEN="29pHFERZEpPbJIa8l8HPdgtqCWZ_6FacuT7f14wffJ2cuPAdG" |
This tunnel is connected to a nginx service on the same network, listening at port 80.
1 | docker run --rm --detach \ |
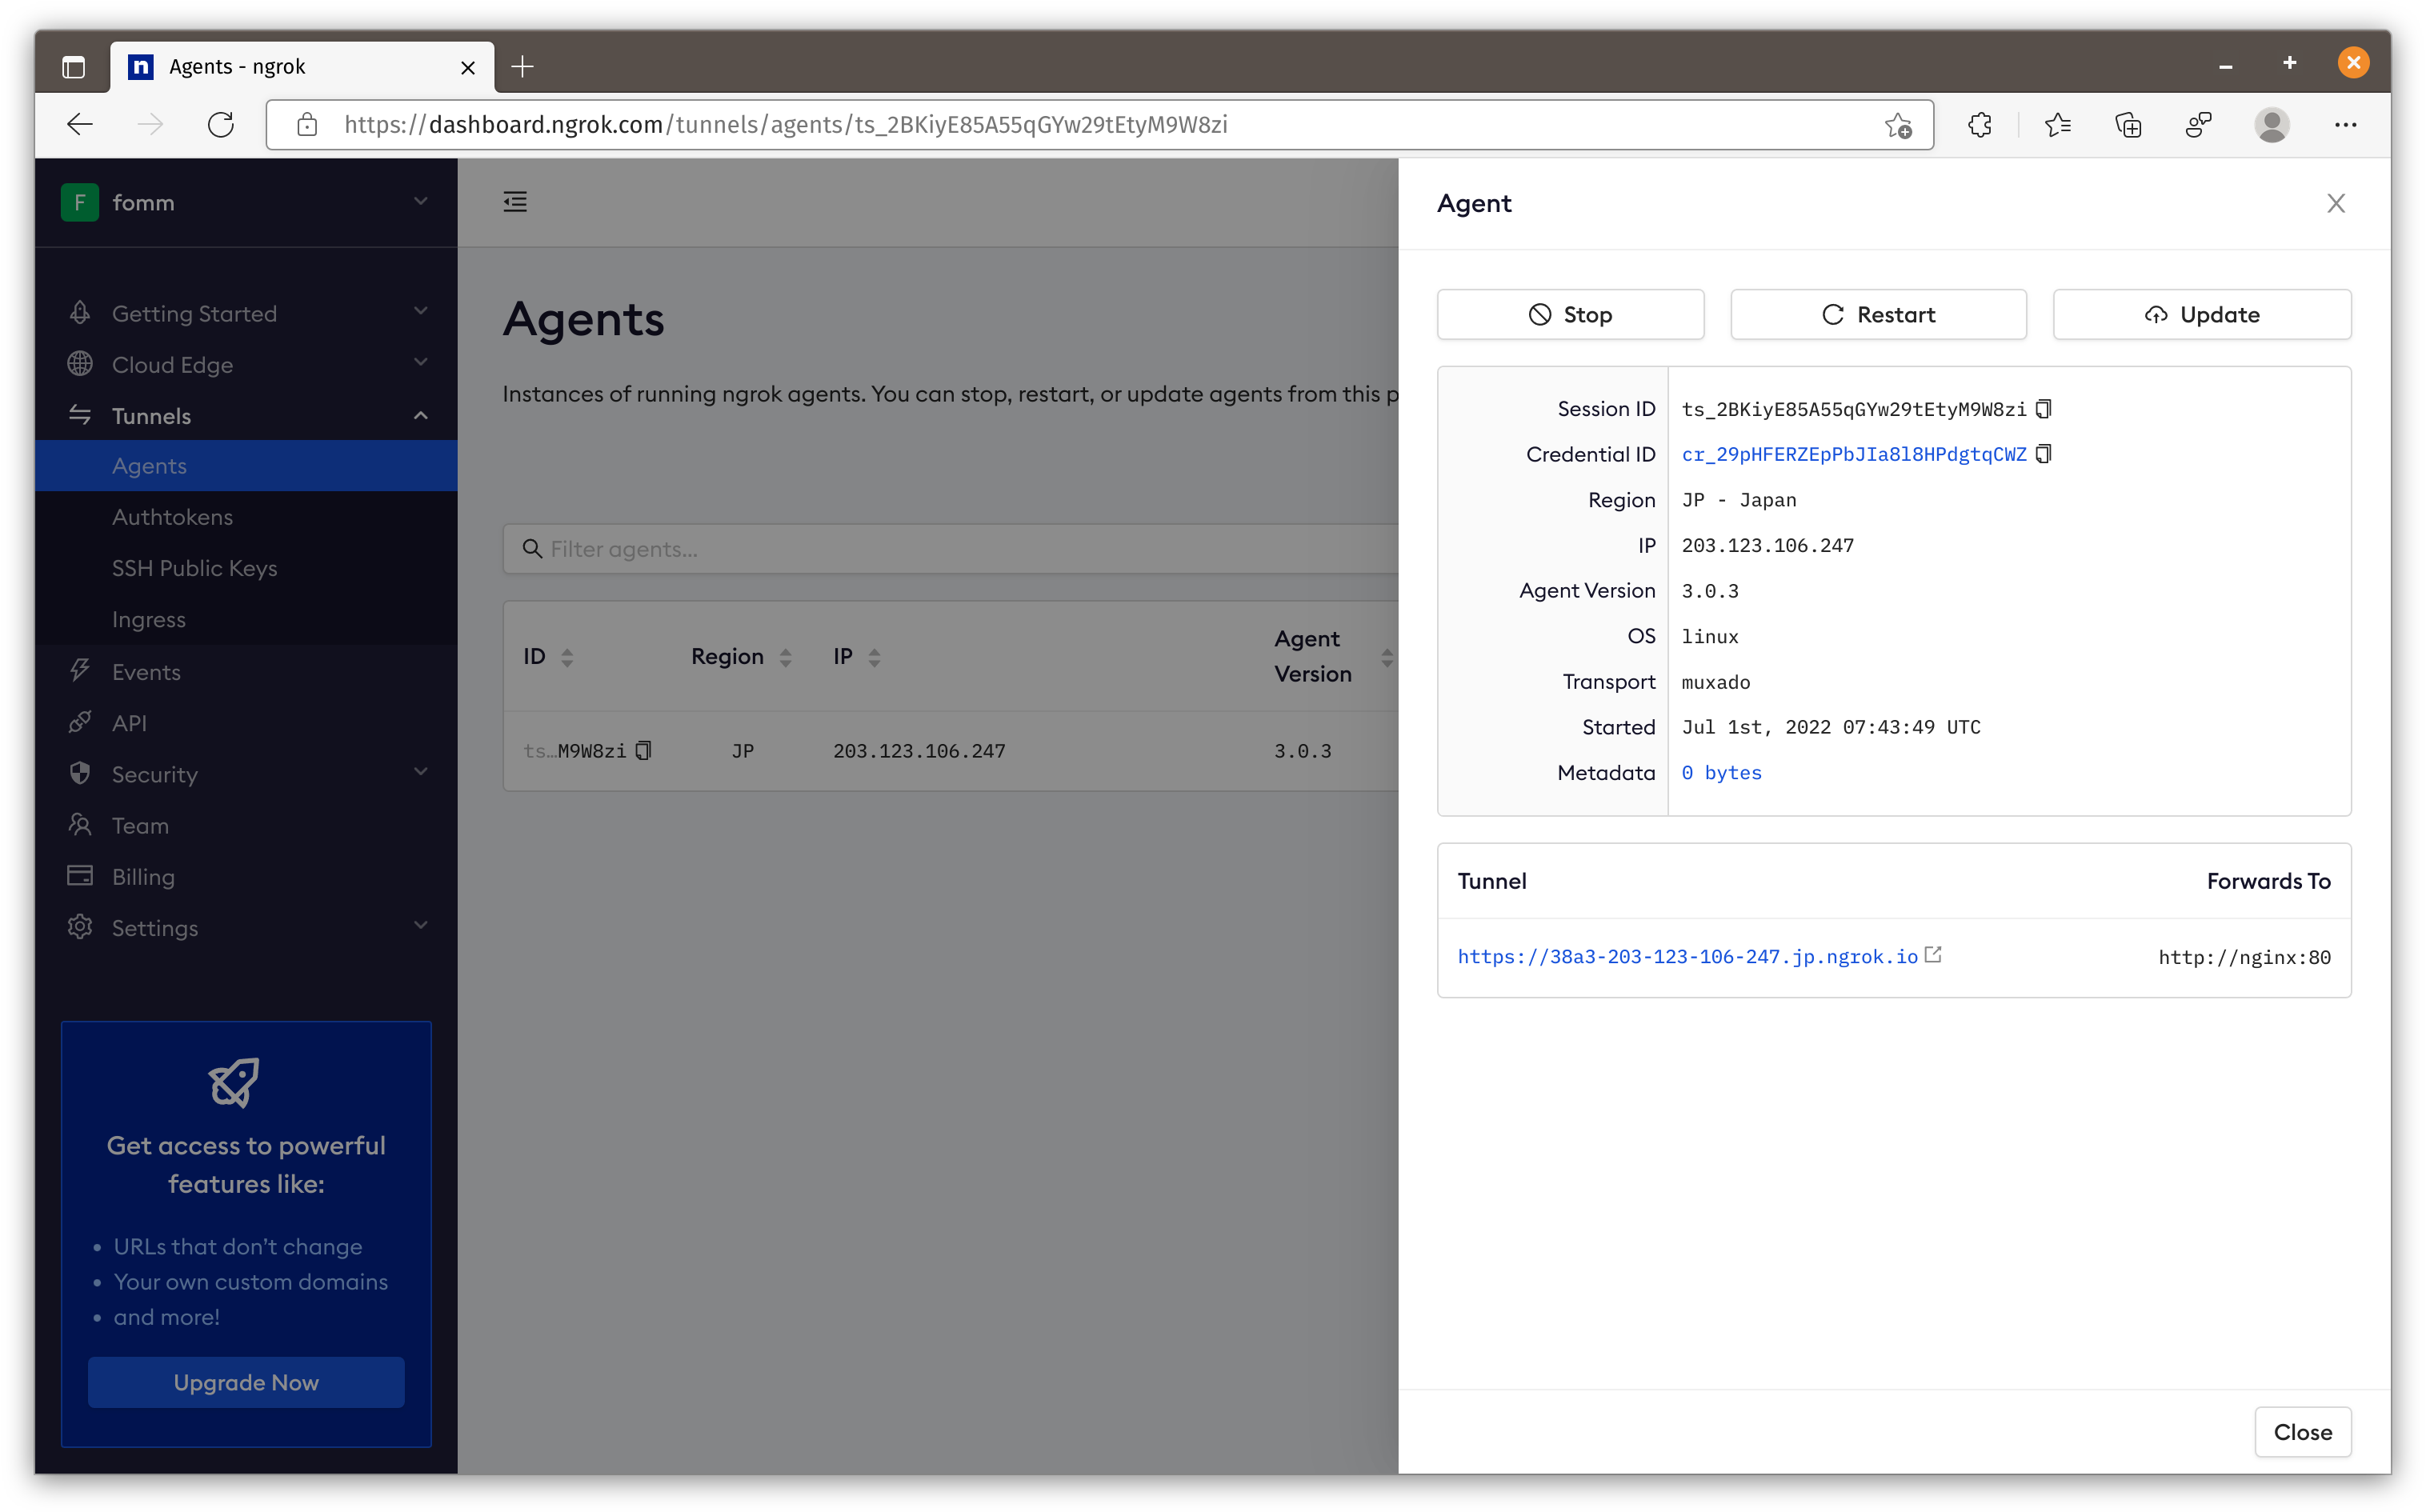
Once the tunnel is created, we can go back to our dashboard to check the detail of this tunnel.

Create nginx service
Let’s create our nginx service in ngrok network.
1 | docker run --rm --detach \ |
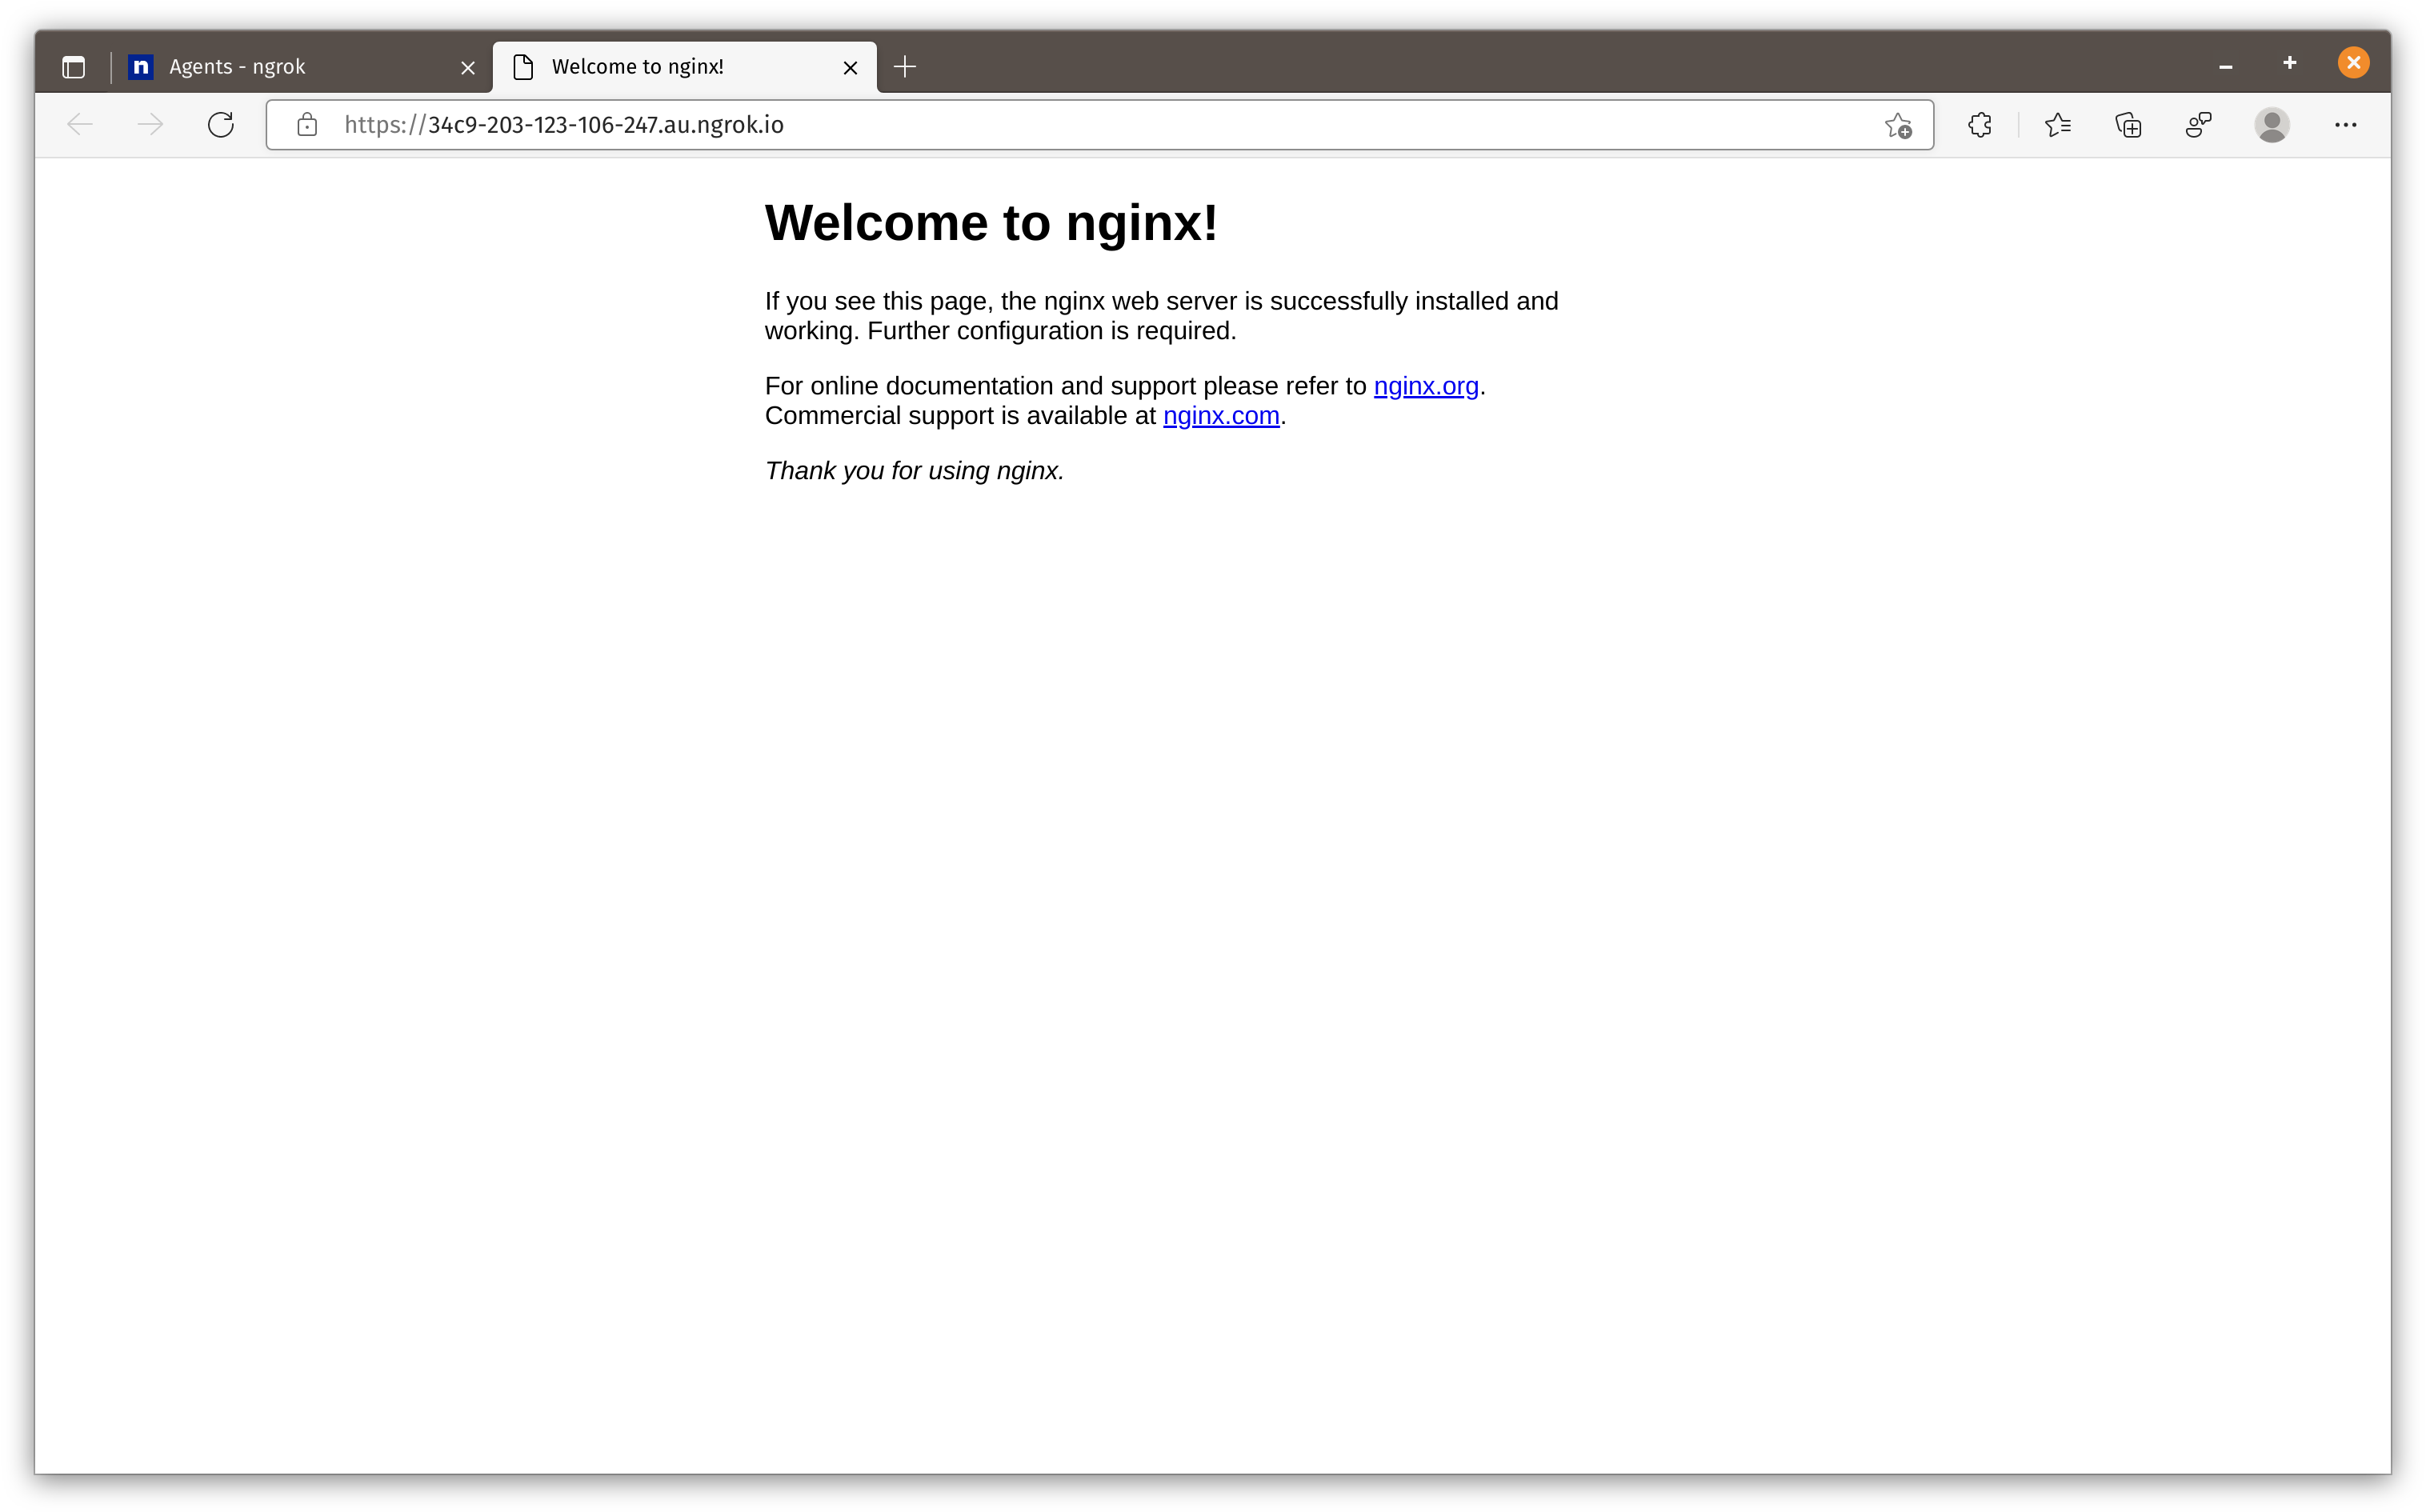
We can access nginx now.
Tunnel from different region
Cloudflare tunnel uses the closest centre to the host machine as the edge network entry point. Ngrok allows user to choose the location of the entry point. You can find the list of regions here.
Let’s say we want our entry point to be in Japan, we simply need to add --region jp to our command as below.
1 | docker run --rm --detach \ |
After that we can see the entry point is from Japan.
TCP tunnel for SSH
We can also create a TCP tunnel that can be used for SSH.
Firstly we need to know the ngrok network gateway IP. If you are not sure how to find it, please check my previous post. In this example, my ngrok gateway IP is 172.18.0.1.
Let’s run our container:
1 | docker run --rm --detach \ |
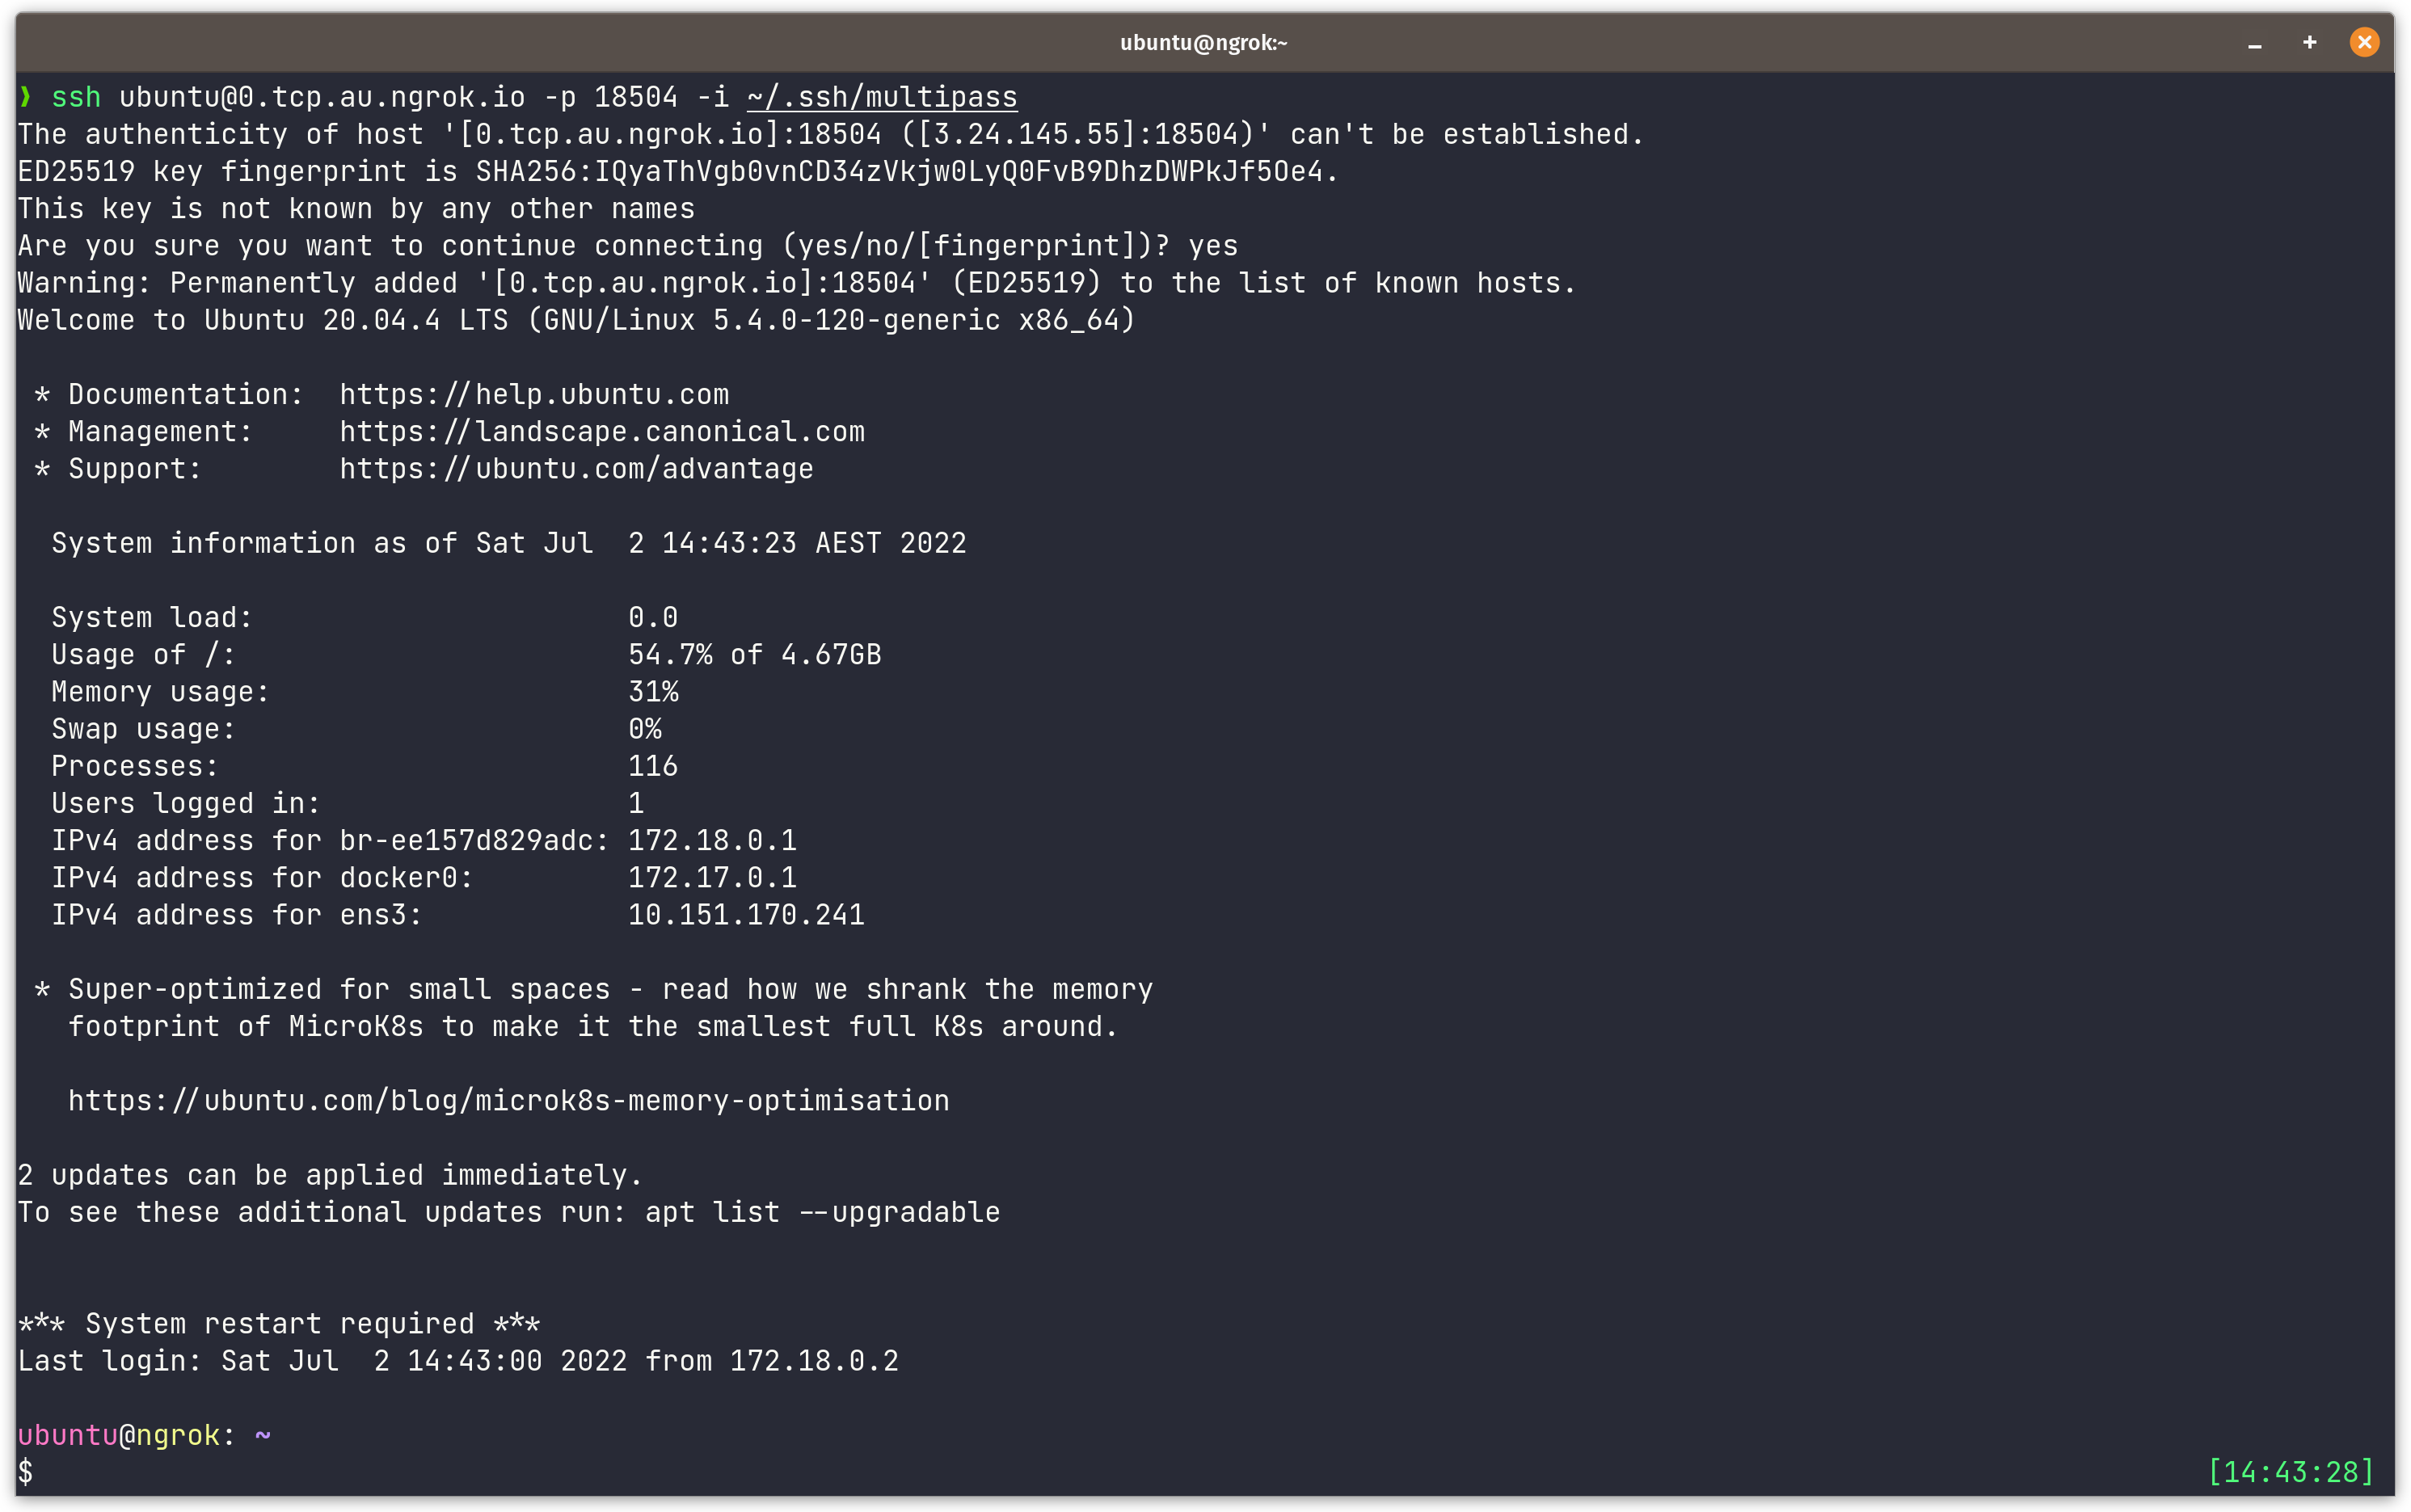
When we come back to dashboard, we can see the tunnel URL becomes tcp://

We can now SSH via this host name to our local VM.
Create tunnel to serve local directory
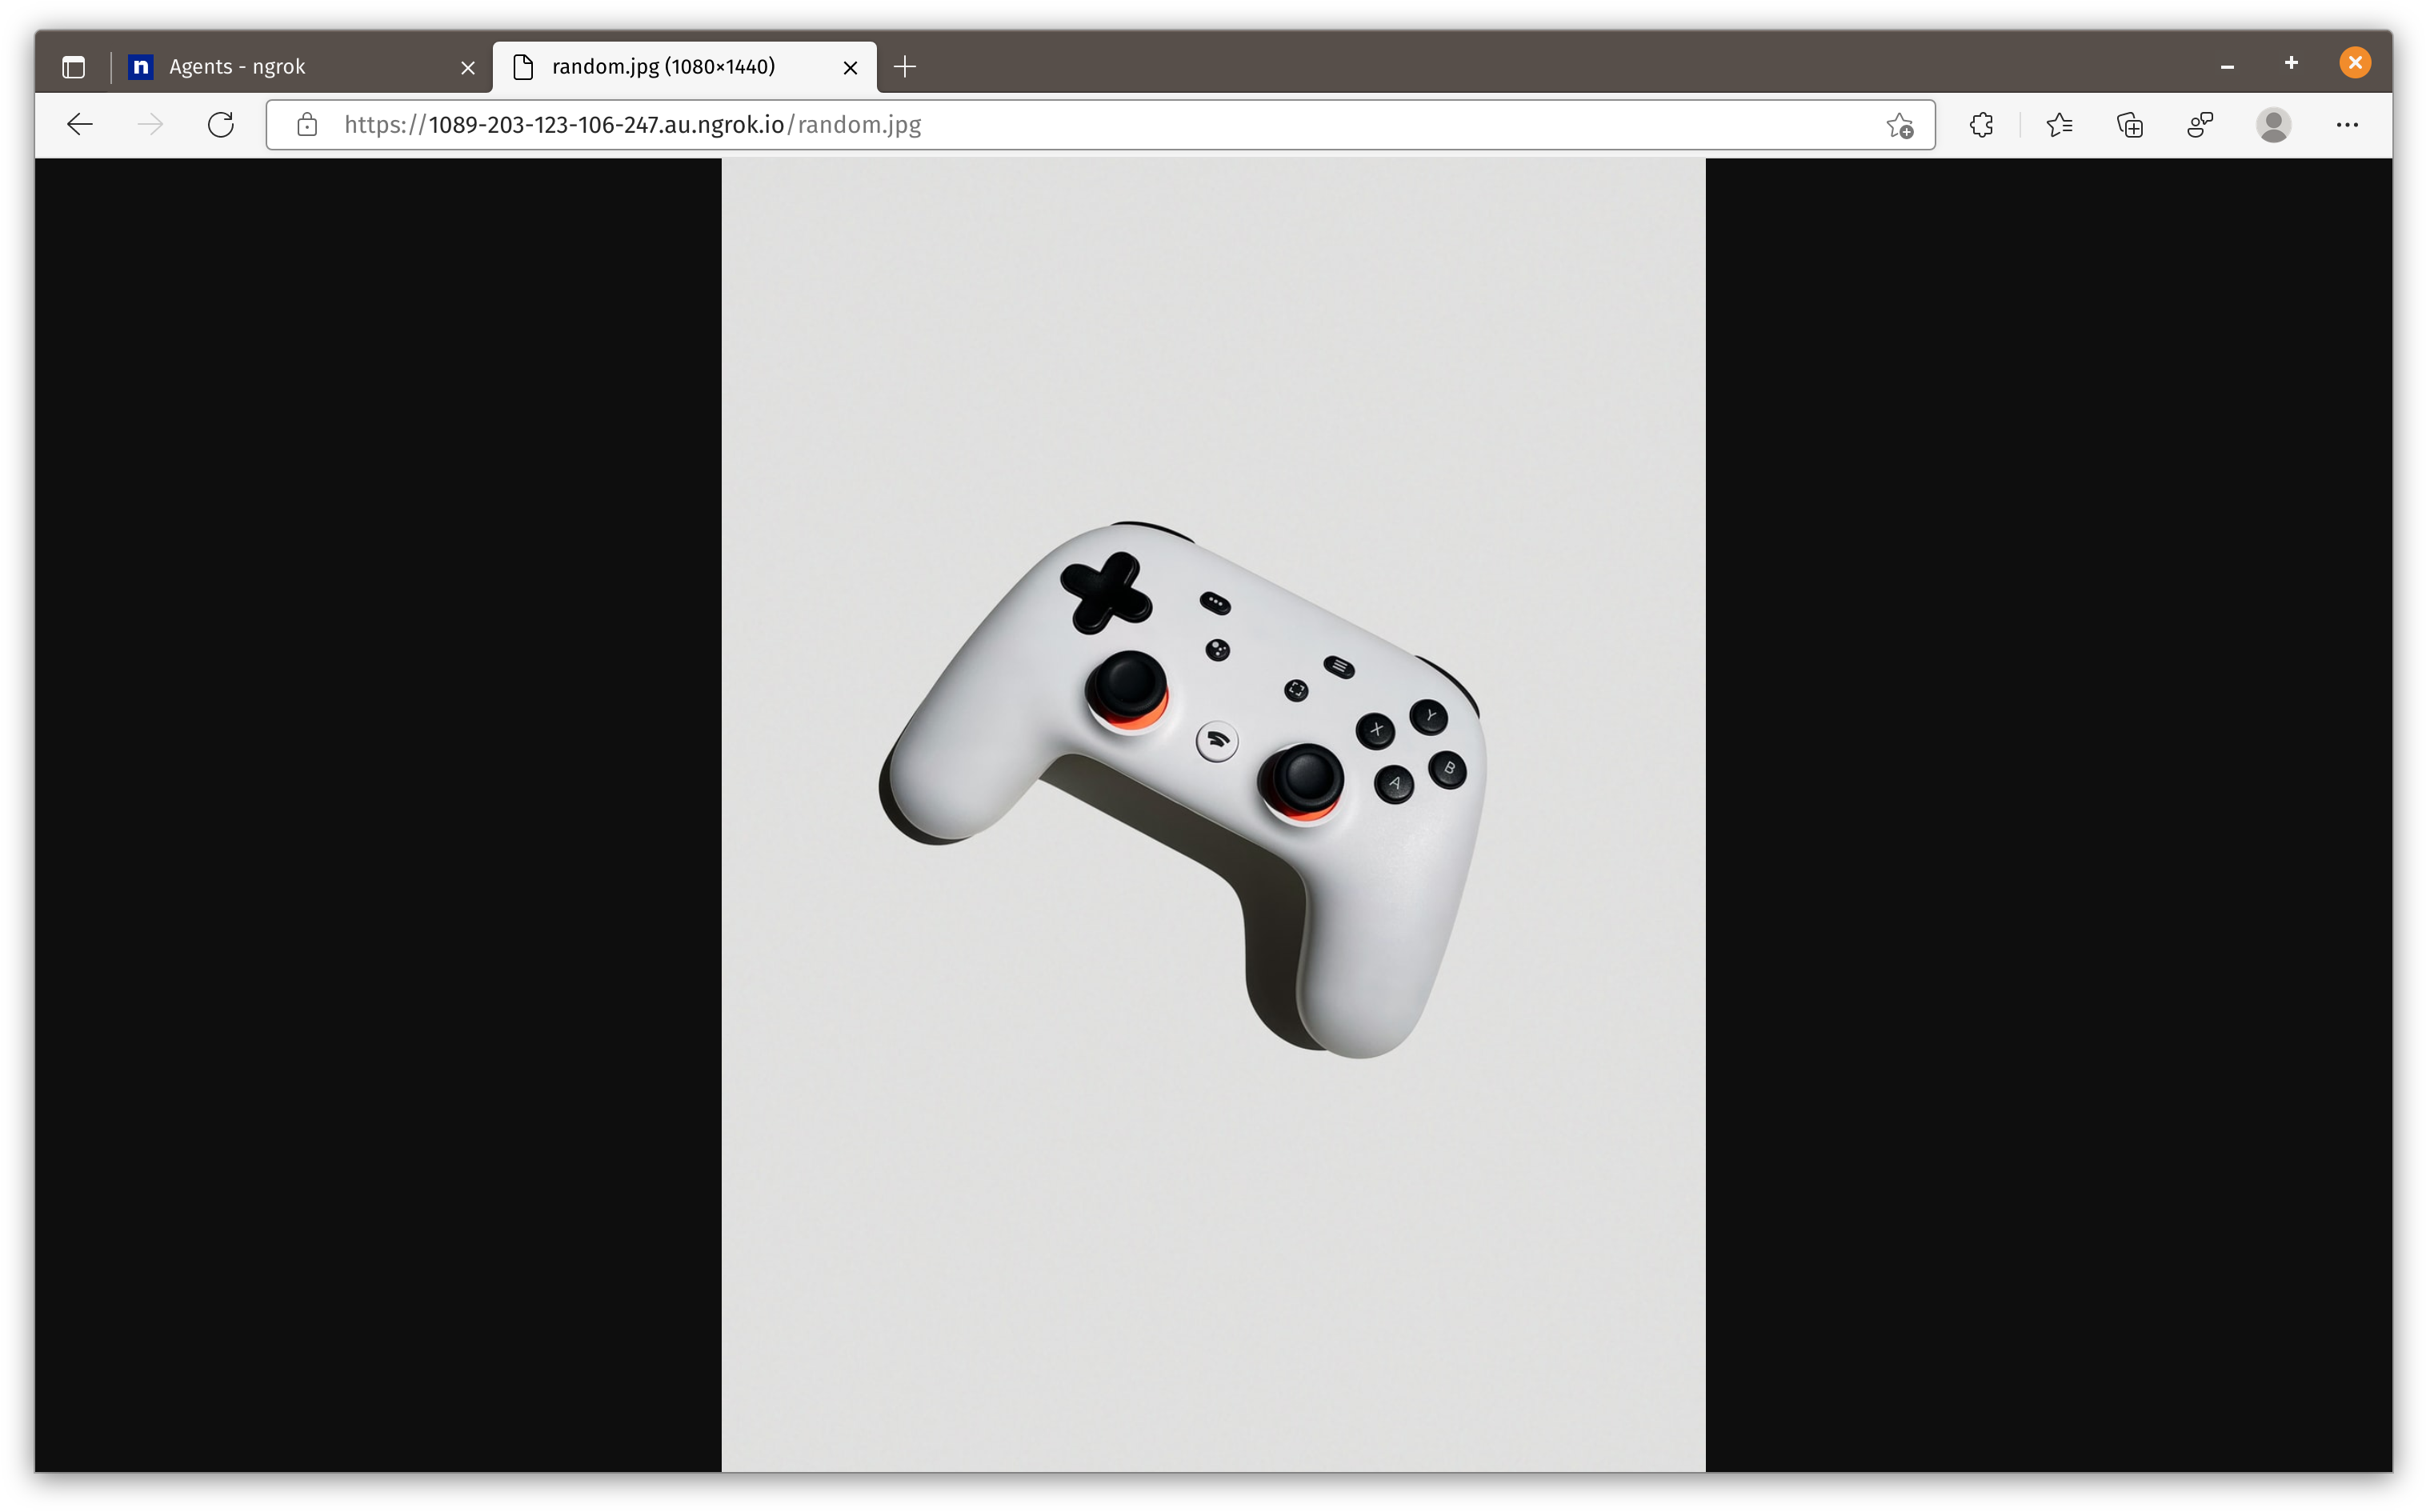
You can also put local files online quickly with Ngrok. What you need to do is to mount your local directory inside Ngrok container.
Let’s start by creating a folder and download a royal free image from unsplash.
1 | mkdir img |
Then we can start our container with below command. The format of the directory is file://<dir_path>. In our case, it is file:///img. To know more, please check official doc.
1 | docker run --rm --detach \ |
Let’s go back to our dashboard to find out the URL.

As we can see this image is accessible on the Internet now.
Create multiple tunnels
Users on free plan can only start 1 ngrok agent and at most 4 tunnels at the same time.
If we want to create multiple tunnels, we need to use config file. Let’s create a config file with all the example I mentioned above. You can find a full example here.
1 | authtoken: 29pHFERZEpPbJIa8l8HPdgtqCWZ_6FacuT7f14wffJ2cuPAdG |
Now let’s start our container with below command.
1 | docker run --rm --detach\ |
We should see three tunnels on the dashboard.

Extra Features
There are some extra features you can use on free plan.
Host header
You can modify host header easily. For example if I want to change host header to ly.test, you just need to pass --host-header="ly.test" to CLI or on configuration file as below.
1 | tunnels: |
Basic Auth
Ngrok also supports applying basic auth to tunnel. Same as changing host name, you can add basic auth either by adding --basic-auth="username:password" to CLI or on configuration file as below.
1 | tunnels: |
Web inspection interface
Ngrok agent provides a web inspection interface to allow you to inspect request/response going through your application as well.
To enable this web URL we need to use config file. Let’s create our config file ngrok.yaml as below.
1 | authtoken: 29pHFERZEpPbJIa8l8HPdgtqCWZ_6FacuT7f14wffJ2cuPAdG |
Then we can start our container with below command.
1 | docker run --rm --detach \ |
Now when we visit our VM IP on port 4040, we can see this interface.
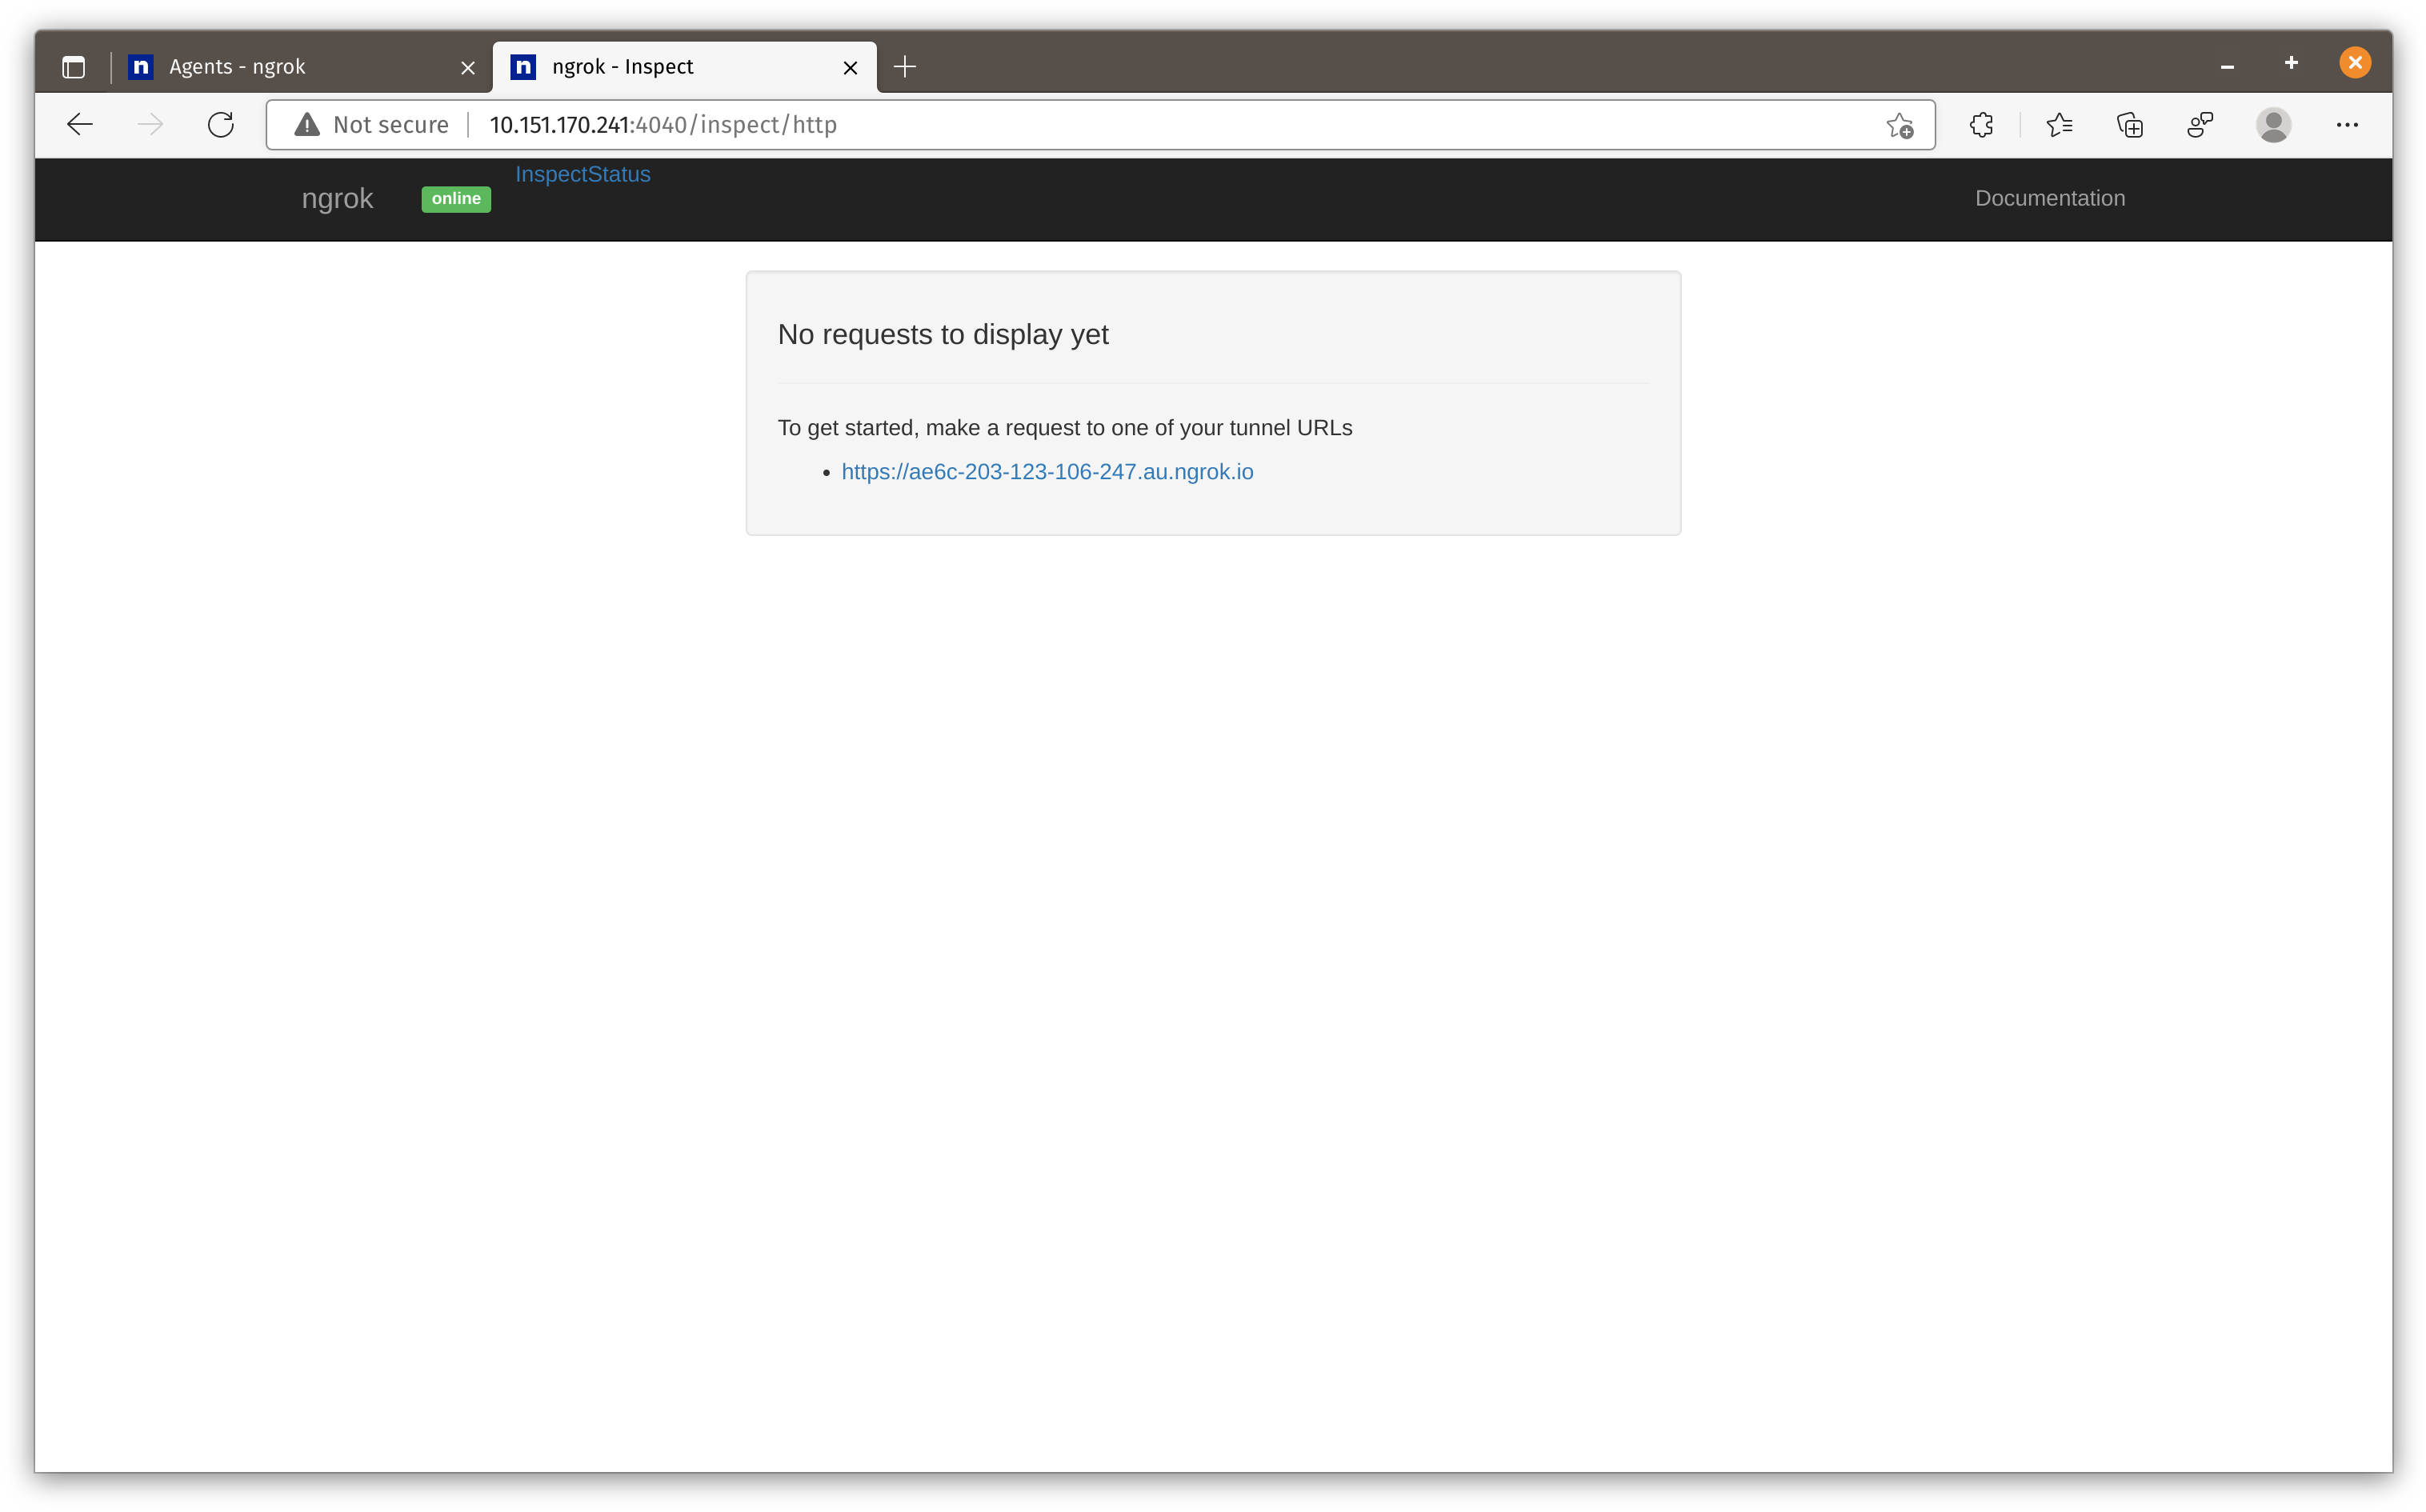
To know more about this inspection interface, please check official doc here.
Summary
After testing these three tunneling products, Ngrok is the most versatile but it requires you to write configuration in yaml to use all features. Traefik Hub is for users that need a quick tunnel for applications running on docker or kubernetes without any configurations. Cloudflare tunnel is for existing Cloudflare users or anyone needs more than 4 tunnels or custom domains. (I don’t think anyone can exceed Cloudflare tunnel limit easily)
Personally I would use Cloudflare tunnel to expose application that I need to publish for a longer time period with my domain and use Ngrok when I need to expose local service temporarily.
That’s all I want to cover today. See you next time.