My Nix Journey - Use Nix on Ubuntu
In the demo I run nix on Ubuntu, you can also use Nix on other linux distros or even macOS. I’ve tested on Debian, Manjaro, Debian and AlmaLinux.
In my previous posts, I talked about the basics to start using NixOS. Although NixOS is a very powerful Linux Distro, I have to admit I can’t use it as my daily driver because I really don’t have the time and energy to fix incompatible packages myself. For example, I never figure out why Zoom and Microsoft teams did not work on my PC. After trying different hardware configurations, I gave up and went back to PopOS.🥲
However, I still want to use Nix as much as possible so I can easily backup/restore most of my configures. Besides, nix has a LOT more to offer. For example, I use nix shell to get a temporary CLI, nix dev to give me an dev environment for a specific folder. Especially pair it with nix-direnv, I can simply declare dependencies of my project on a flake.nix, store it in the same projects folder Nix will take care of the rest for me.
That’s enough talking, let me show you how I use Nix on Ubuntu.
Install Nix
I choose nix-installer from Determinate Systems for installing Nix. If you prefer official installer, you can find it here.
Let’s run below command and type Y to confirm you want to install Nix.
1 | curl --proto '=https' --tlsv1.2 -sSf -L https://install.determinate.systems/nix | sh -s -- install |
Once nix is installed, let’s see what we can do with it.
Nix commands
Although it is highlighted on the official doc that nix command are experimental, I think it is worthy to start using this new version because they use flakes.
nix search
Personally I always go to official site to search the packages but I think it is nice to search packages search in the terminal. The nice thing about this search is that it is keyword based and you can use multiple key word to limit the result. For example, it is so easy to find helm as below. Now I know the package name I am looking for is kubernetes-helm.
1 | ➜ nix search nixpkgs helm package kubernetes -e "plugin" |
Once you have found the right package name, you can use some nix command to use them.
nix run
nix run command allows you to run the packages without installing them.
For example I can run cowsay.
1 | ➜ nix run nixpkgs#cowsay hello world! |
I can use it to run commands in pipe.
1 | ➜ curl -s https://api.github.com/users/liyangau | nix run nixpkgs#jq '.bio' |
If you need to pass flags to the CLI, you can do it like this.
1 | nix run nixpkgs#vim -- --help |
This is extremely useful when you need to run something on the run or you need to use a software on your scripts but you do not know if the host machines has those tools. Nix makes sure the CLI tools are available. The best part is because it is Nix you can use the same command on both ARM and X86 (if the app supports it).
If you are interested to know more about nix run, this blog post will be a very good read.
nix shell
Compared to nix run, nix shell gives you a shell with the CLI installed. This is very handy if you need to use some CLI multiple times for a certain time period and you don’t want to install it. You just need to run nix shell nixpkgs#<app_name> and nix will prepare the CLI for you.
For example, let’s say I need to test Redis connection for some projects and I can get redis-cli like below.
1 | ➜ redis-cli |
nix profile
nix profile can be used to install a packages in you local environment for long term use. Personally I do not recommend using it. If you need a package for long term, I think it is better to put it on your configuration files.
nix develop
I use nix develop to set up development environment for different projects. For example, in my previous post, I demonstrated how to use python to generate JWE tokens. If you don’t want to install python and jwcryto to try the code, you can use a flake.nix to describe what you need and use nix develop to set up the environment for you.
Let’s save below to flake.nix. (I want to give credit to https://zero-to-nix.com/, this example is taken from their git repo here.) Then we can run nix develop -c $SHELL and nix will prepare python and jwcryto for you to run.
If you do not use
-c $SHELLflag, nix use bash by default.
1 | { |
If you have your dev environment in a git repo, nix develop can read and activate the dev environment for you. For more information, please check this doc.
nix flake
I have to admit I only use nix flake update to update flake.lock so I will leave this one for you to explore. 🦫
Home manager
The combination of Nix flake and home-manager allows you to manage application configuration declaratively. I talked about it in my previous posts, My NixOS Journey - Home Manager and My NixOS Journey - Flakes. The only difference is that you can only use standalone home-manager on non-nixos system.
Let me show you how.
Create files
Before we start I would like to point out that the official doc uses
to create both flake.nix and home.nix under ~/.config/home-manager folder and then apply the config to install
home-managerCLI. This is very handy to get you started and you can simply runhome-manager switchto apply changes. If you are looking for a quick way to start usinghome-manager, I recommend you to follow the official method.
If you are getting below error, please check if FOLDER
~/.local/state/nix/profilesexists, otherwise create it manually.
I will show you how to manage your configuration from any folder. The final folder structure should be similar to below.
1 | ├─ flake.nix |
Let me explain what we use these files for.
- flake.nix
We use this file to manage the input of channels (where the packages are installed from) and output of our configs. - home-manager/home.nix
We store common home-manager configurations on this file. - apps/*.nix
I like to store application configurations to individual files in this folder. I will give you my config for micro.
Now let’s create the folders first, I will put everything inside folder nix.
1 | mkdir -p nix/home-manager/apps |
Create flake.nix
Once the folders are created, let’s save below to nix/flake.nix.
This is pretty self-explanatory, we have two inputs here, one is the nixpkgs-unstable channel that we install packages from and the other one is home-manager. On the output side, our system is x86_64-linux and I will put home manager configs on home.nix.
1 | { |
Create home.nix
Next, let’s create a very simple home.nix in nix/home-manager/. On this file, I have programs.home-manager.enable = true; which means after the first run, home-manager will manage itself. I also put neofetch under home.packages, this will install neofetch for us.
1 | { config, pkgs, ... }: |
Enable home-manager
I will use nix run to give me access to home-manager CLI and then build config from my flake. Since we we have programs.home-manager.enable = true; on home.nix. After the first run, home-manager CLI will be installed.
1 | nix run nixpkgs#home-manager -- switch --flake <flake-file-path>#<USERNAME> |
Please note <flake-file-path> is relative. So if you are outside the folder nix and you use the same username as current user on flake.nix you can run this command as.
1 | nix run nixpkgs#home-manager -- switch --flake nix/#$USER |
Once it is done, we should have neofetch.
1 | $ neofetch |
Manage applications
Now that we have home-manager installed, we have two methods to install applications for current user.
If we just need to install an app and don’t need nix to manage its configuration (like neofetch), we can put this app name under
home.packages, home manager will install it for us. To find the list of applications, you can usenix searchor go to NixOS official site chooseunstable(because on the flake we use unstable branch) and search.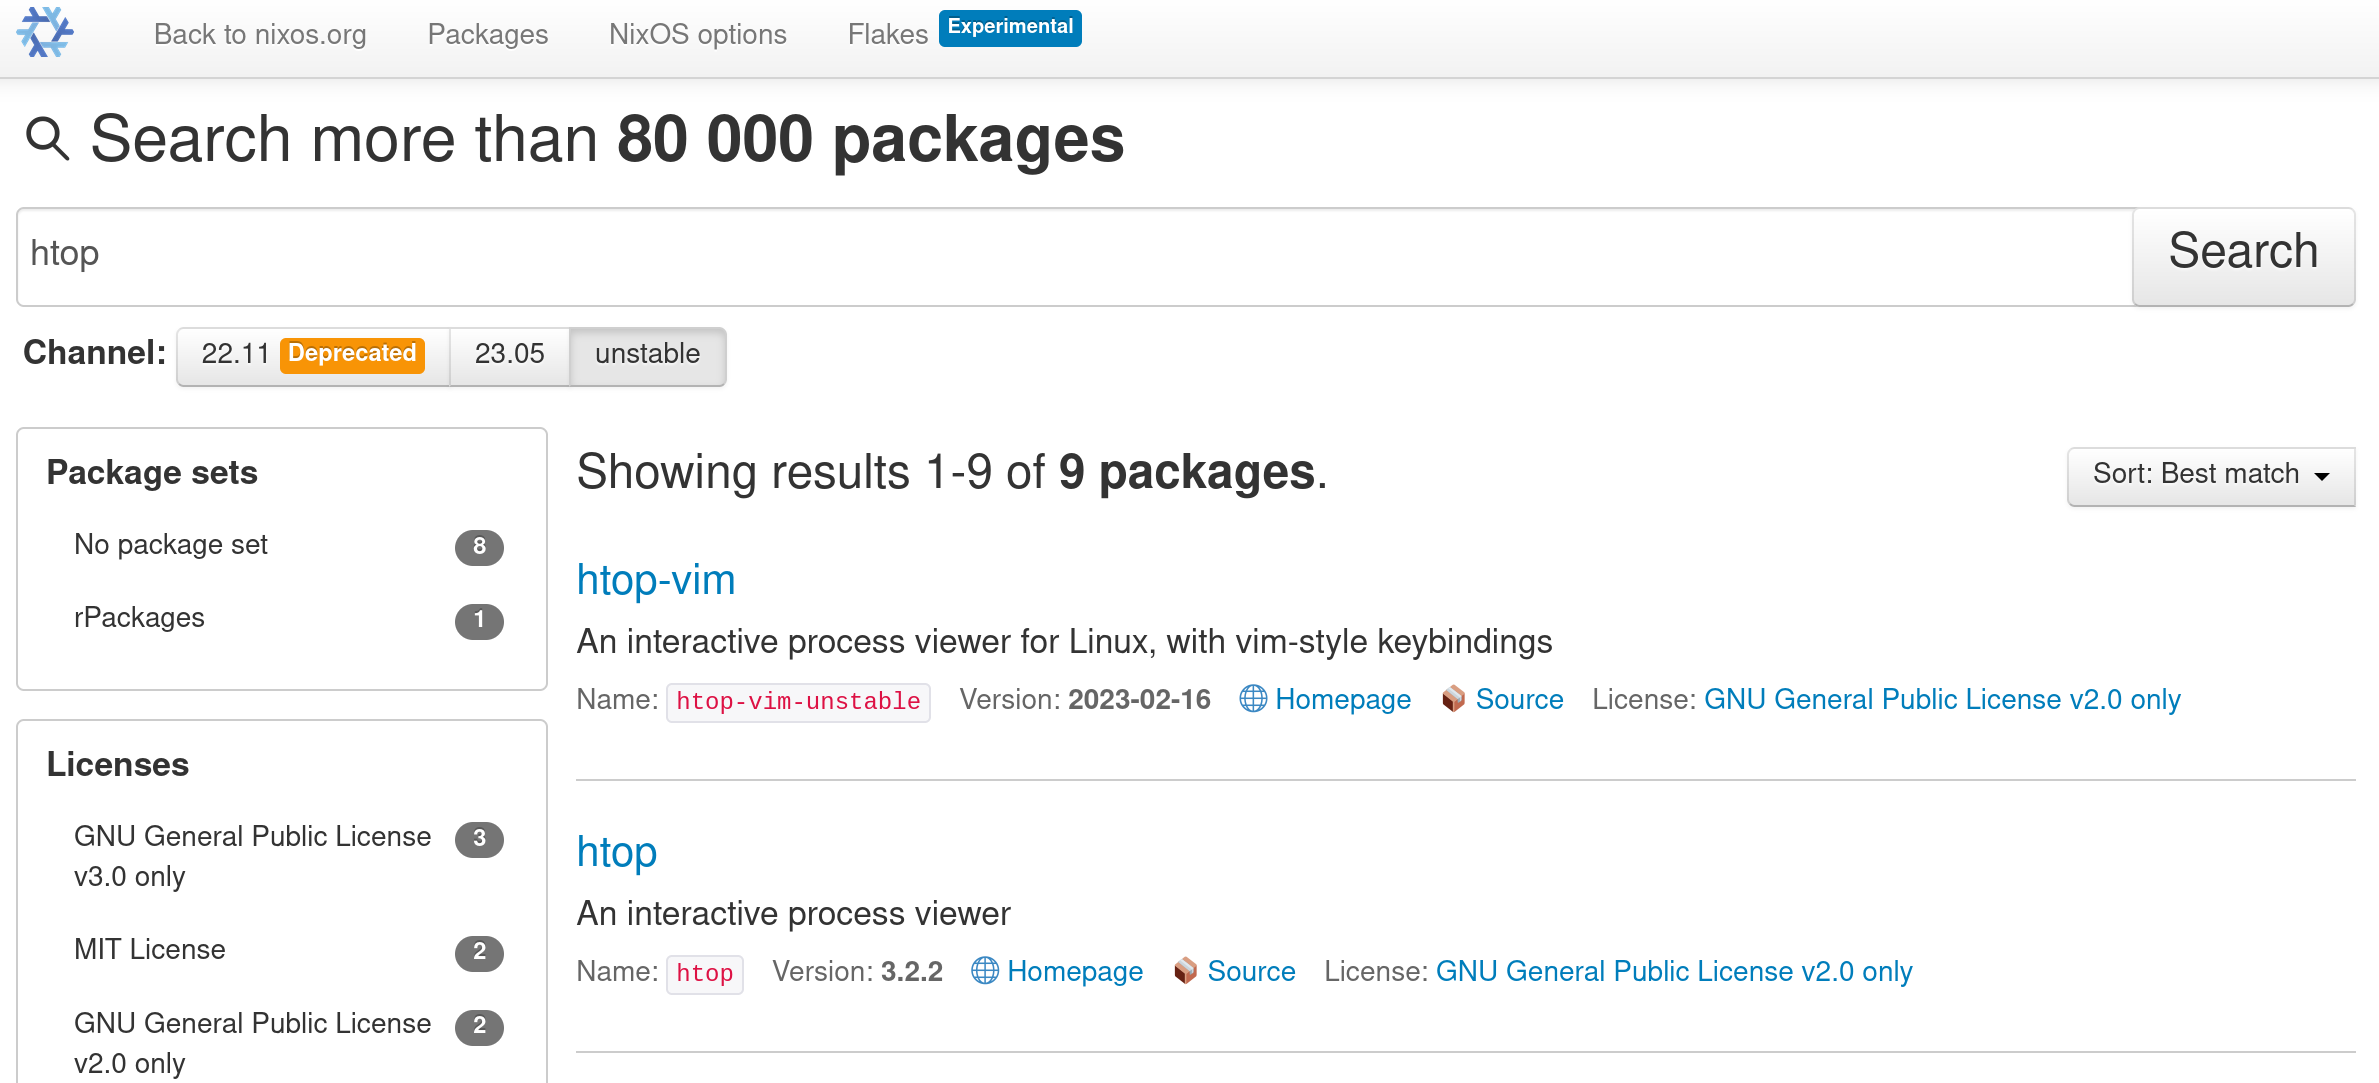
If we want to manage application configuration with home manager, we need to search the app name on home manager document to make sure it is supported. The official doc will also tell you what are the options you have for managing the application.
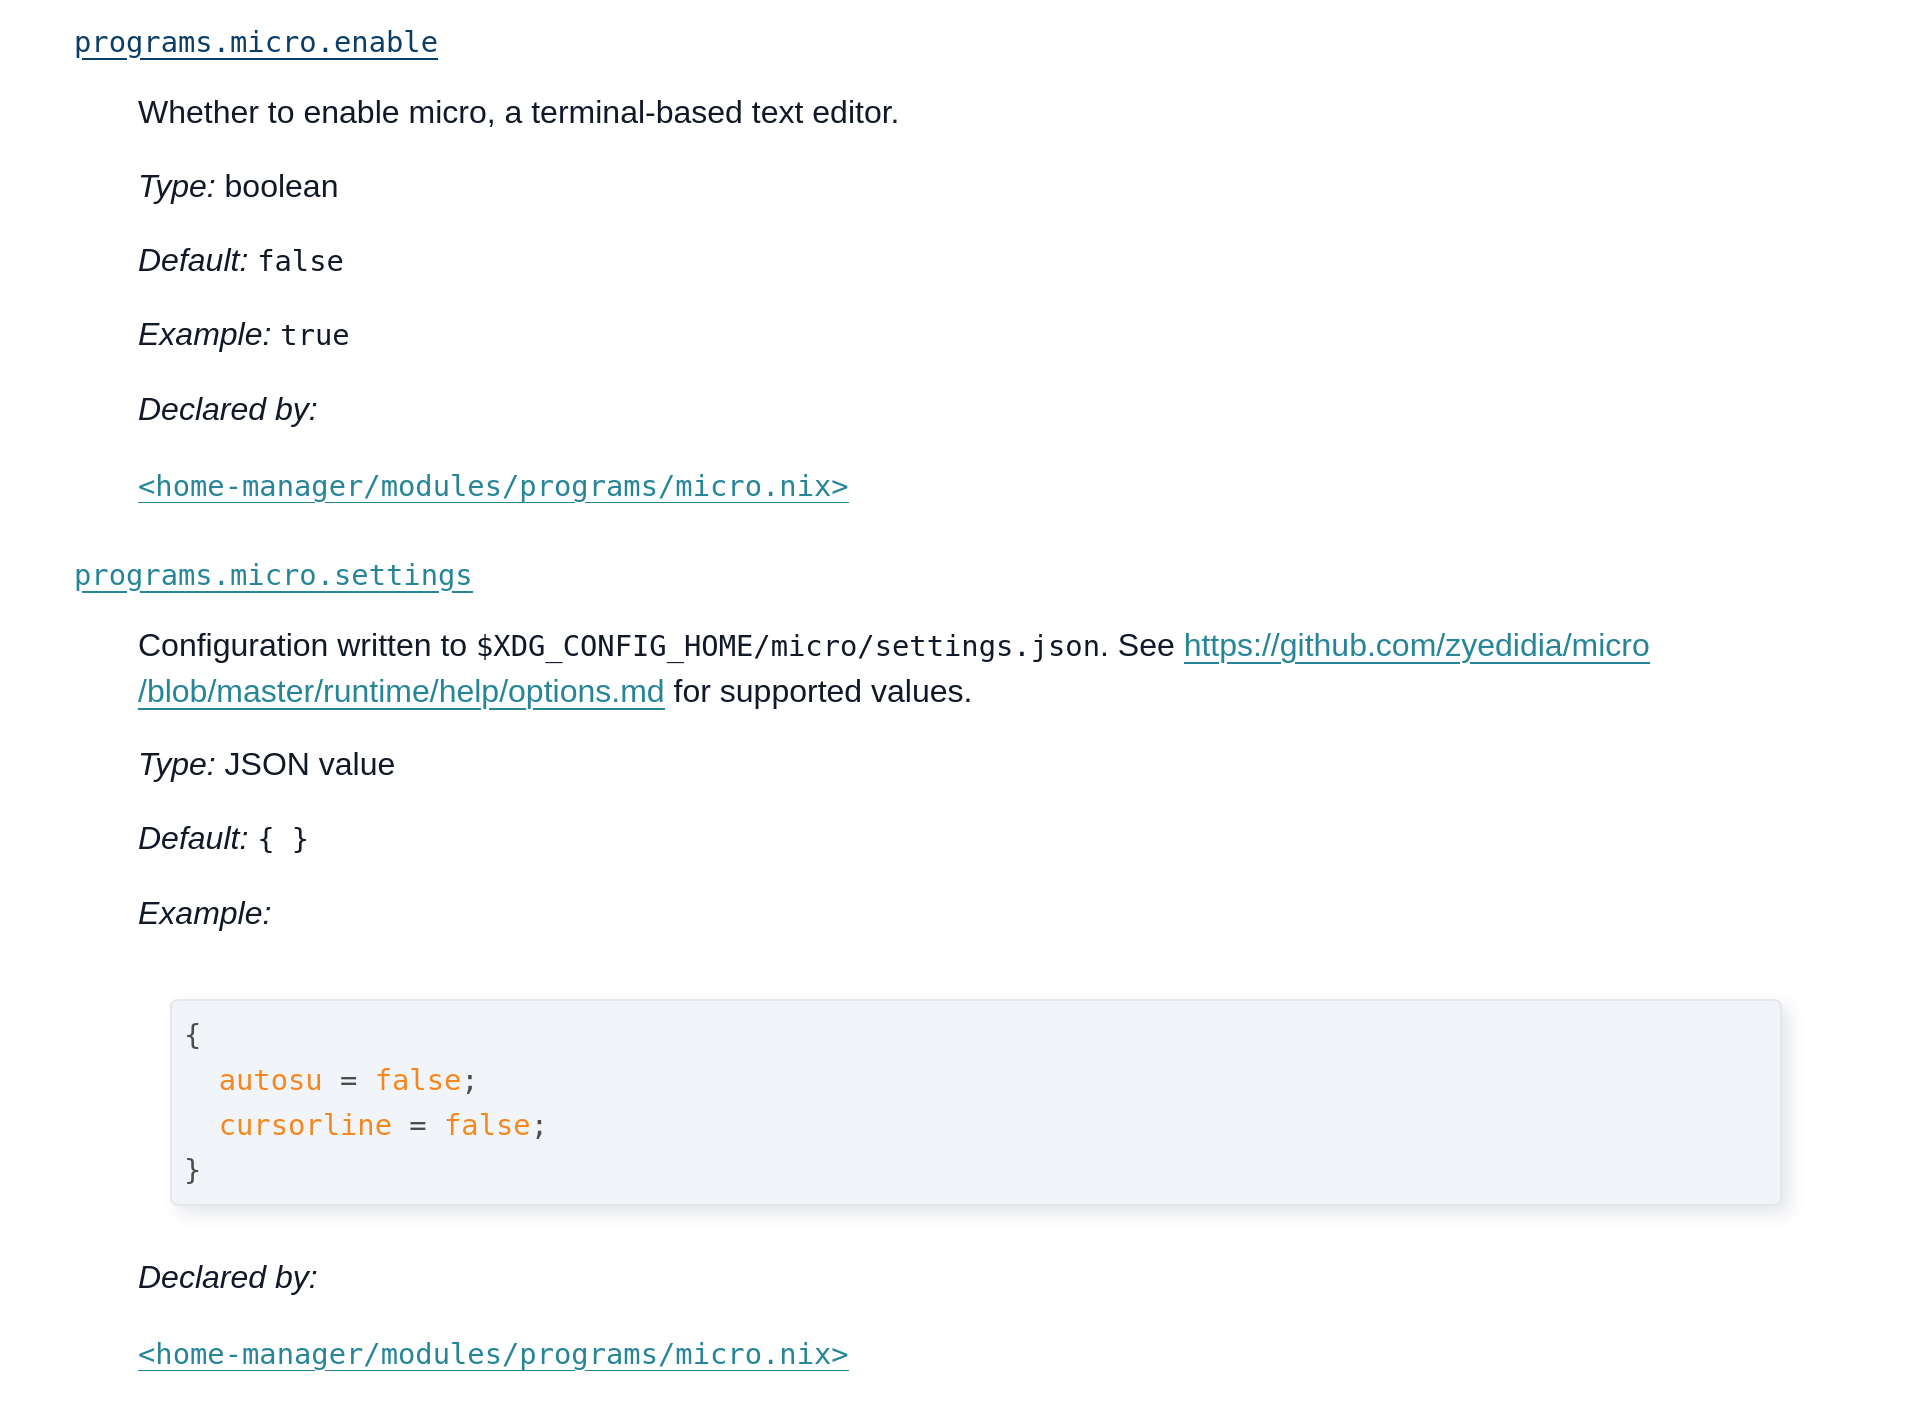
Below is my config for Micro editor. Let’s save it to
nix/home-manager/apps/micro.nix1
2
3
4
5
6
7
8
9
10
11
12
13
14{
programs.micro = {
enable = true;
settings = {
colorscheme = "material-tc";
mkparents = true;
softwrap = true;
tabmovement = true;
tabsize = 2;
tabstospaces = true;
autosu = true;
};
};
}Then we can import it back to
home.nixas below.1
2
3
4
5
6{ config, pkgs, ... }:
{
imports = [
./apps/micro.nix
];
Once you’ve added what you need, you can run home-manager switch --flake nix/#$USER to apply the changes.
Updates & garbage collect
Your nixpkgs channel is pinned to the version on the flake.lock file. If you need to update your software (let’s say you see a newer version is available on the unstable channel), you need to update your flake. What you need to do is to go inside nix/ folder and run nix flake update. This will update all input channels to the latest version. After that, you need to run home-manager switch --flake <flake-file-path>#<USERNAME> to apply the changes.
I clean my nix store with nix store gc from time to time to save some storage space. To understand how to optimize storage, please read this wiki page.
That’s all I want to share with you today and I hope this post is useful.
See you next time.