Introduction of Openid Connect With Azure AD
As I mentioned in my keycloak post, openid connect is becoming more and more important. If you don’t want to host your own IdP, you can’t avoid trying Azure AD or Okta. To be honest these two platforms are not the easiest to start with. In today’s post, I aim to provide a hands on guide to help you start using Azure AD.
Get an account
Azure AD is free to use but you need to register an account on Azure and sign up for an free subscription to use it. This invovles providing a credit card to Azure. If you are not comfortable doing so or you don’t have a credit card, you should be looking at Okta.
Register
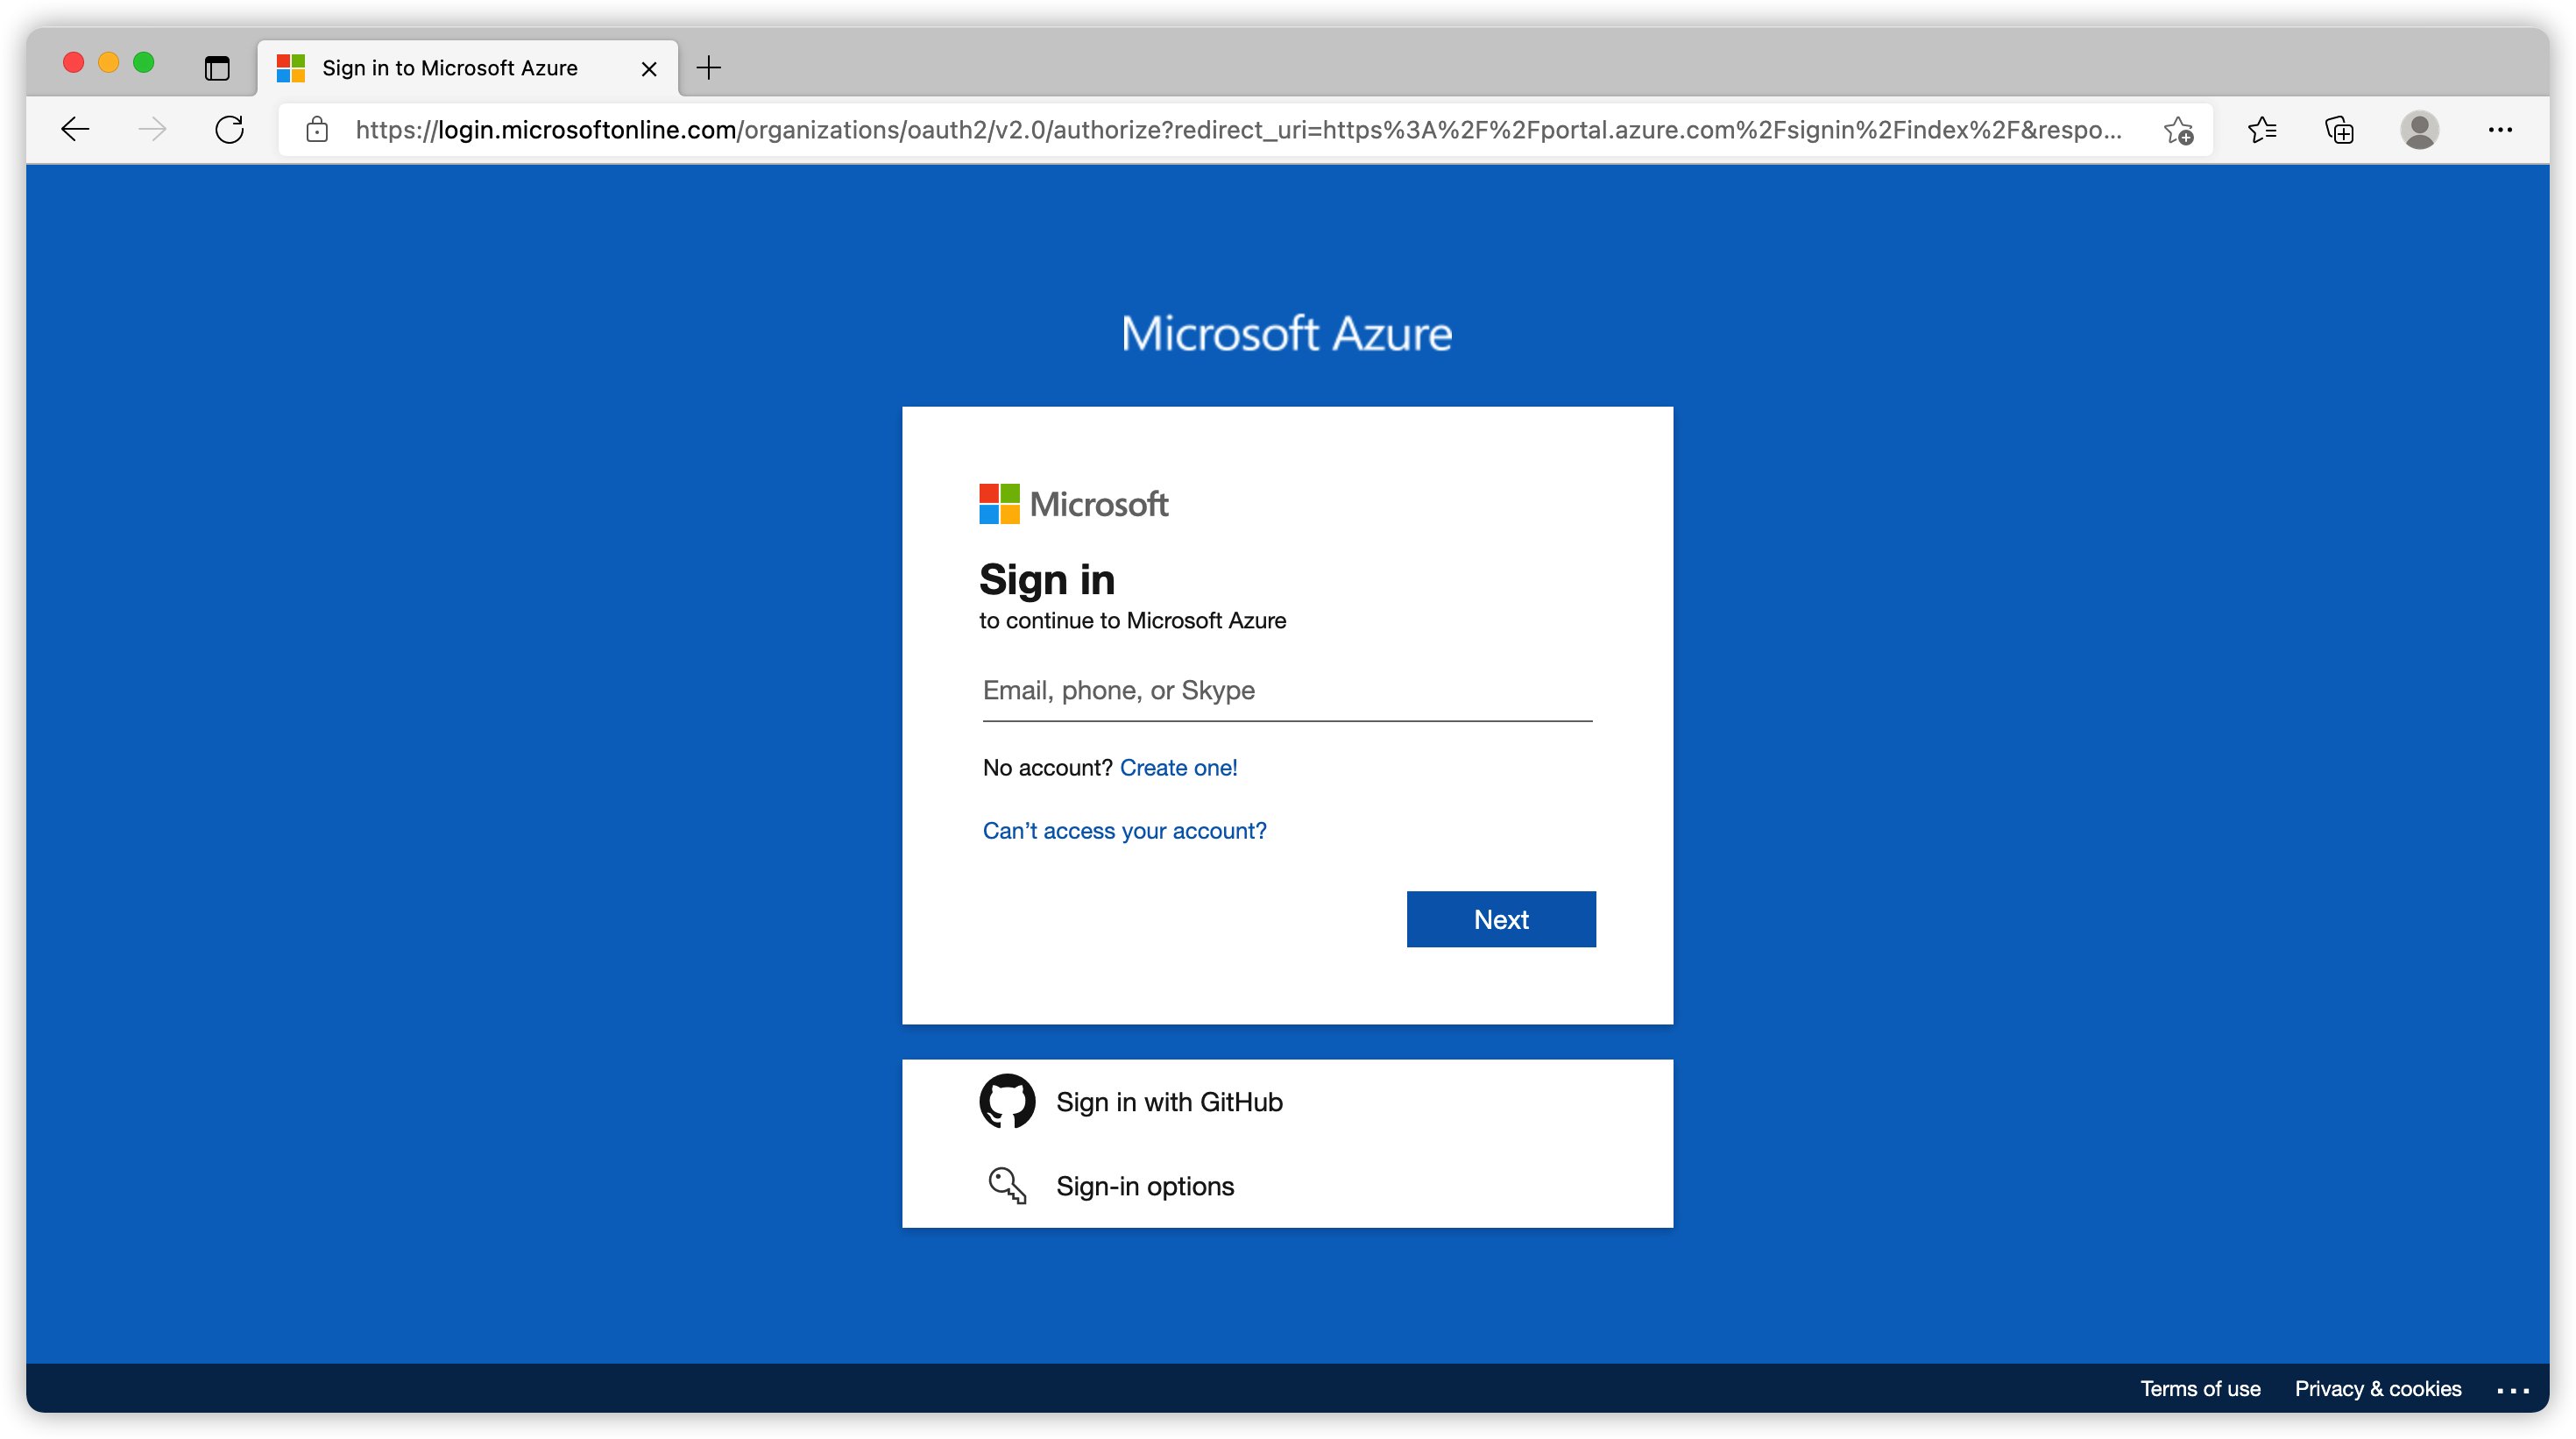
Go to https://portal.azure.com/ you can log in with your current Microsoft account or create a new account.
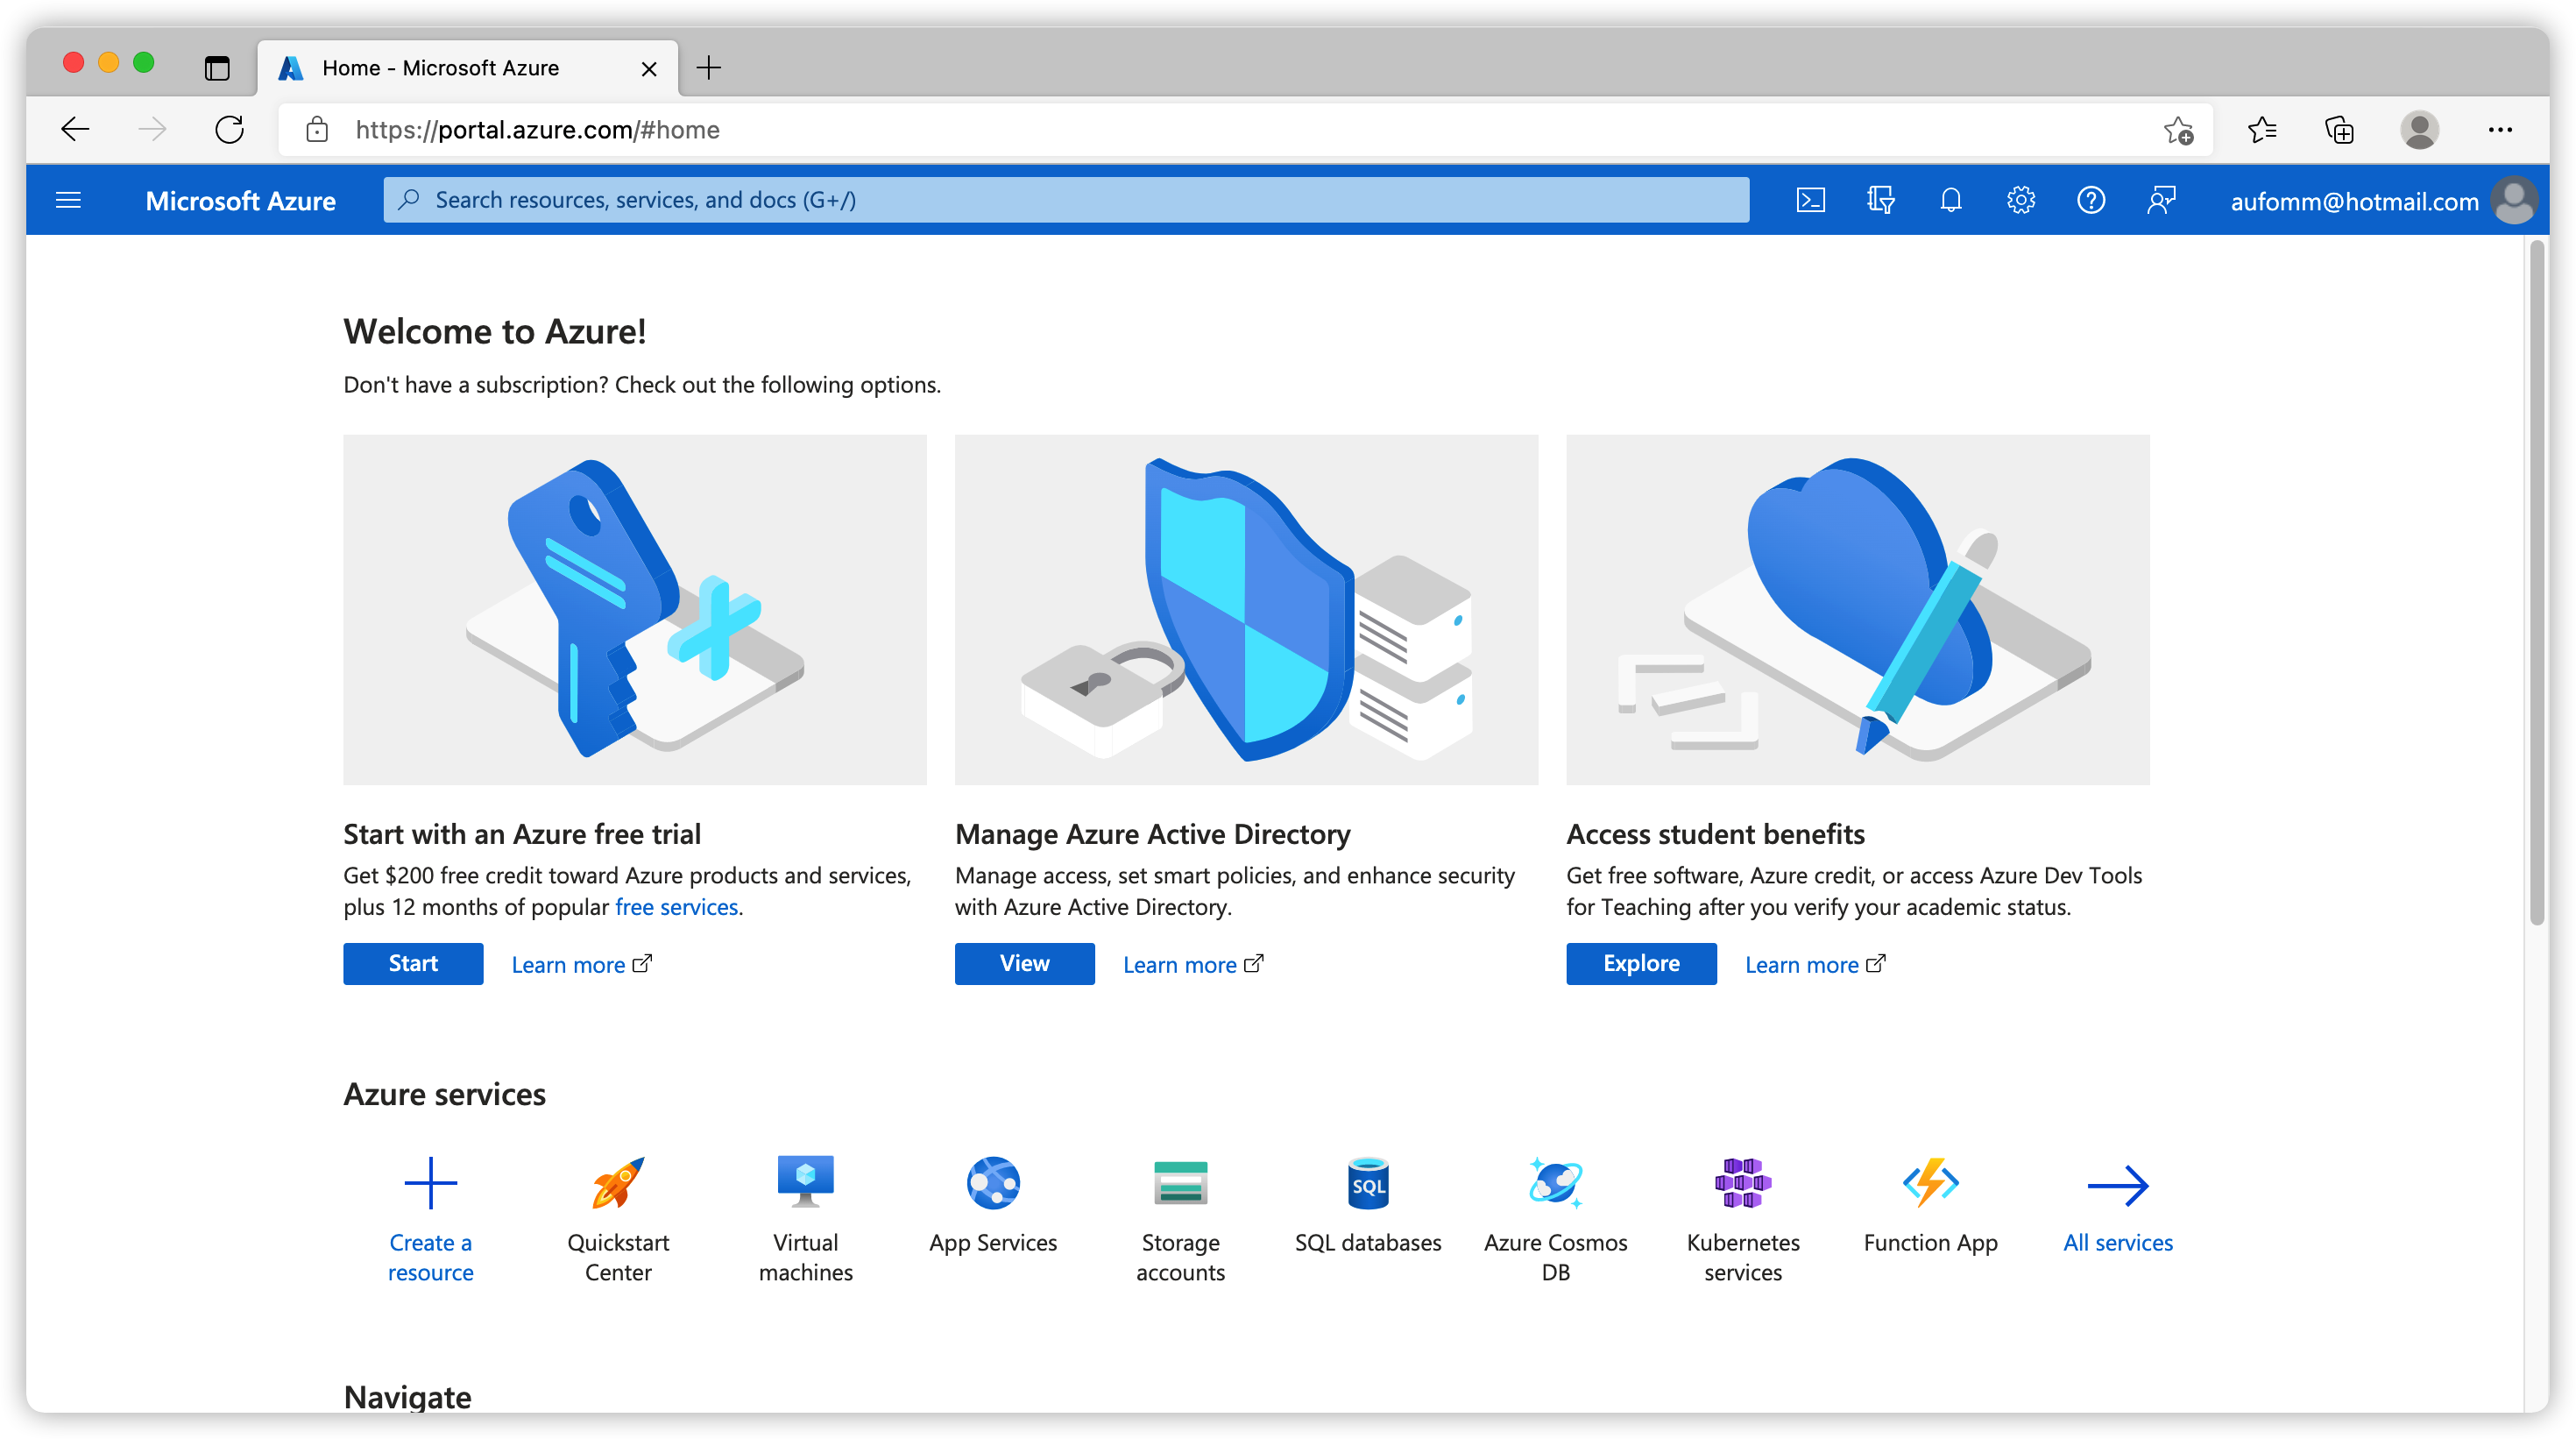
Once you have finished singing up, you will be redirected to the home page.
Activate free subscription
By default you don’t have a subscription to do anything. Let’s go to Subscriptions and click Add.
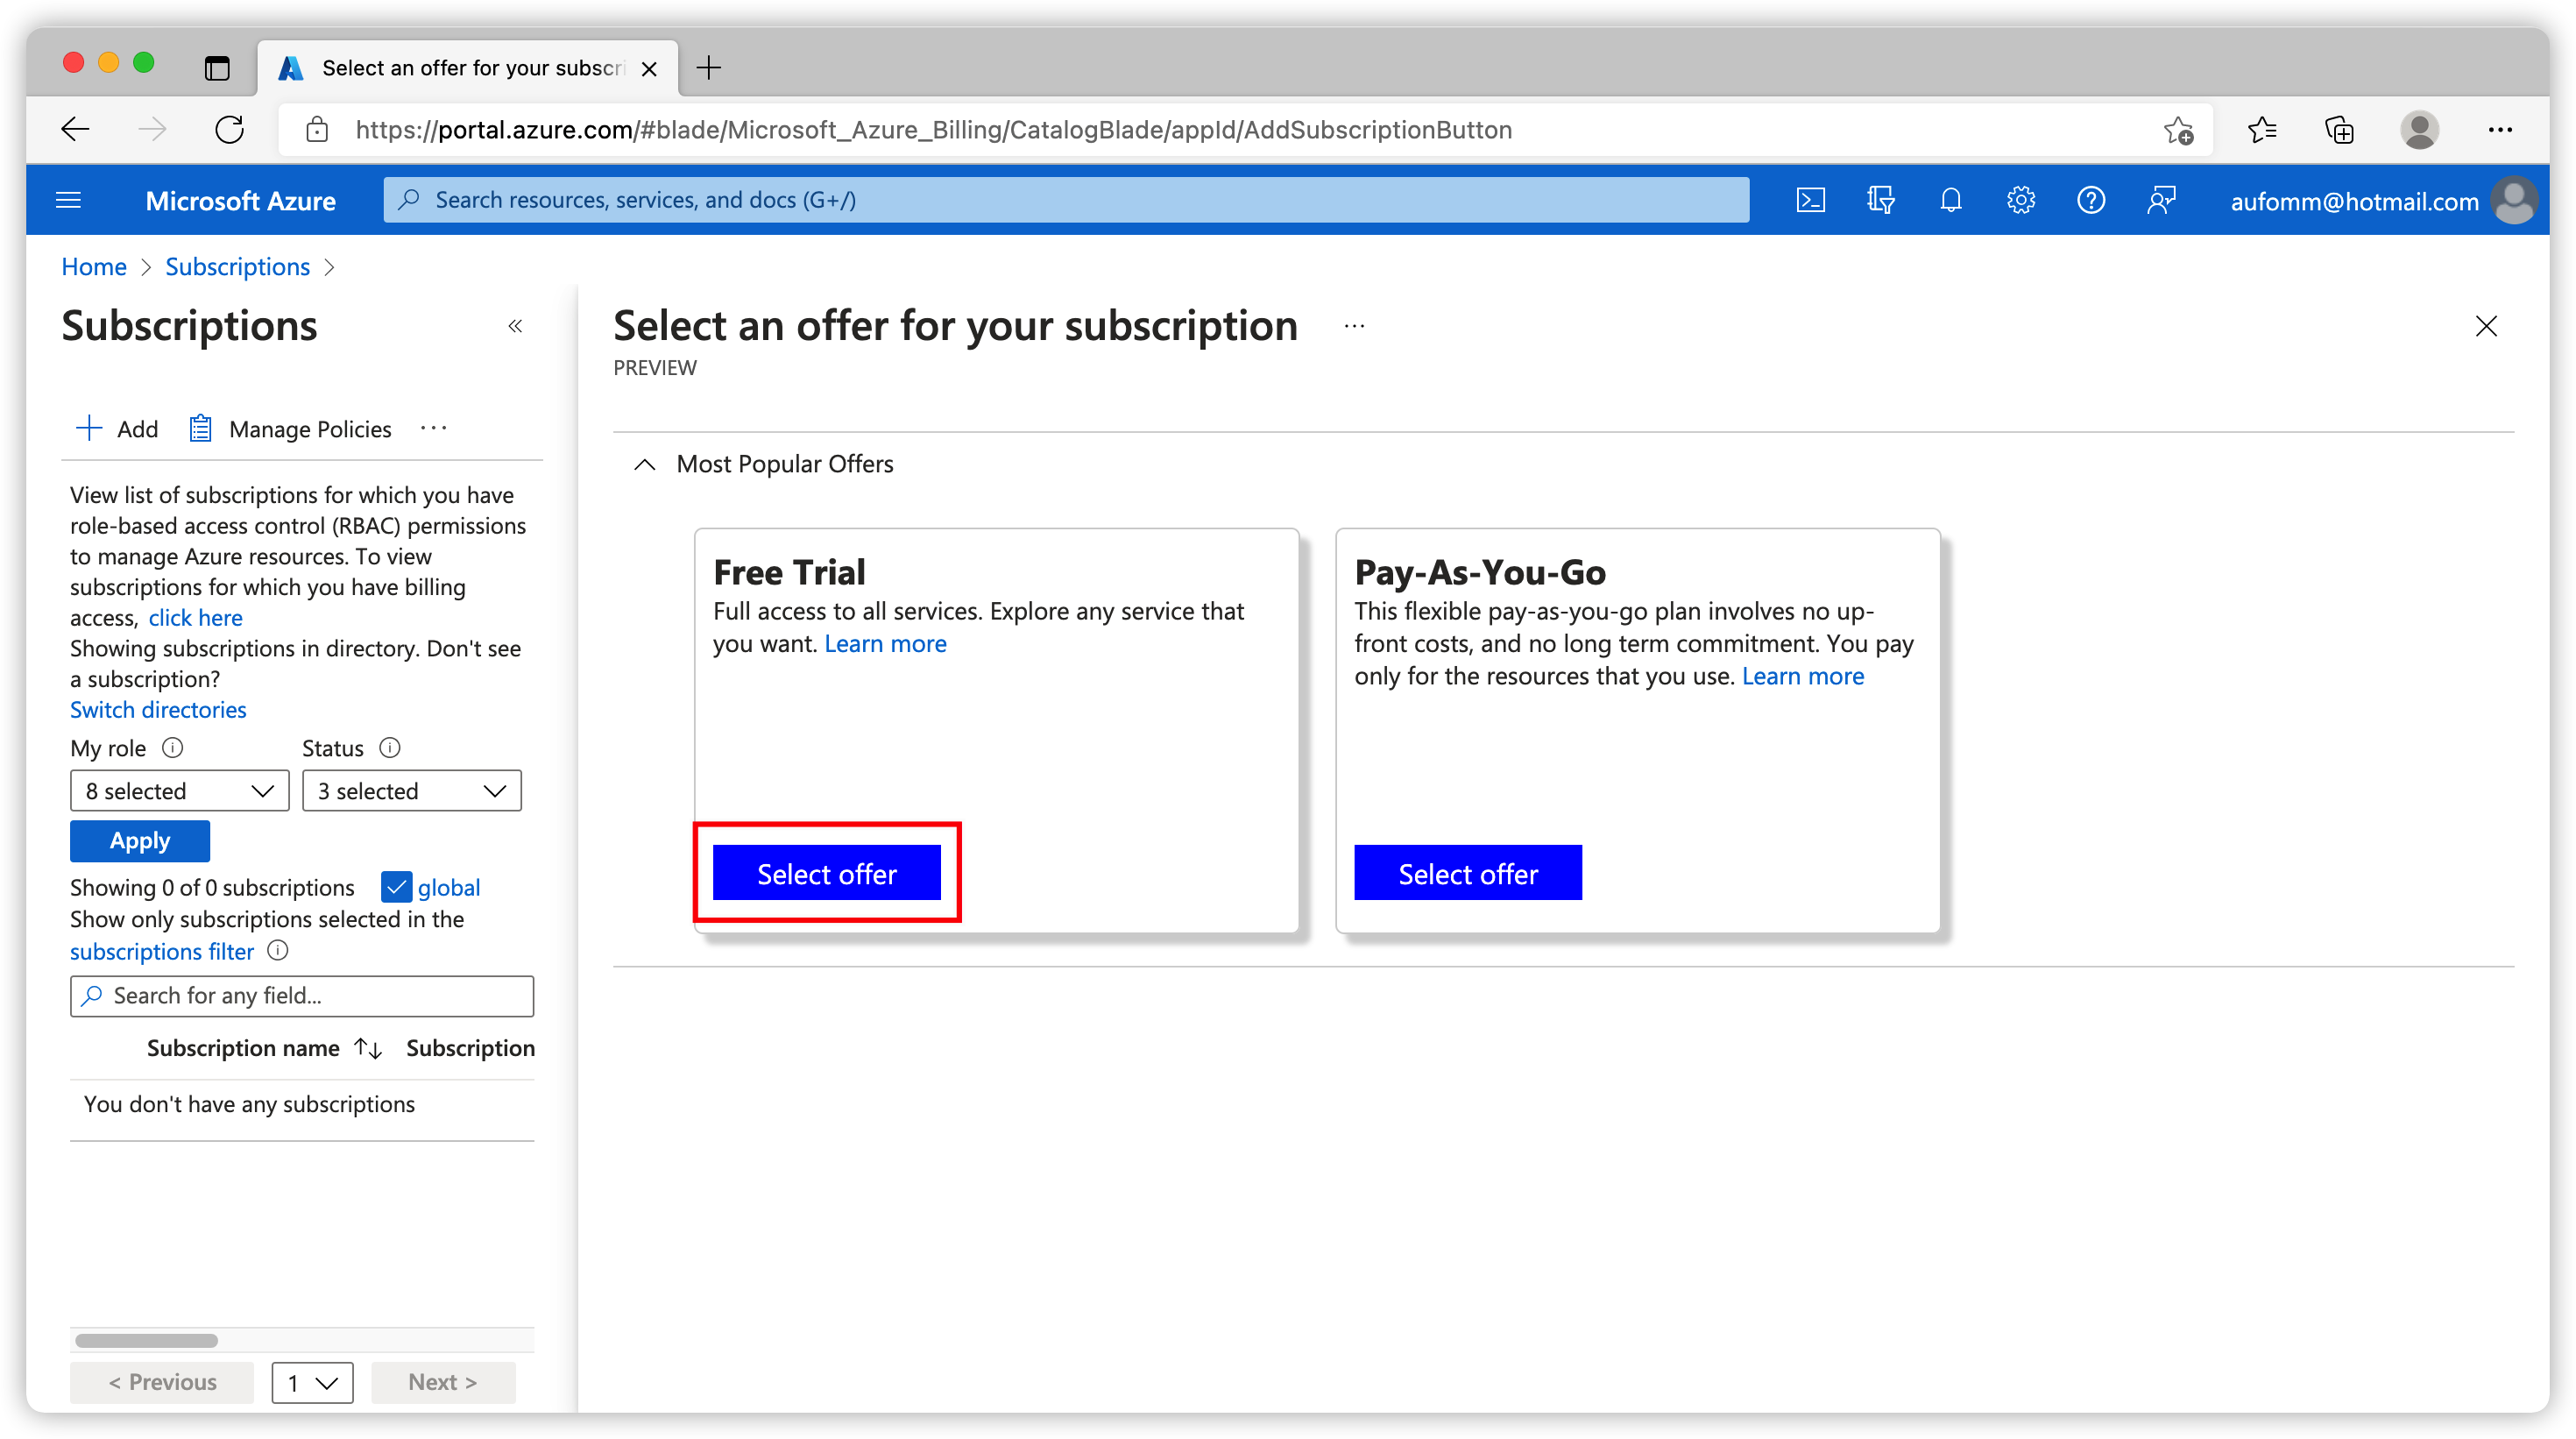
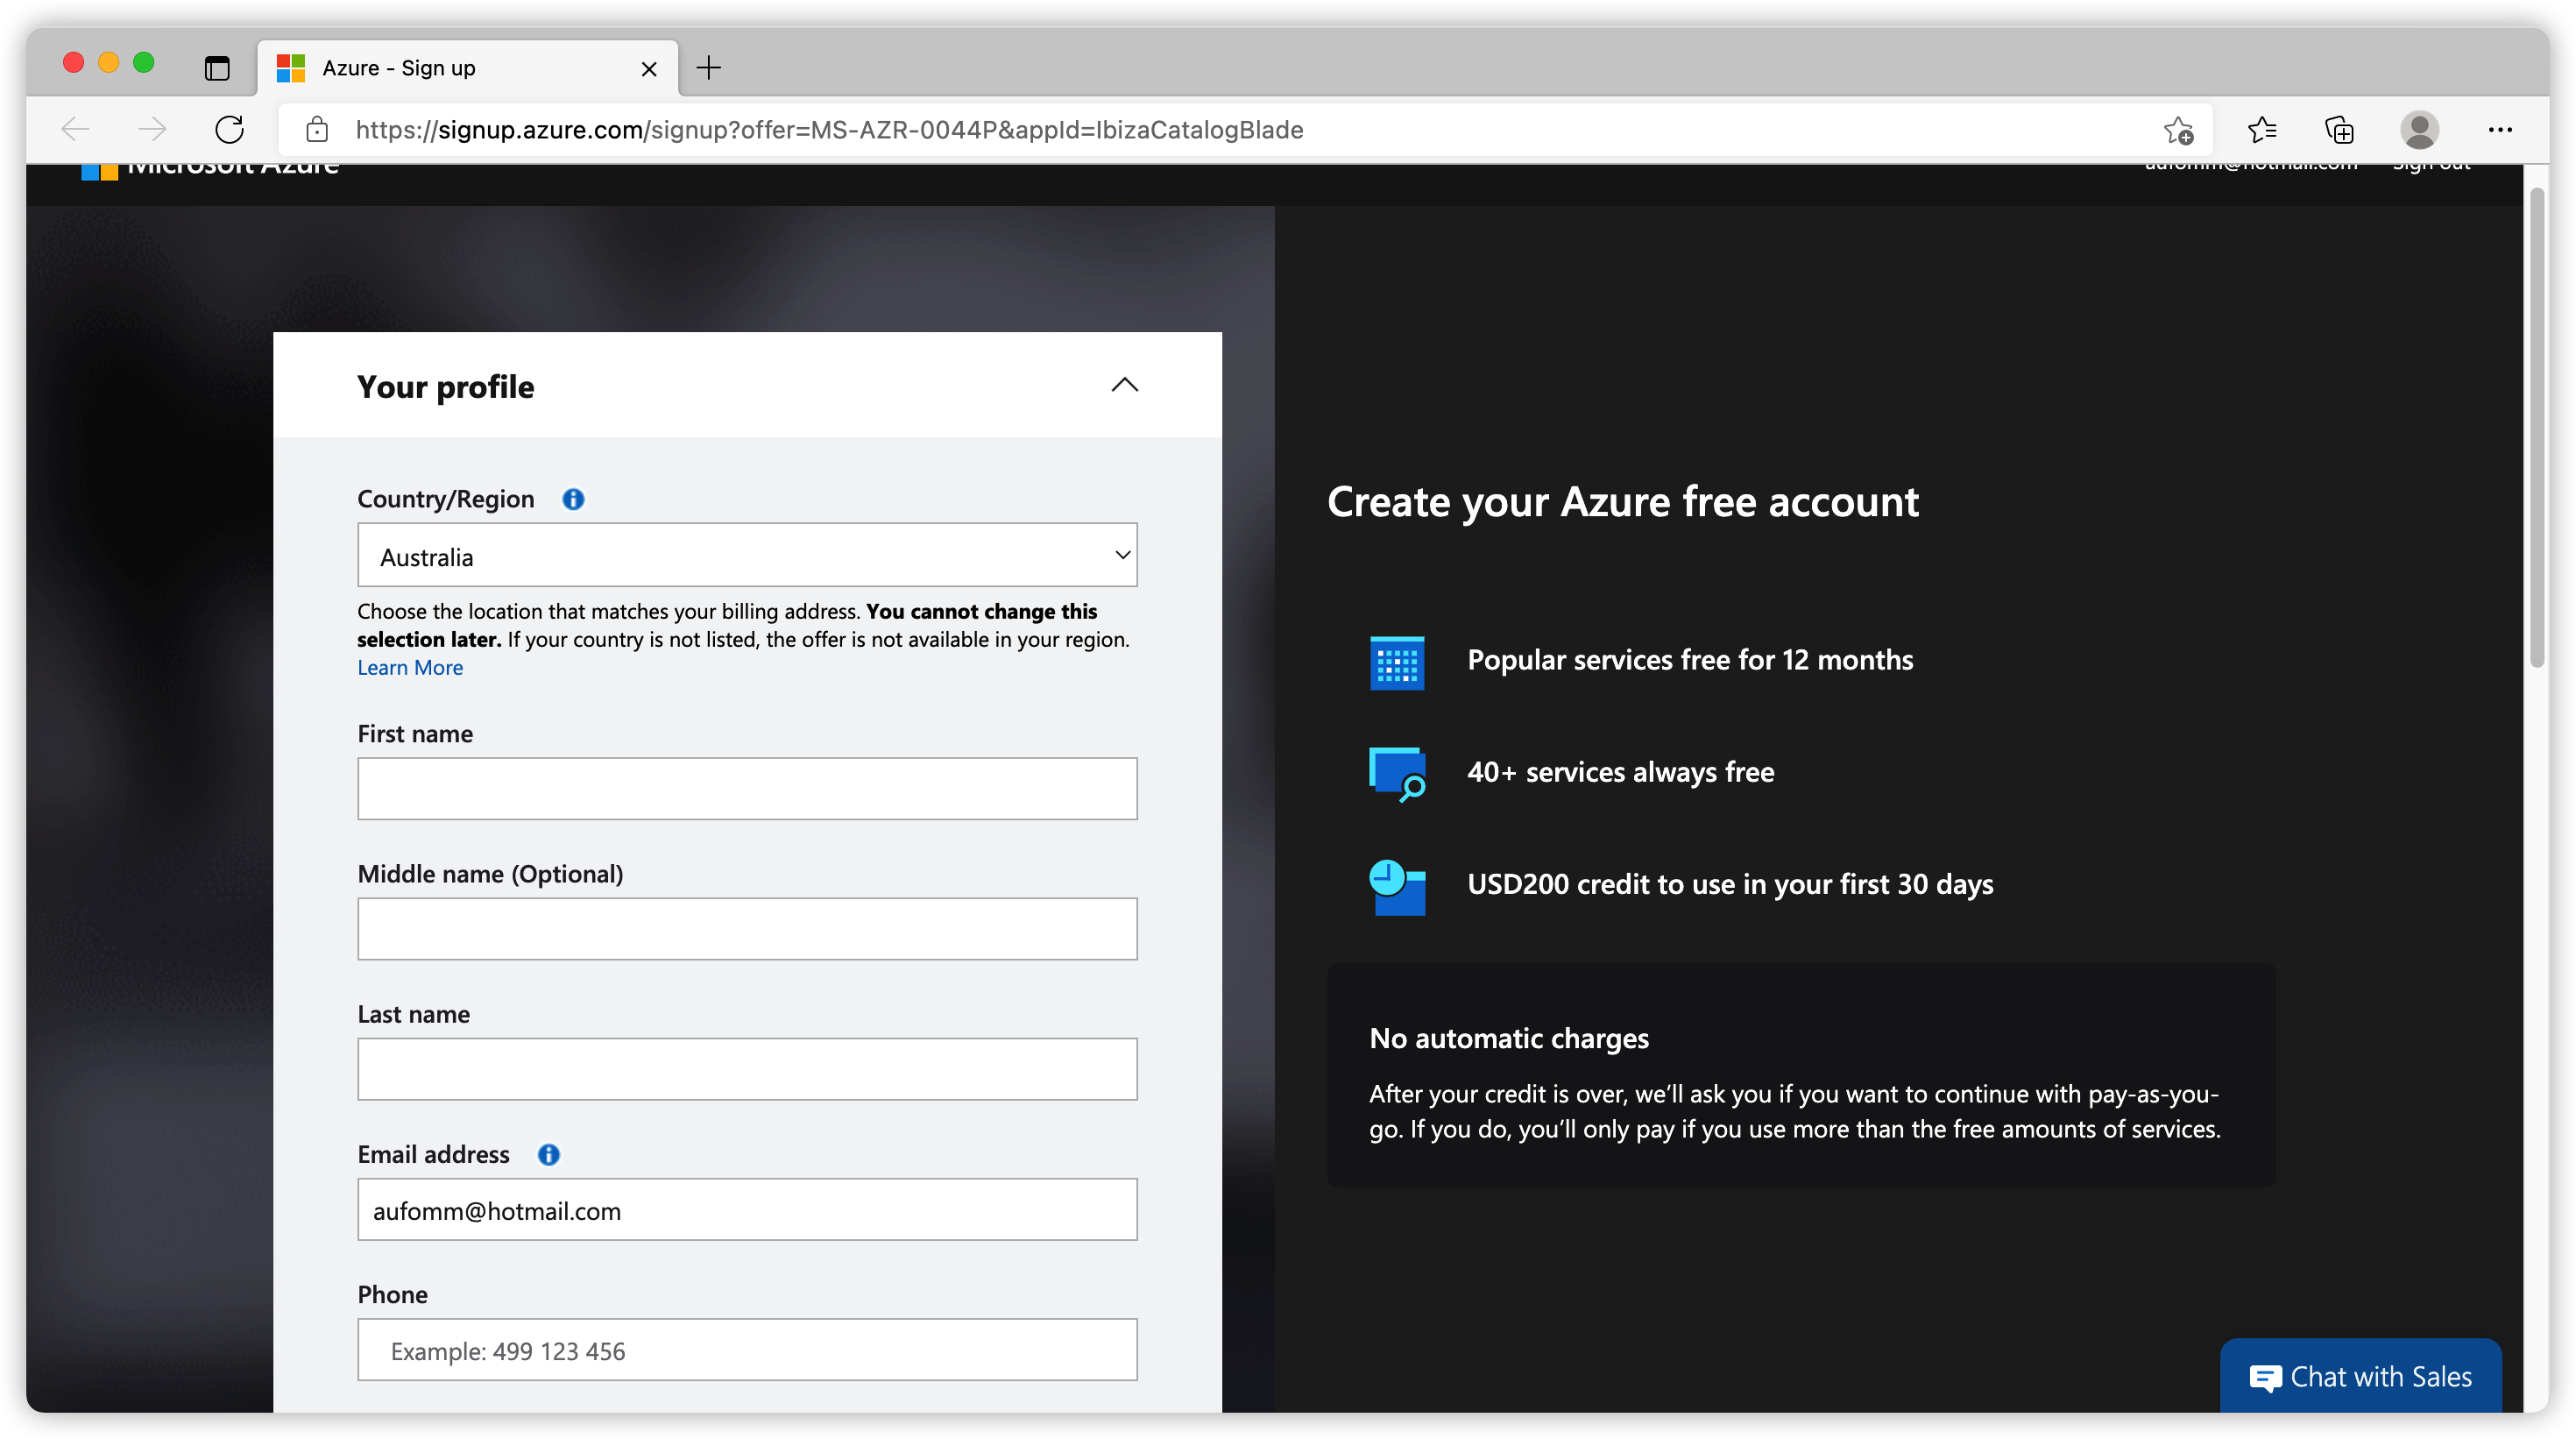
You need to provide your credit details to get a free subscription. Once you’ve got your subscription, you can start using Azure Services.
Active Directory
Let’s start by setting up Active Directory.
After being redirected back to home page, let’s search Active Directory. We will create some users and groups first. This process should be quite straight forward.
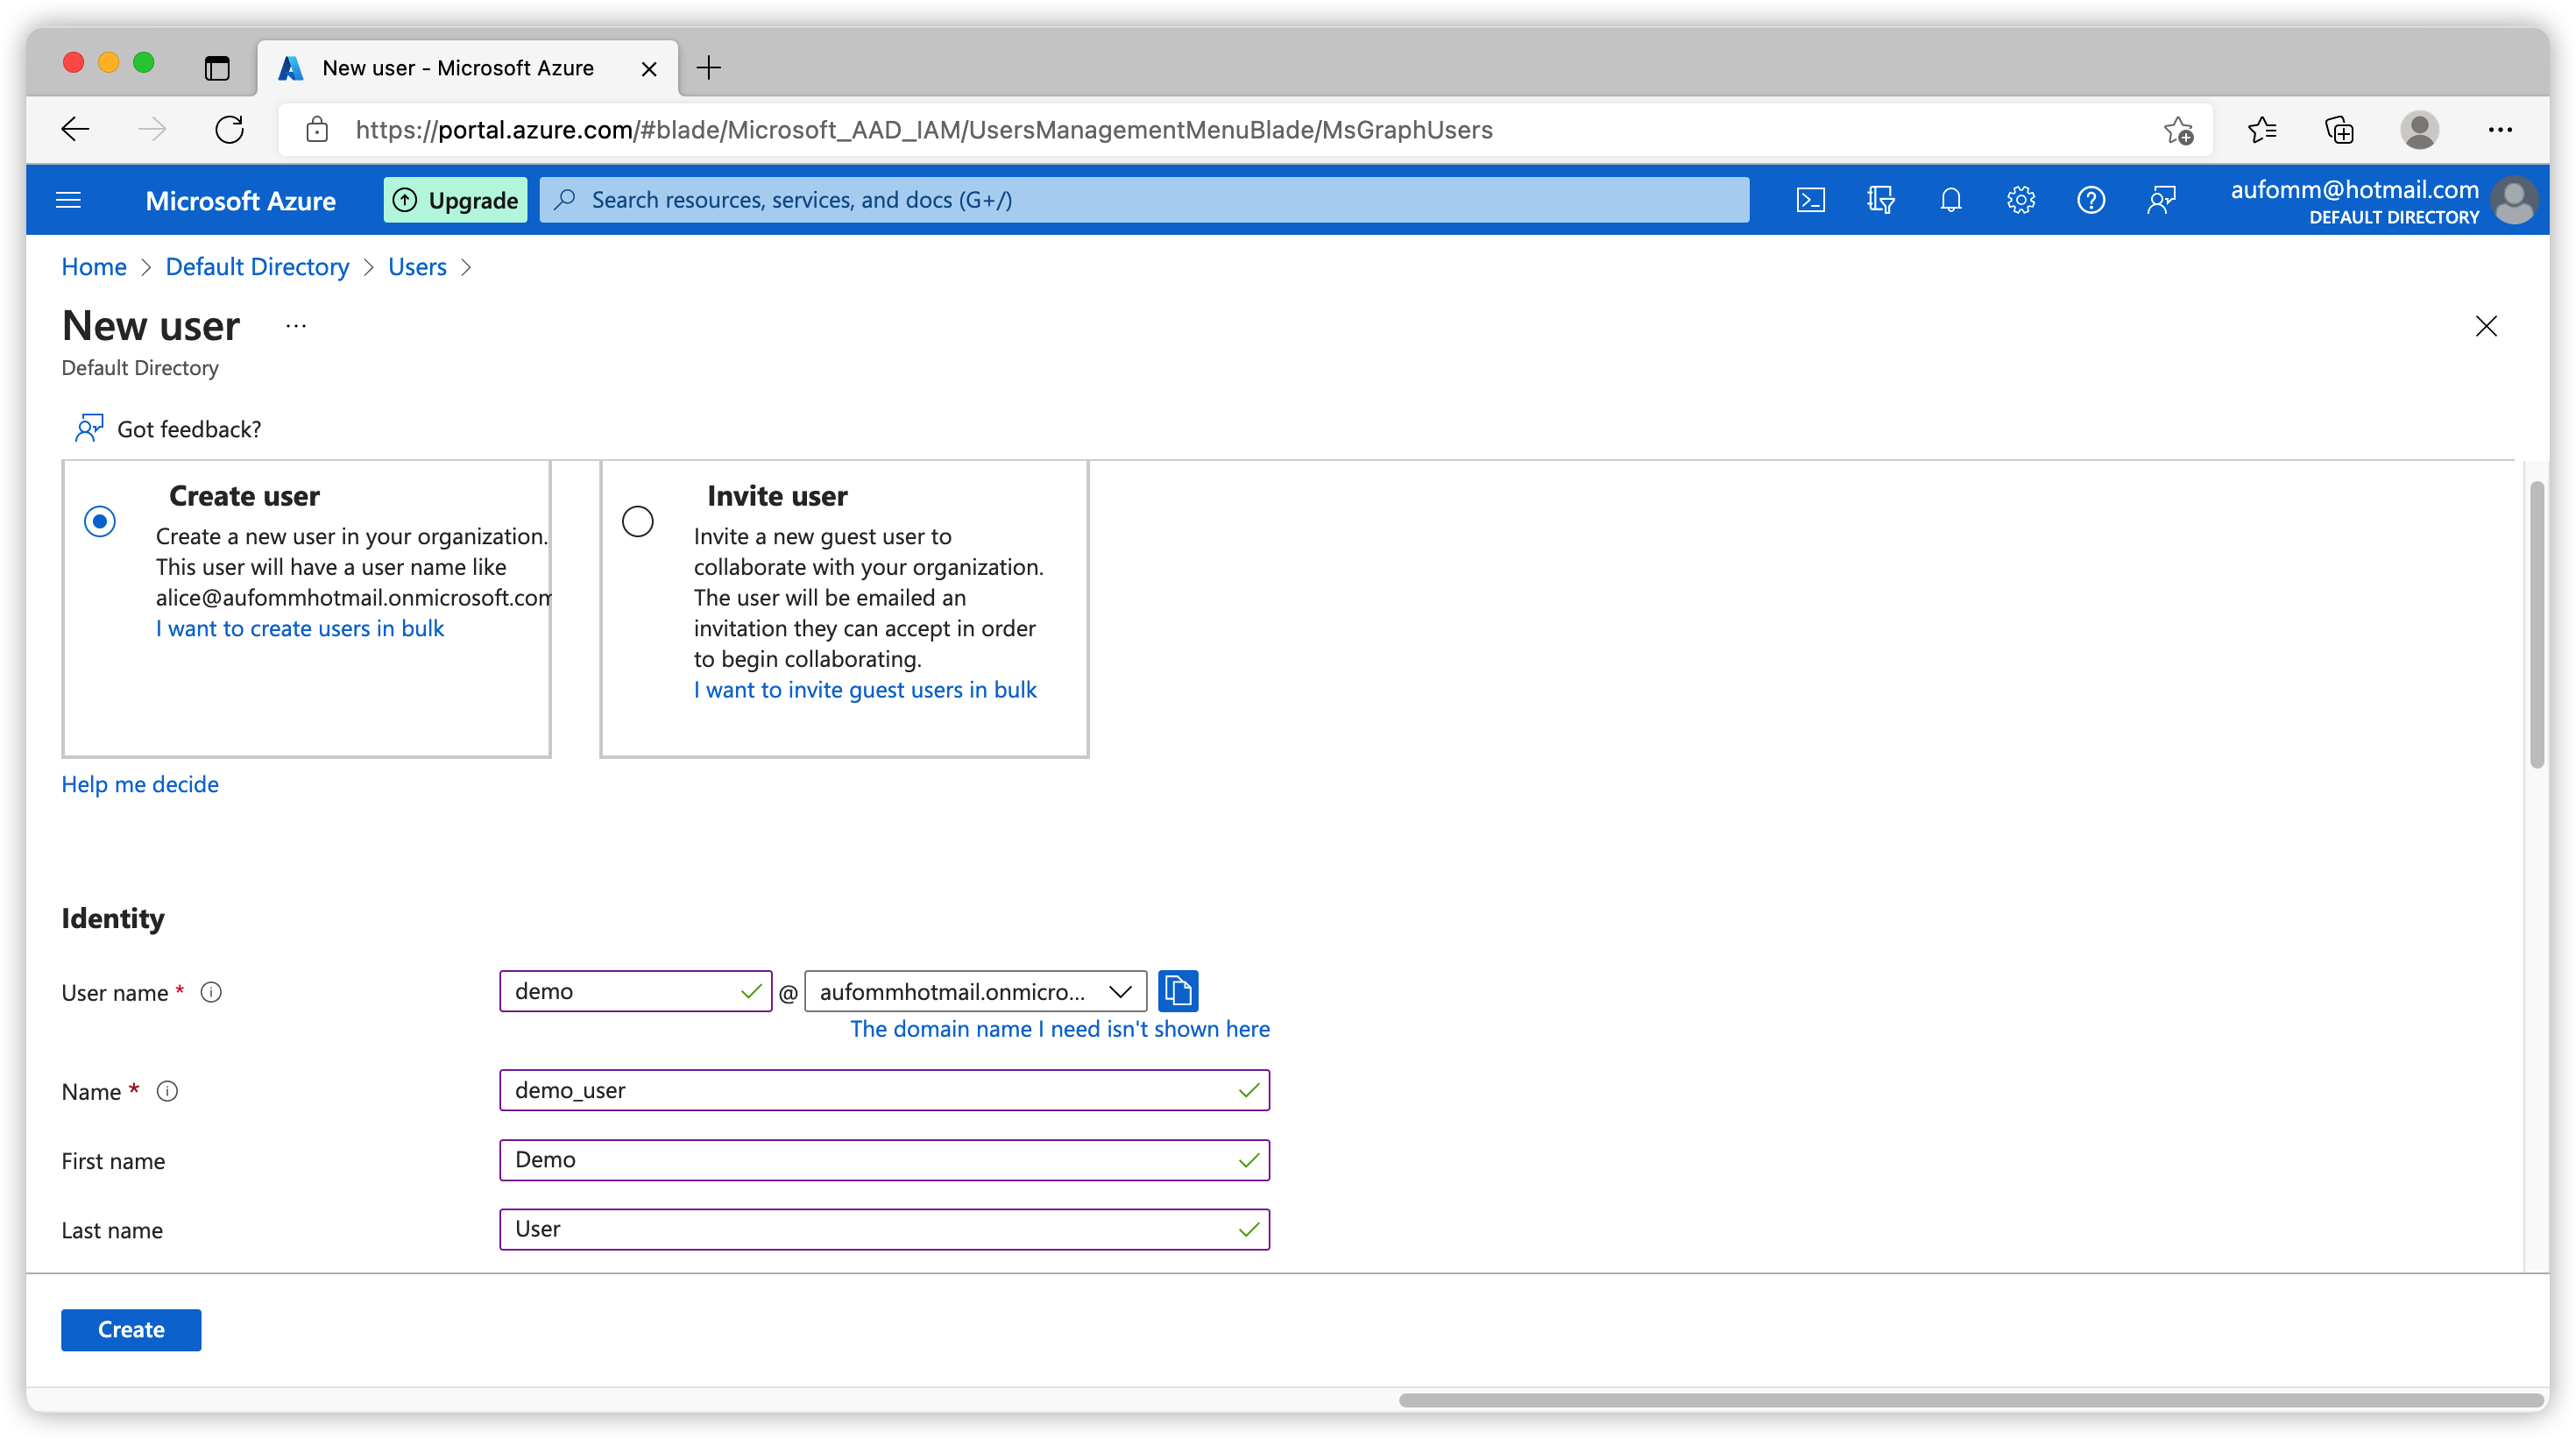
You would be asked to either use a generated password or a password of your choice. No matter what you choice is, users must change their password the first time they log in.
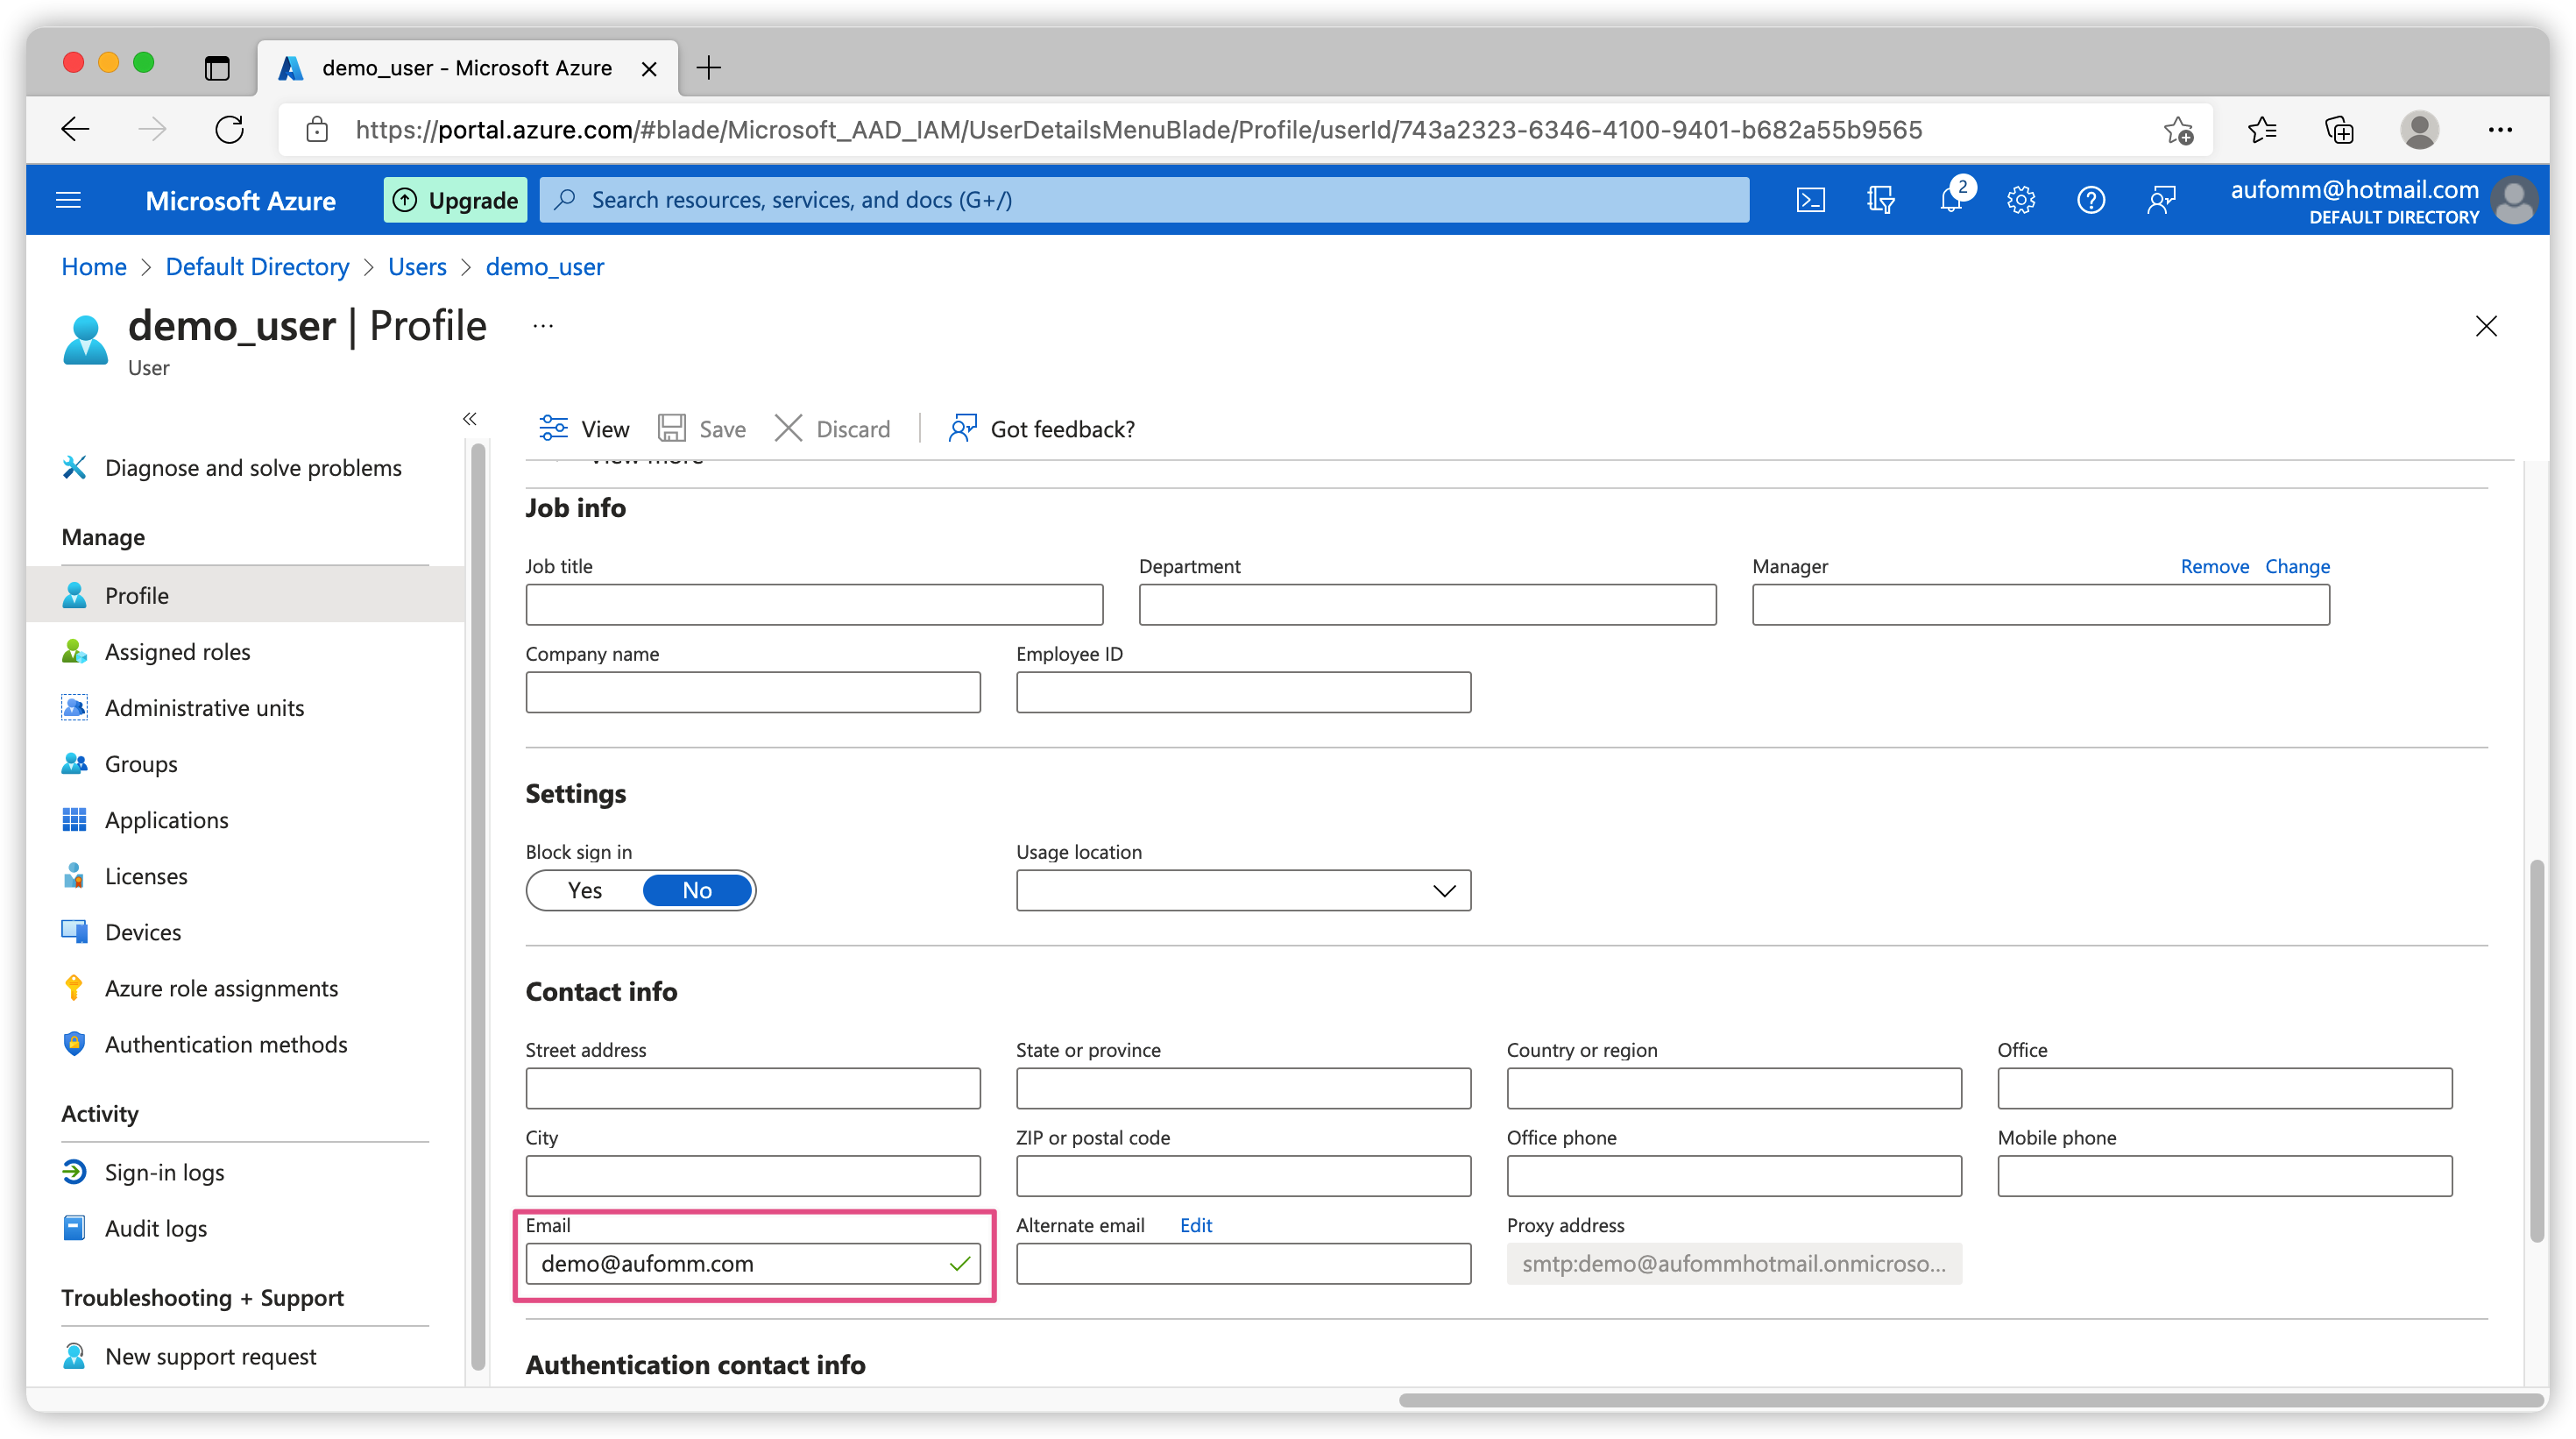
Another thing you might want to take note on is that there is a User name field when you are creating a new user. This looks like an email address but this is actually preferred_username claim on your id_token. If you need email claim on your token, you need modify this user and add an email address from there.
App Registrations
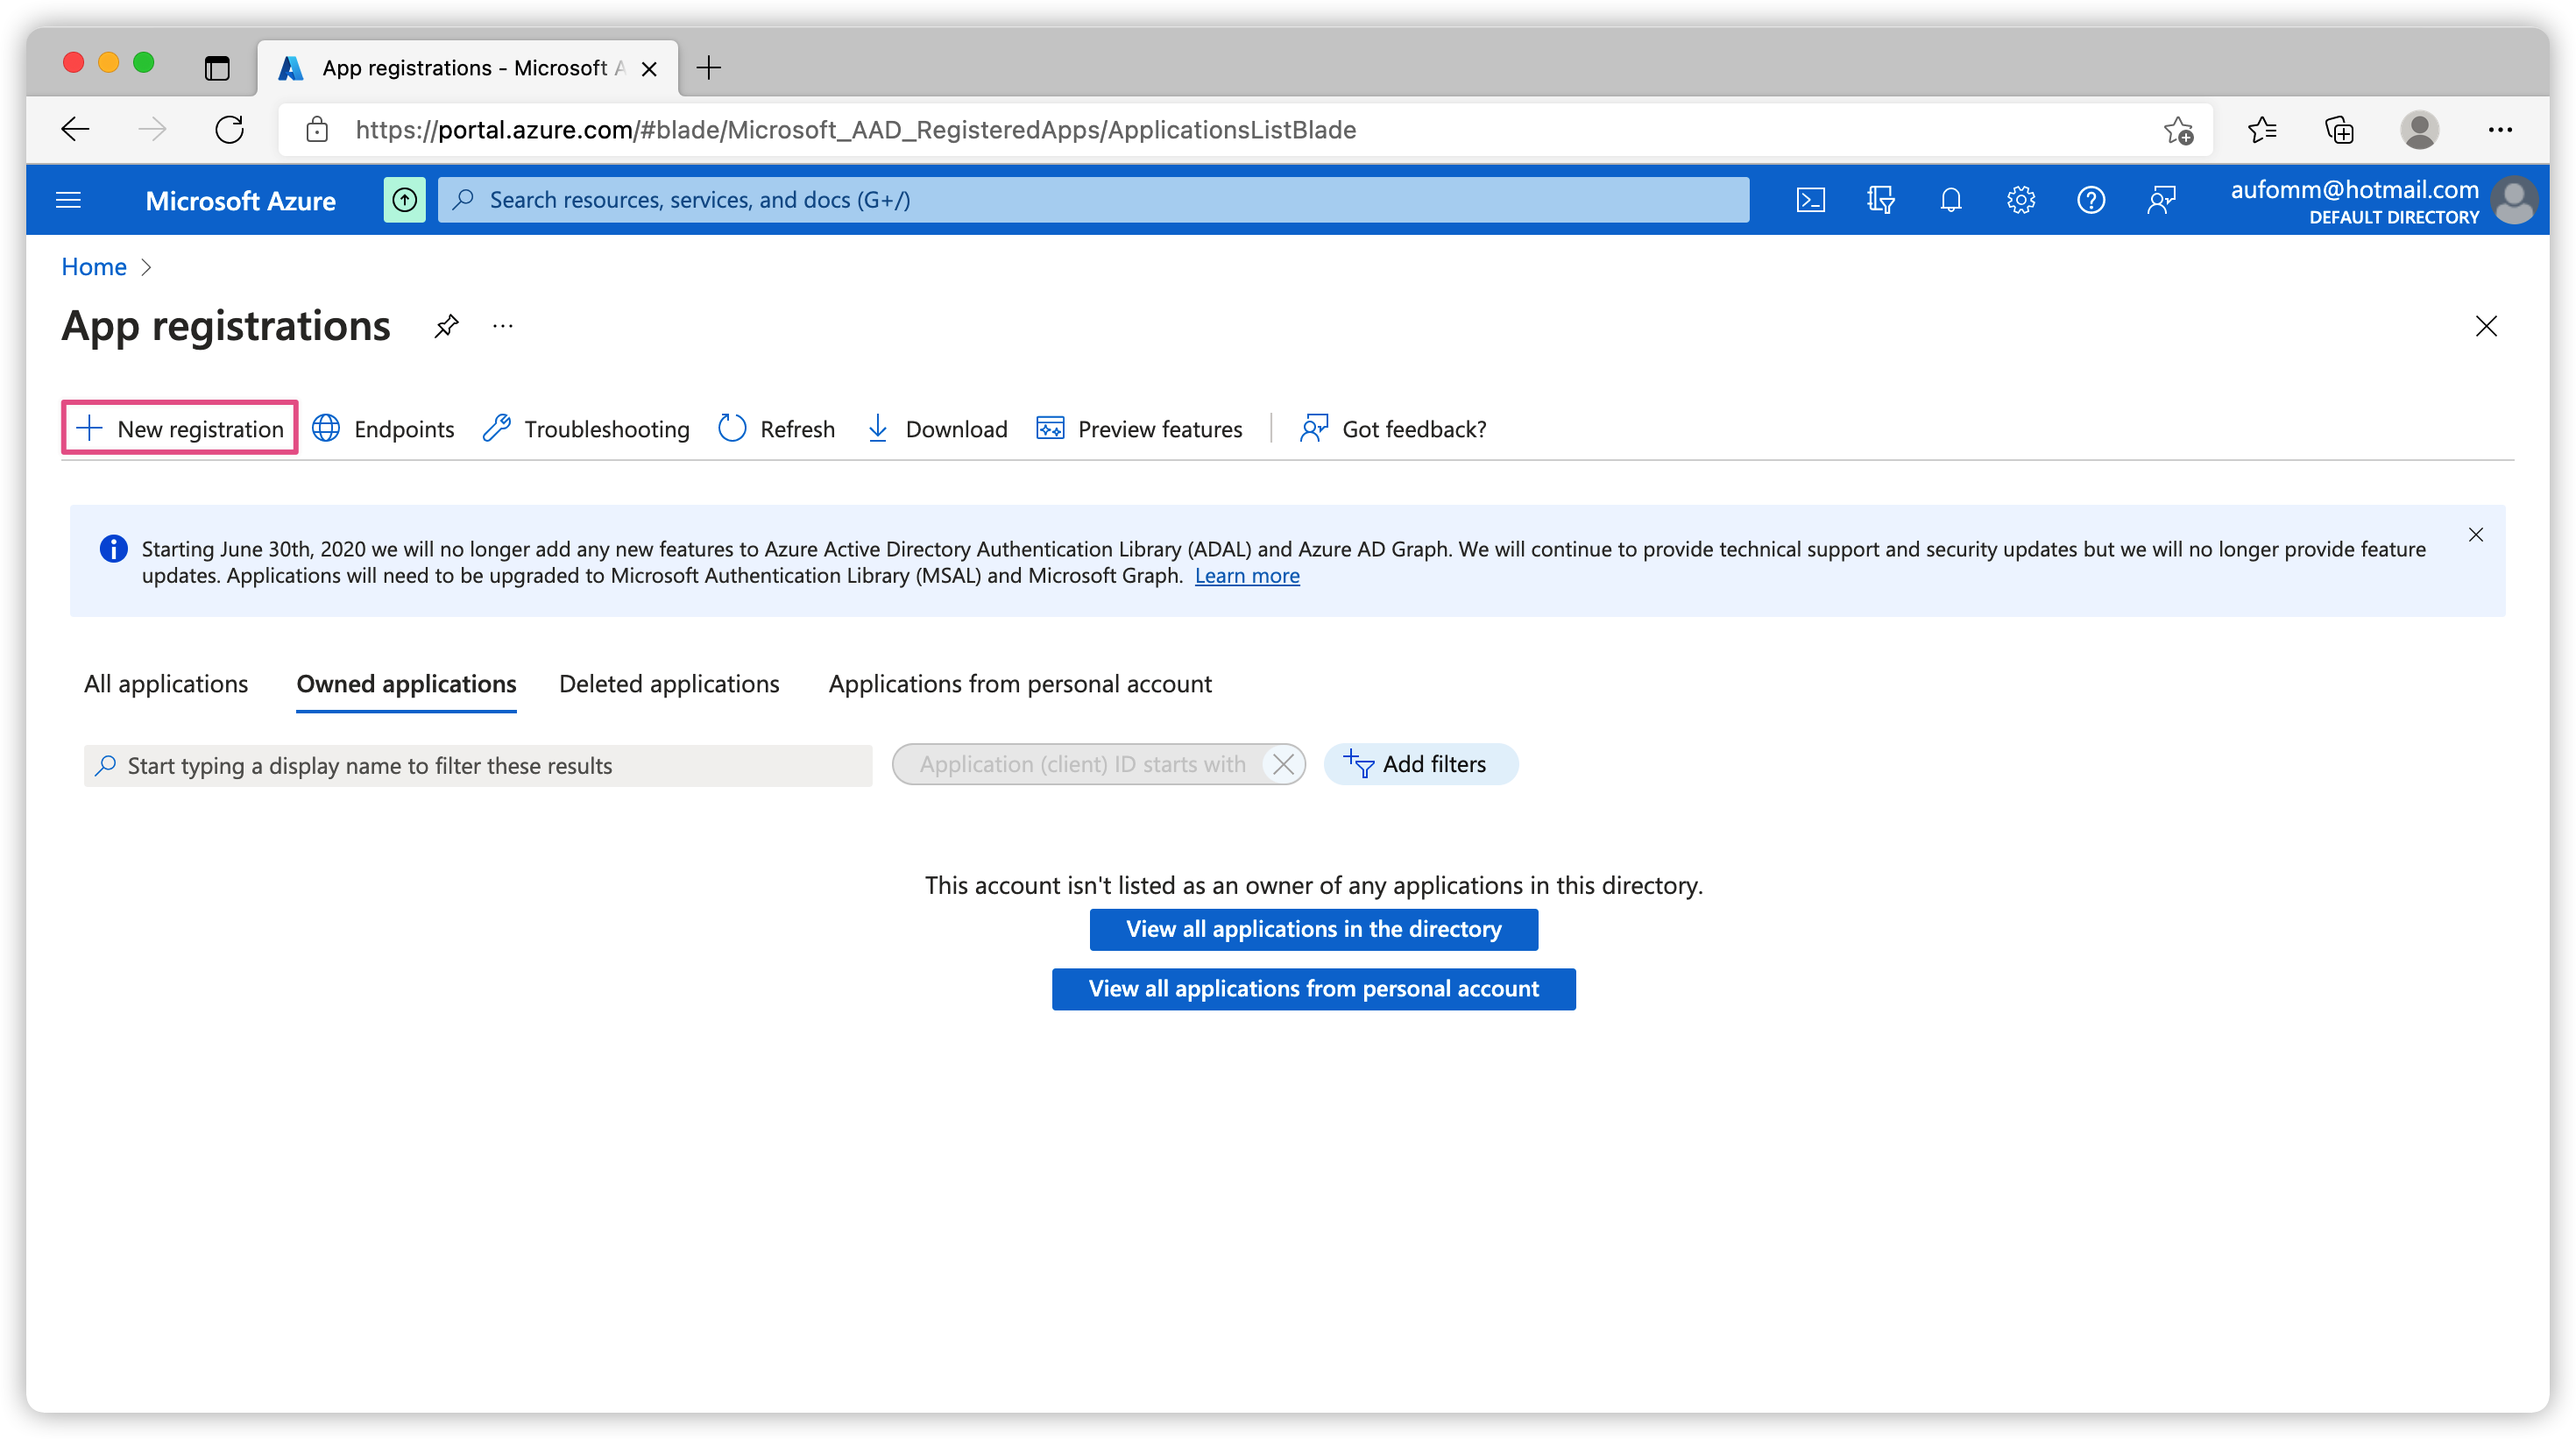
Now we have our users set up, we can register a new OIDC application. Let’s go back to Azure home page and search for App registrations.
Create Application
Let’s Click New registration.
We have several options here.
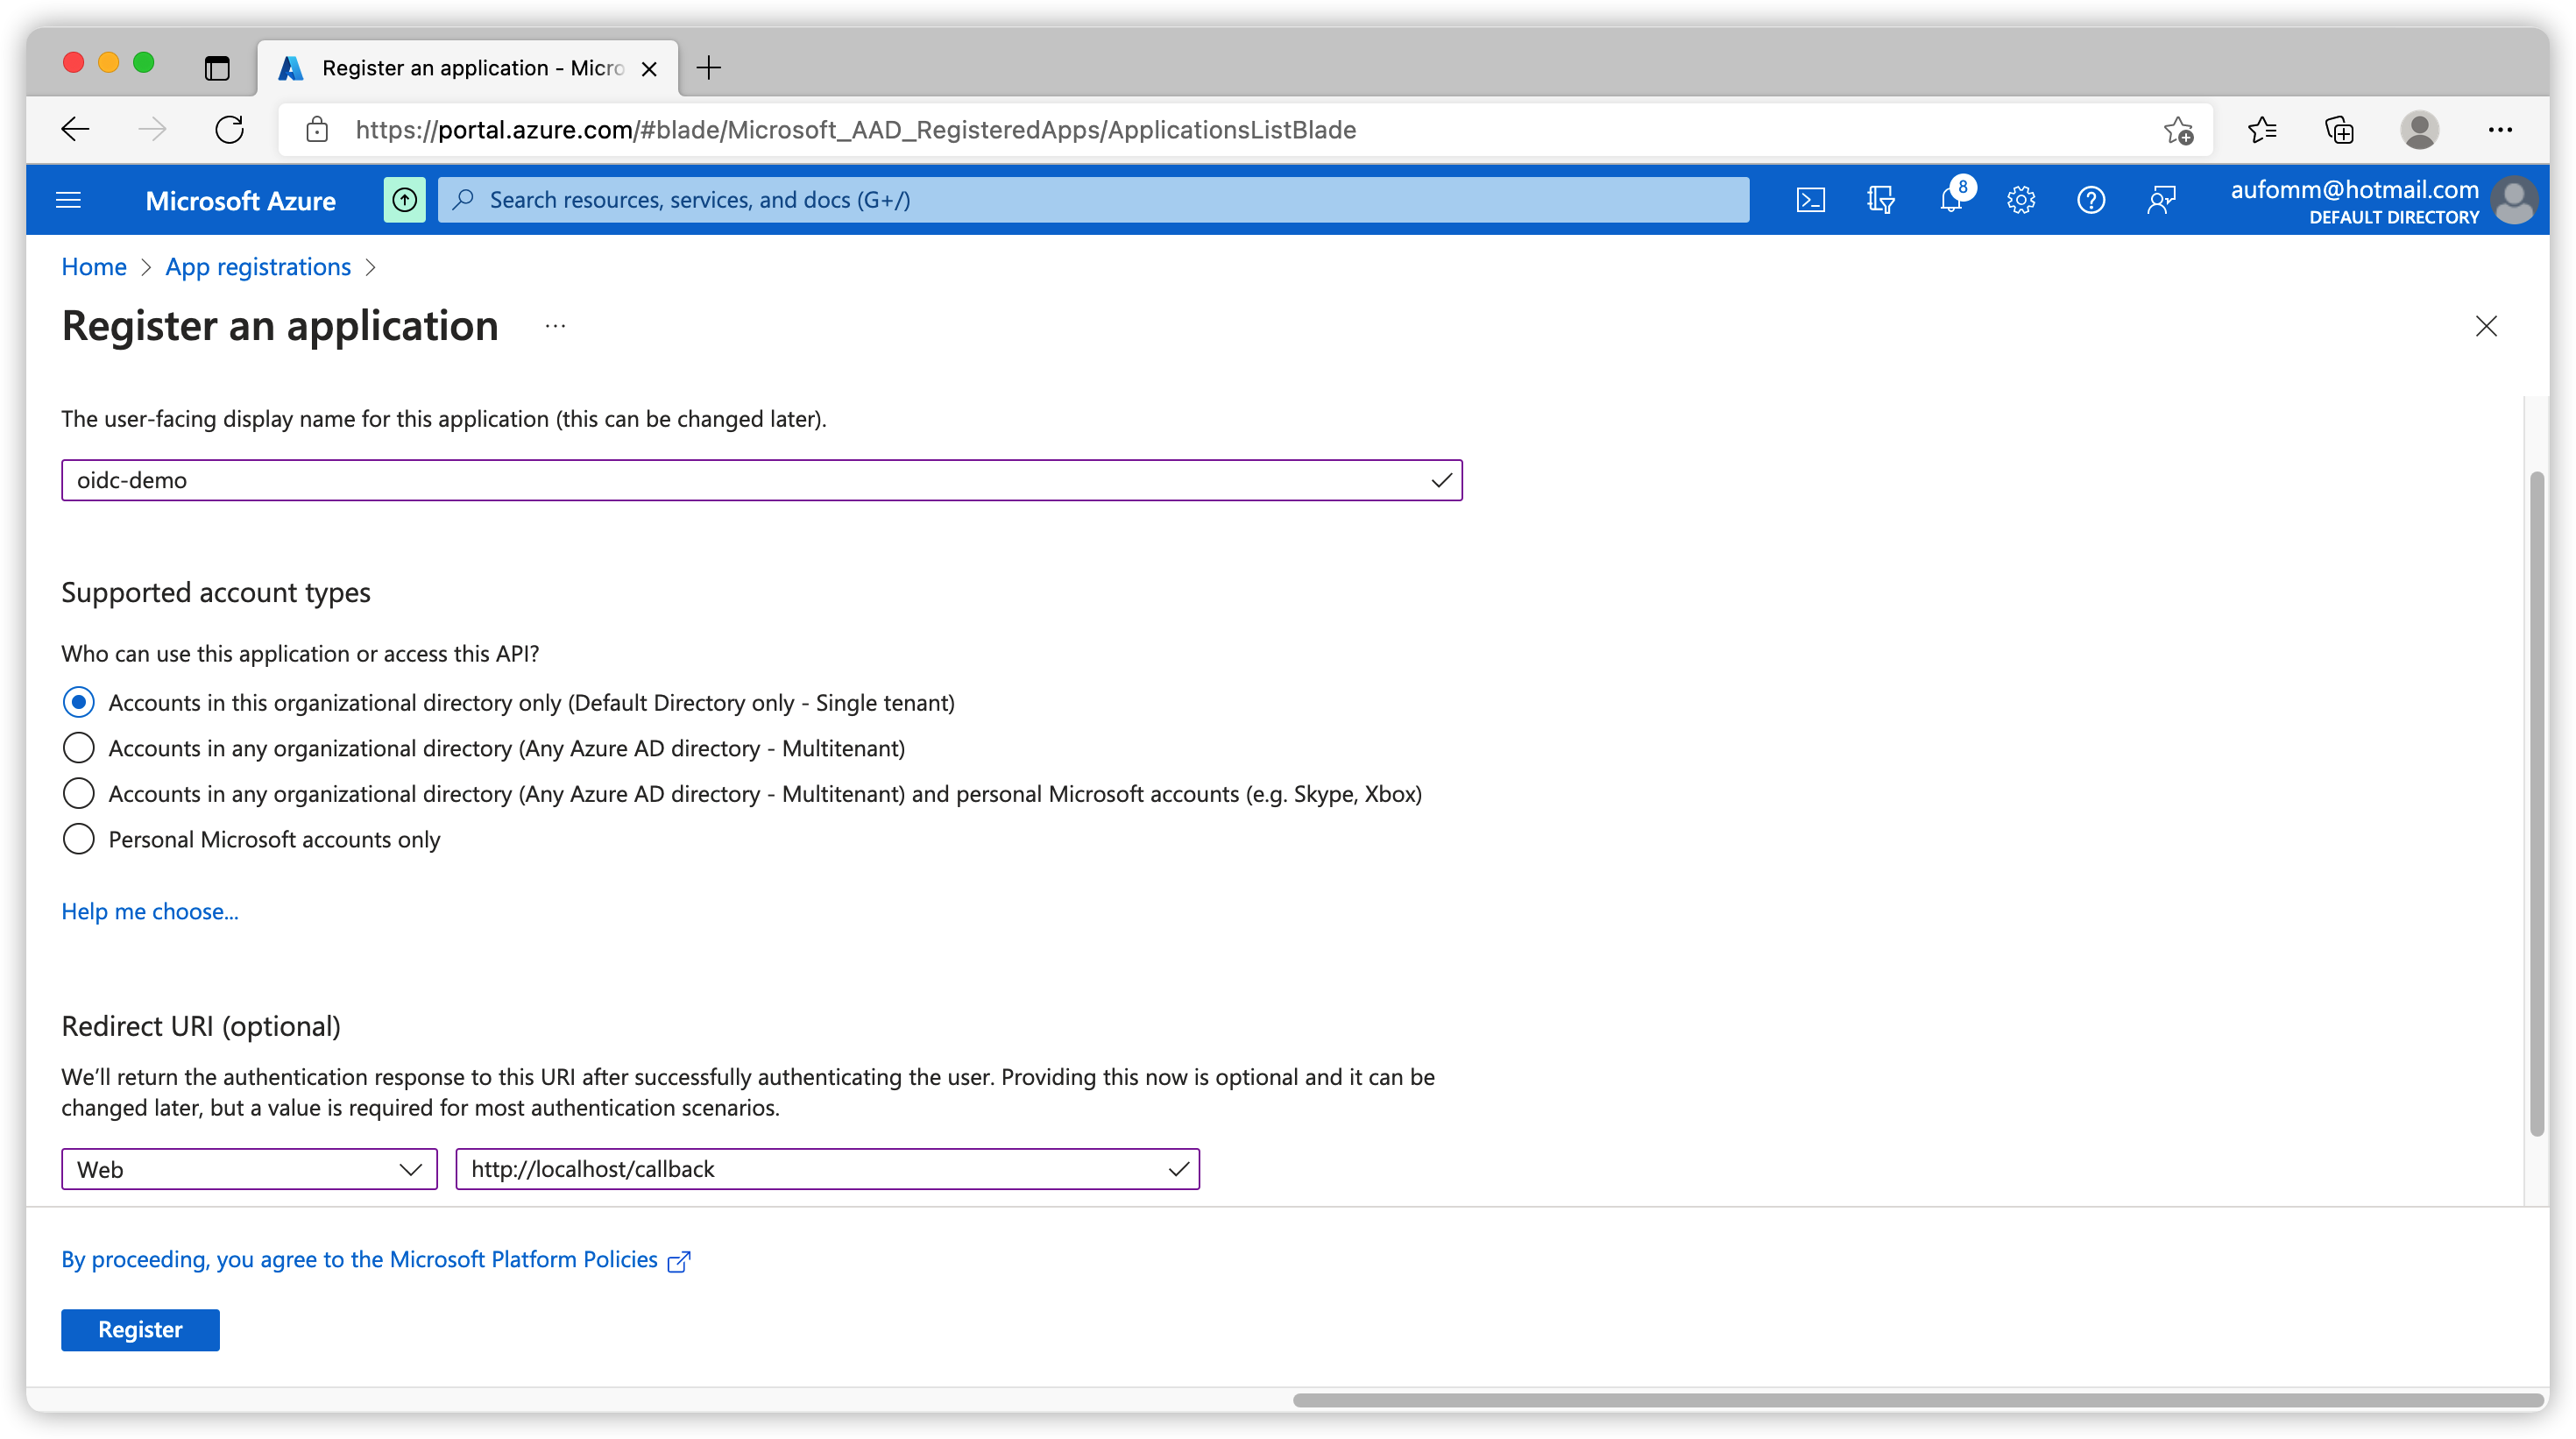
Application Name
This is your application name, I useoidc-demofor this app.Account Type
If you want to know which type you should be using, please check official doc here.
I will leave account type to default
Single tenant.Redirect URI
Please choose the application type and enter a redirect URI. This URI should be the callback url of your application after user logging in. In my case I selectWeband usehttp://localhost/callbackas my application callback uri.
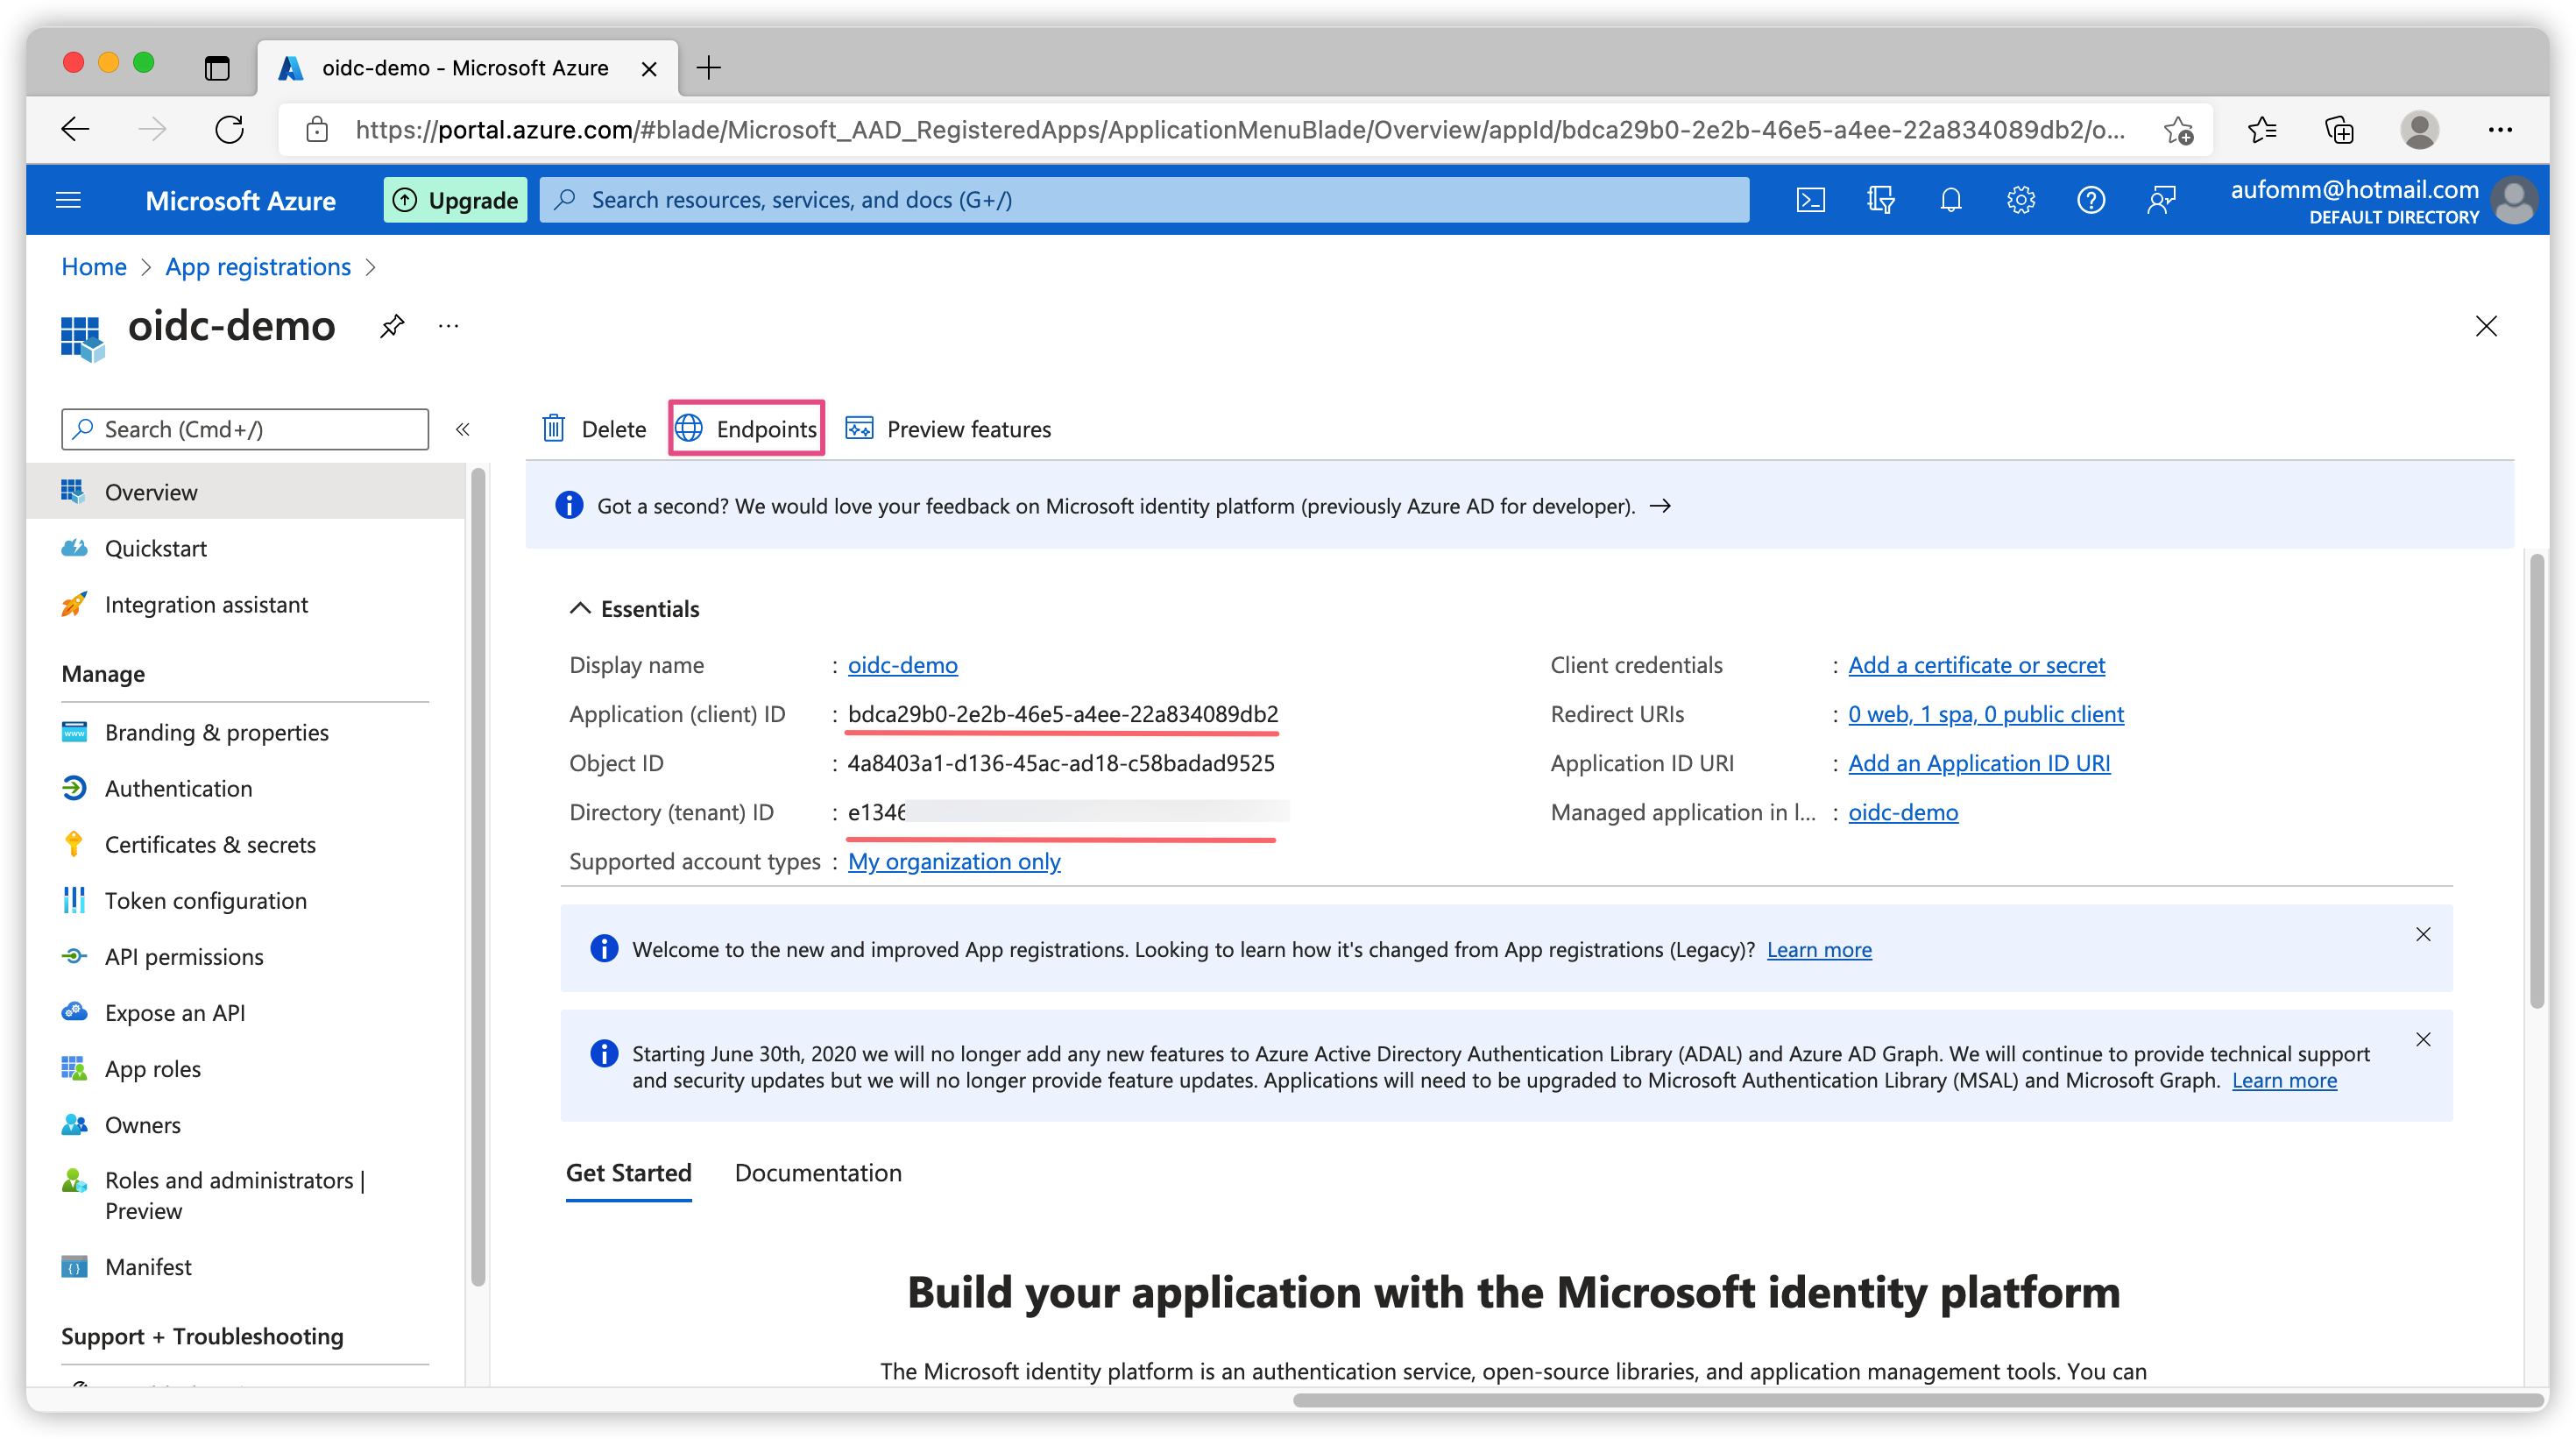
Once we’ve created our application, we will go to the Overview page of our new app. You should see several ids here.
Directory (tenant) IDis your subscription id. All applications you created using this free subscription will be put under this tenant. Your Openid Connect discovery endpoint url will behttps://login.microsoftonline.com/<tenant_id>/v2.0/.well-known/openid-configuration.Application (client) IDis the identifier of your current app. We need this id for all authentication flows.EndpointsYou can click this button to get all your Openid Connect endpoints.
Use v2.0 tokens
When Microsoft is officially asking users NOT to use v1.0 for new project on their website, your probably want to make sure you are using v2.0. For more information about v1.0 and v2.0, please check the official comparison article here.
Let’s click Manifest on the left sidebar and change accessTokenAcceptedVersion from null to 2.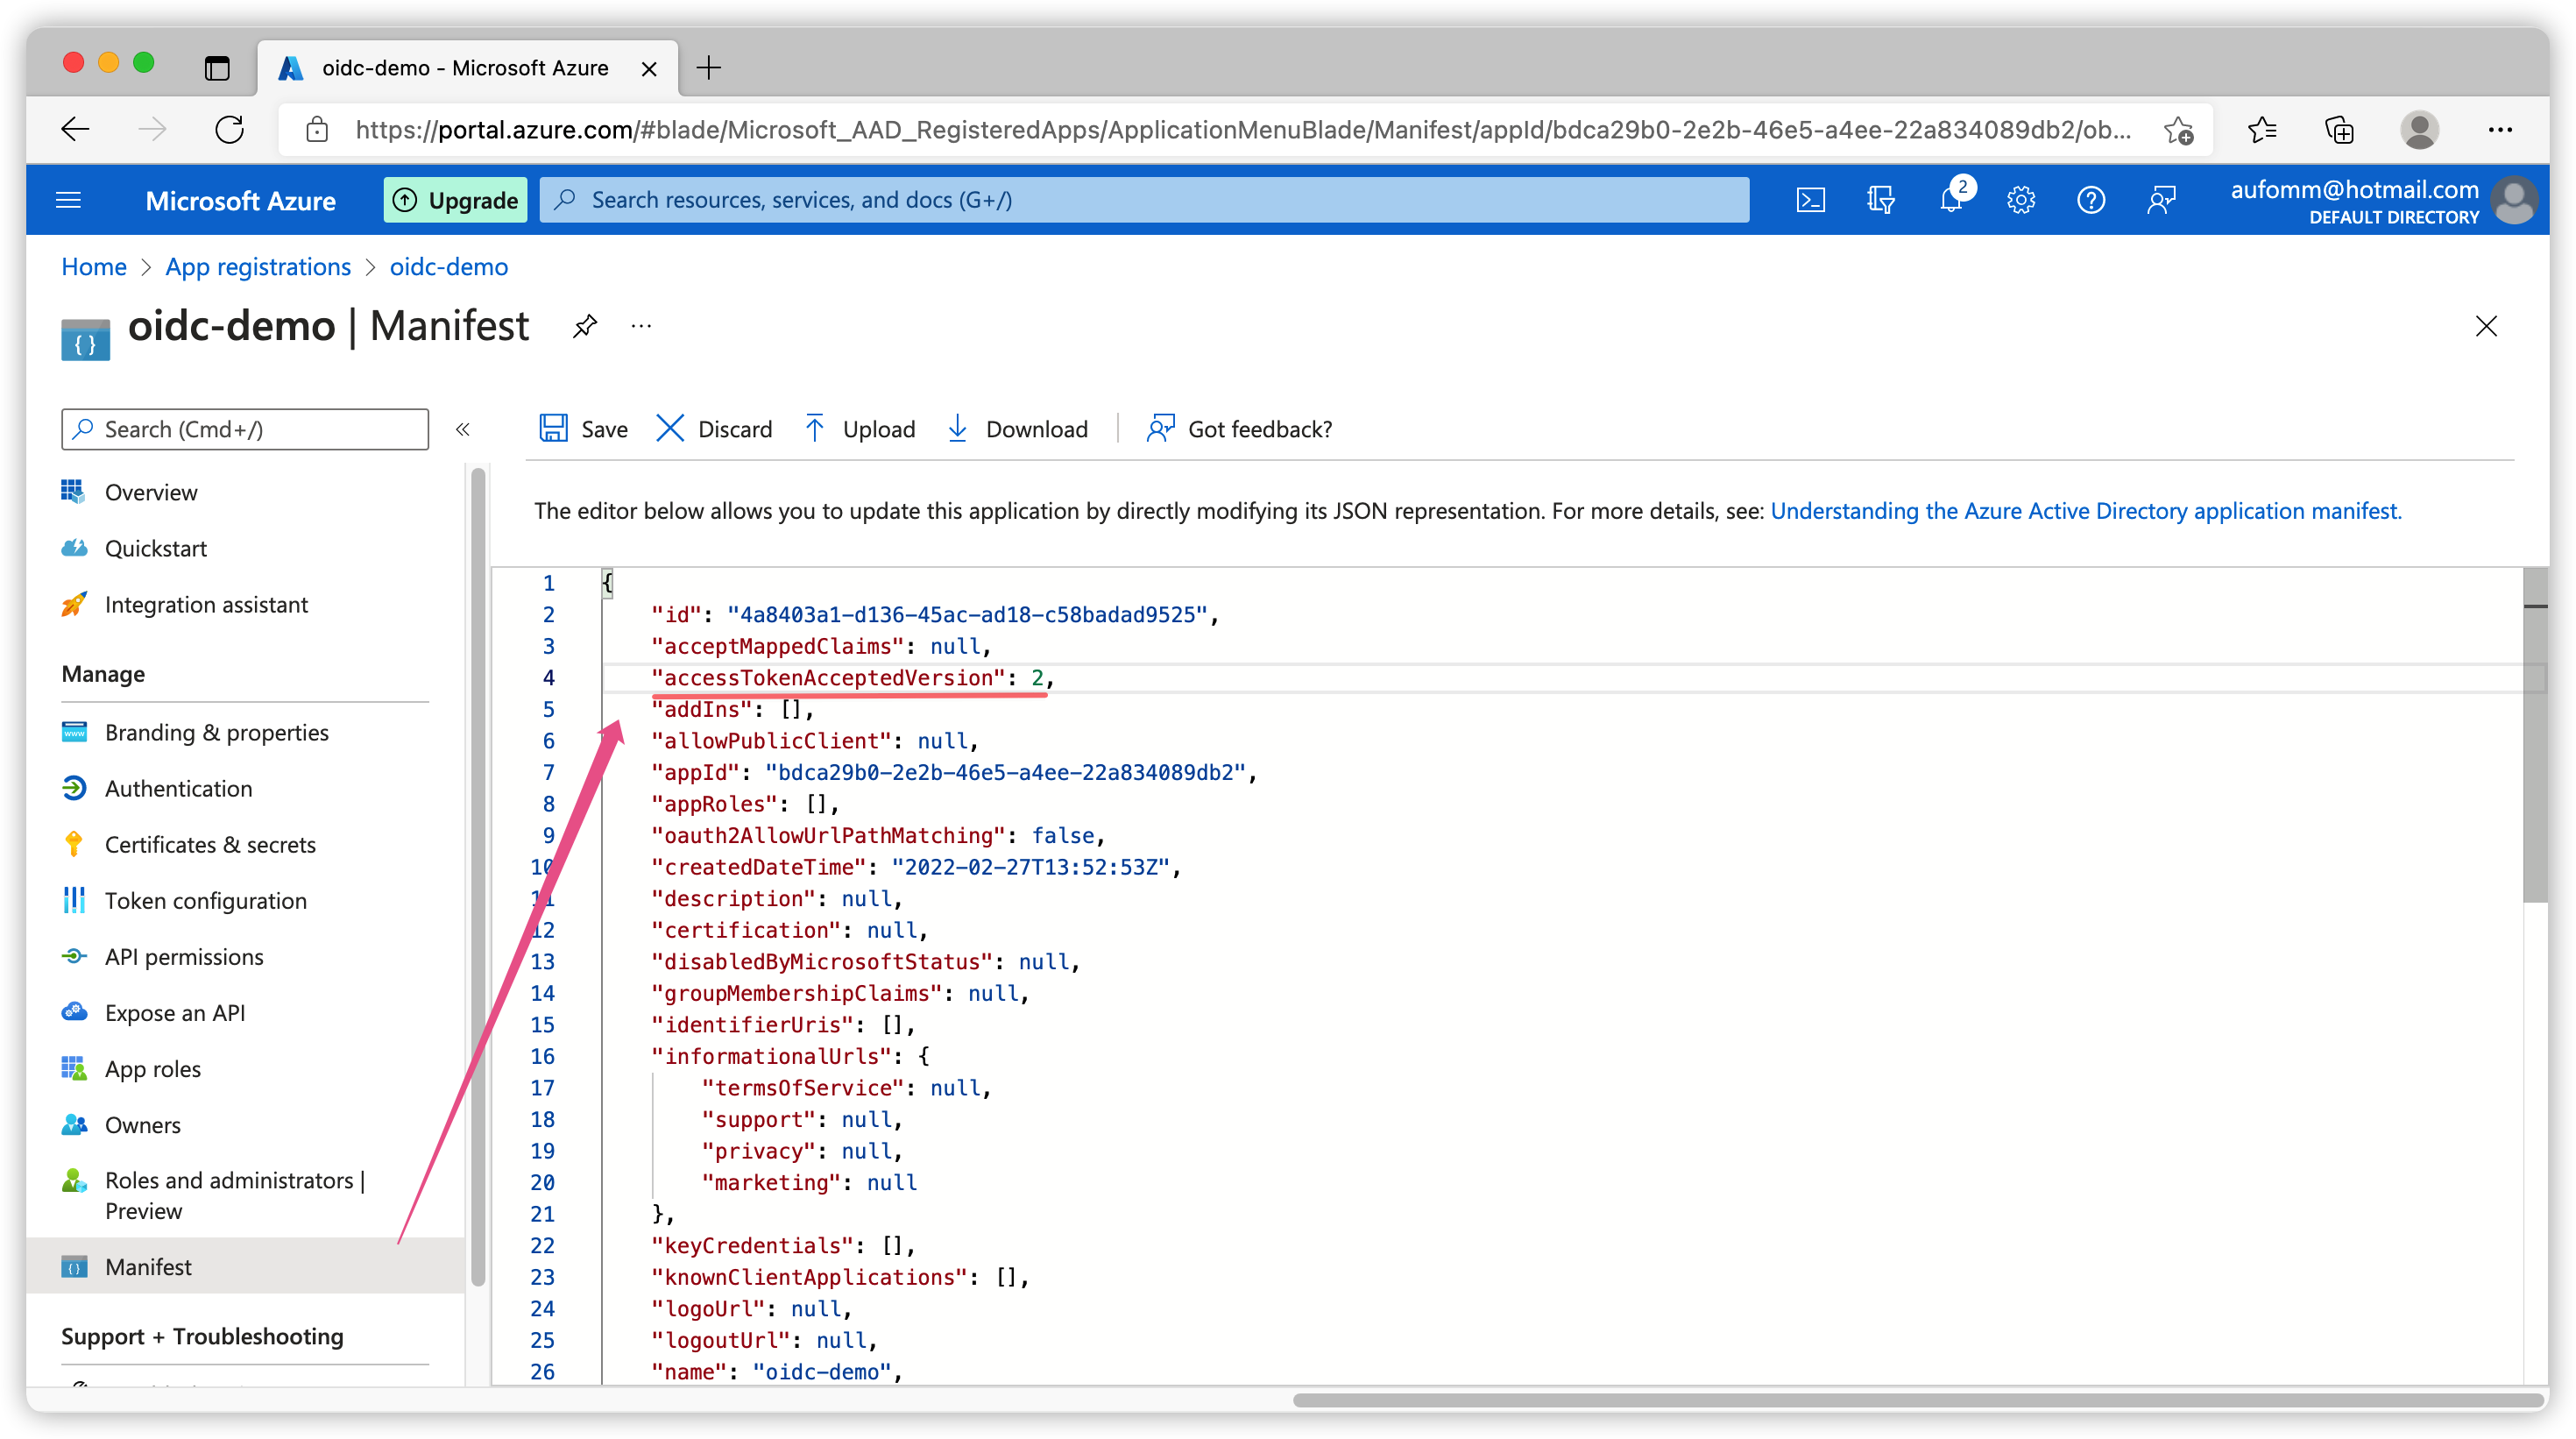
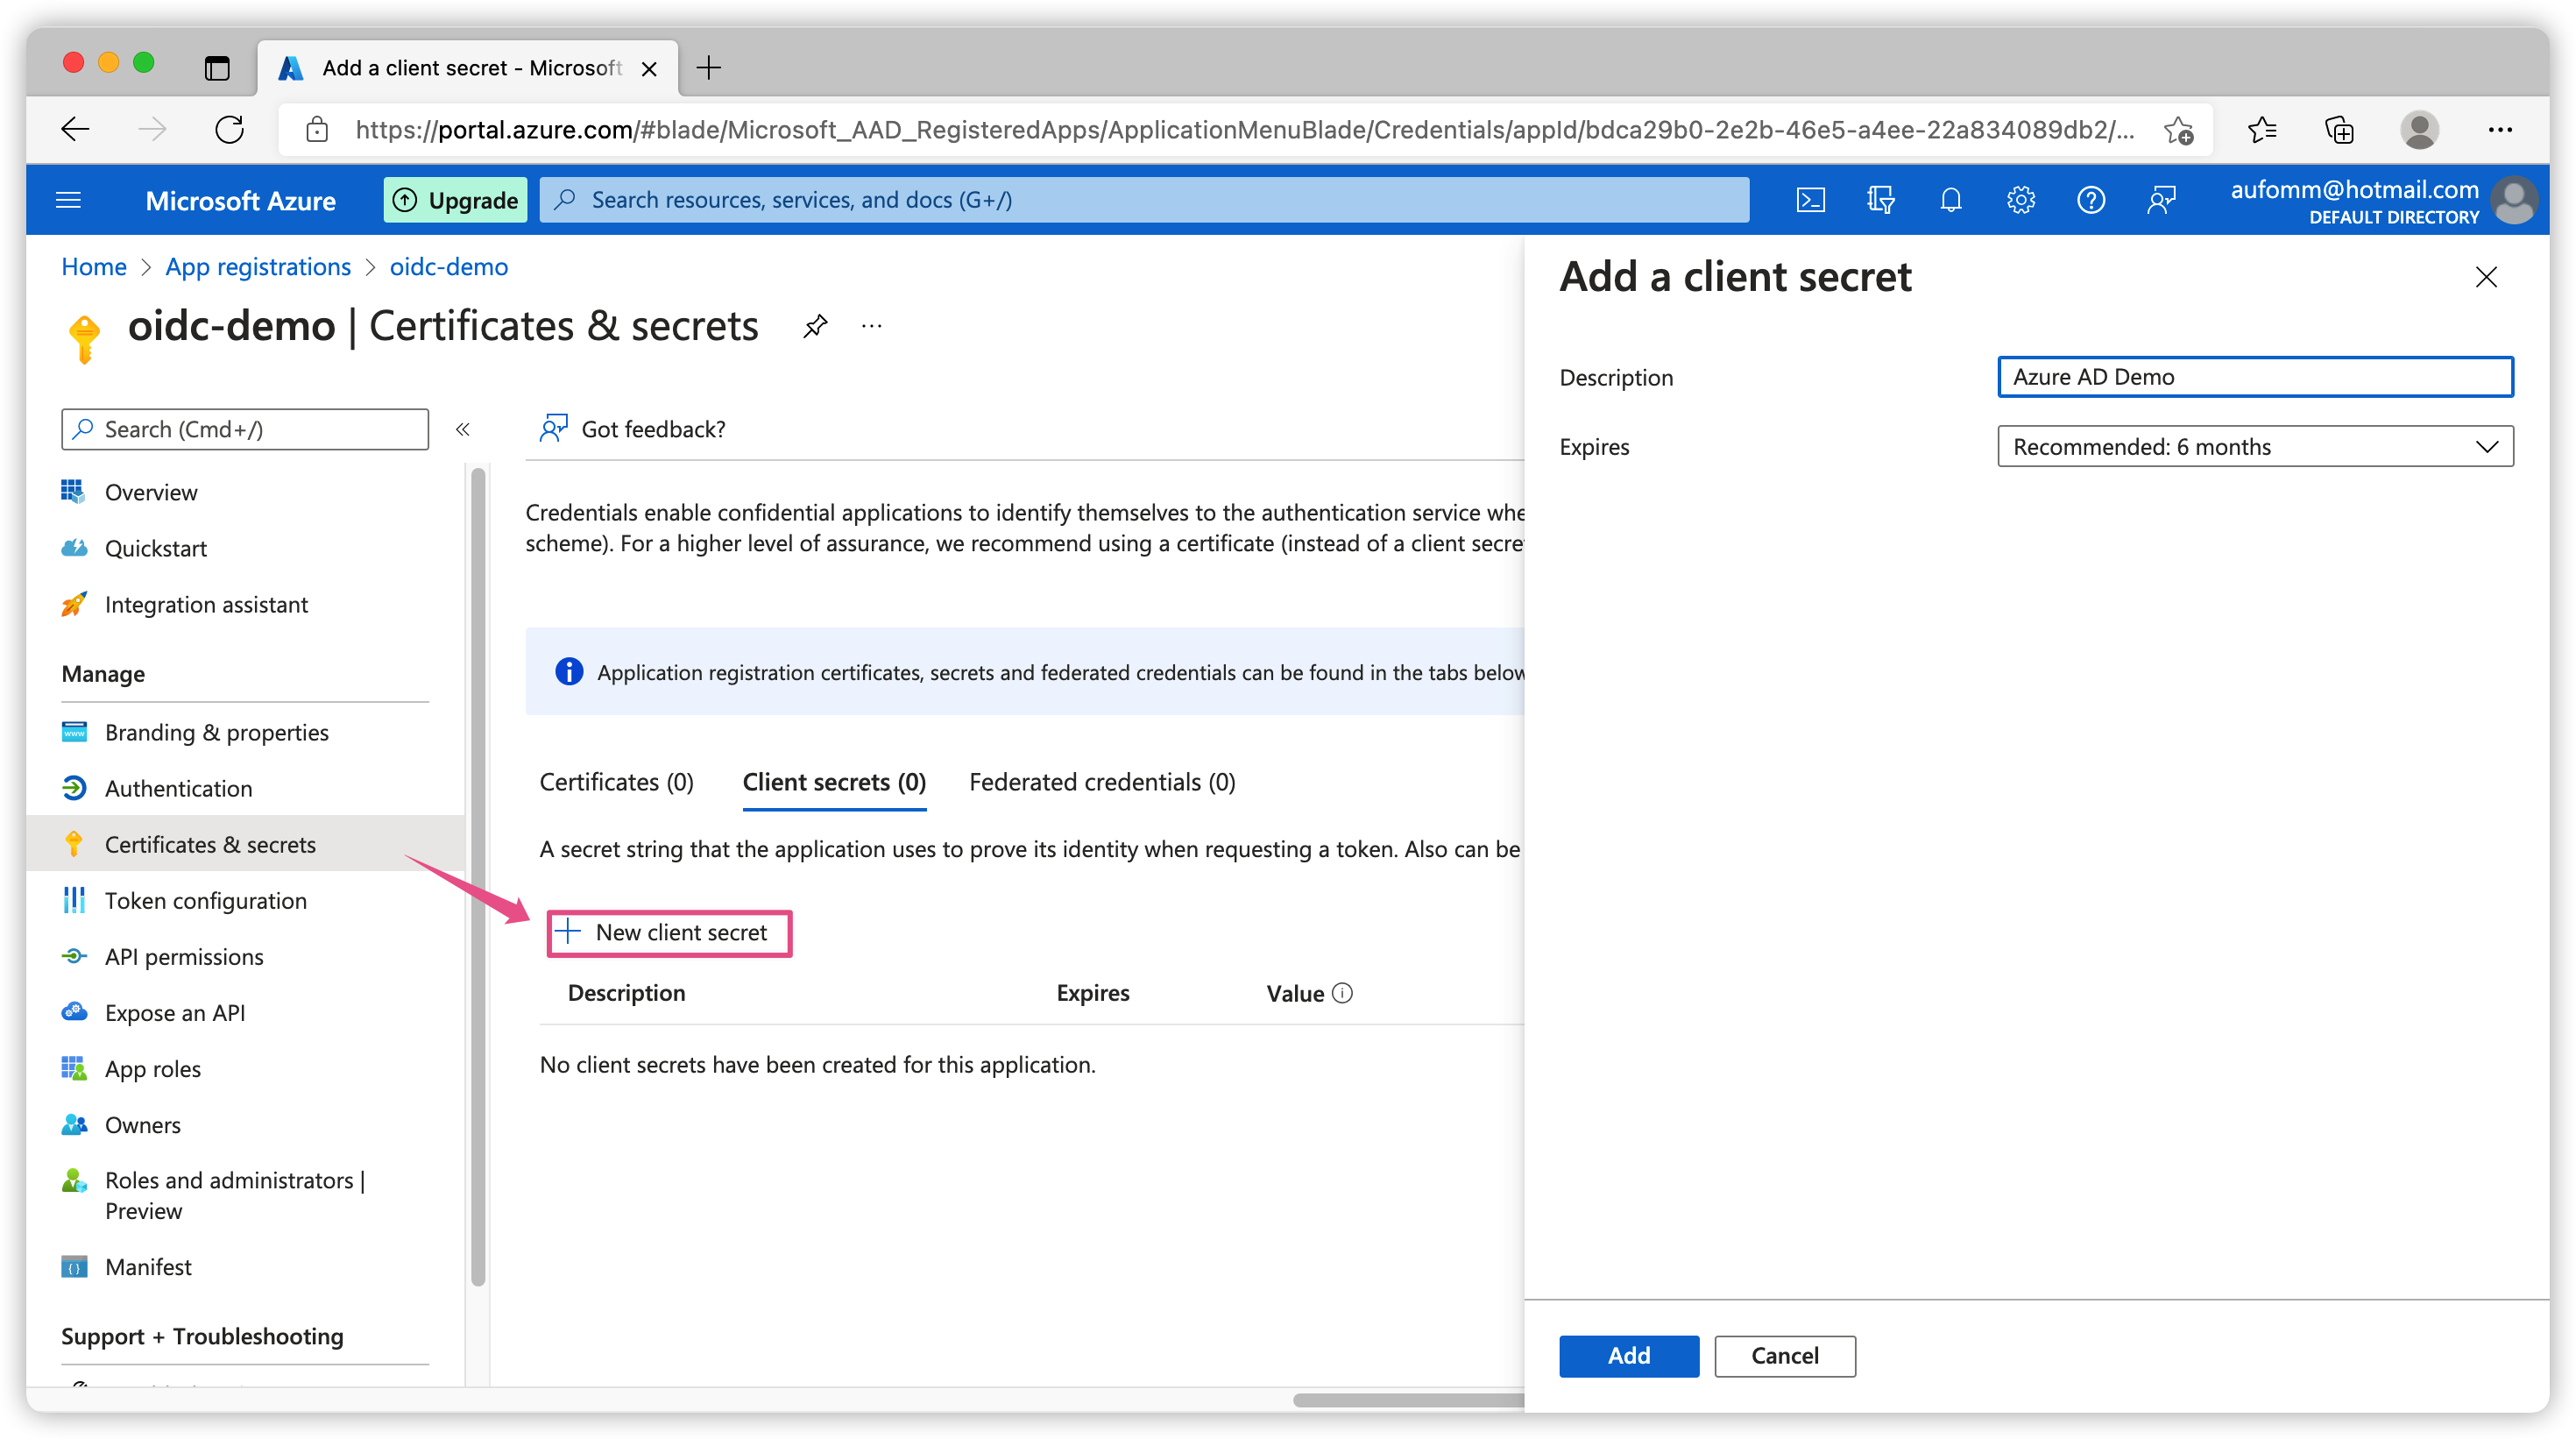
Create client_secret
Next step we need to create a client_secret to access our application. Let’s go to Certificates & secrets on the left sidebar and then click New client secret. Here you can give a description of this secret, for example, on which platform this secret will be used or which employee requested this secret etc. By default this secret expires in 6 months, you can change the time to suit your needs.
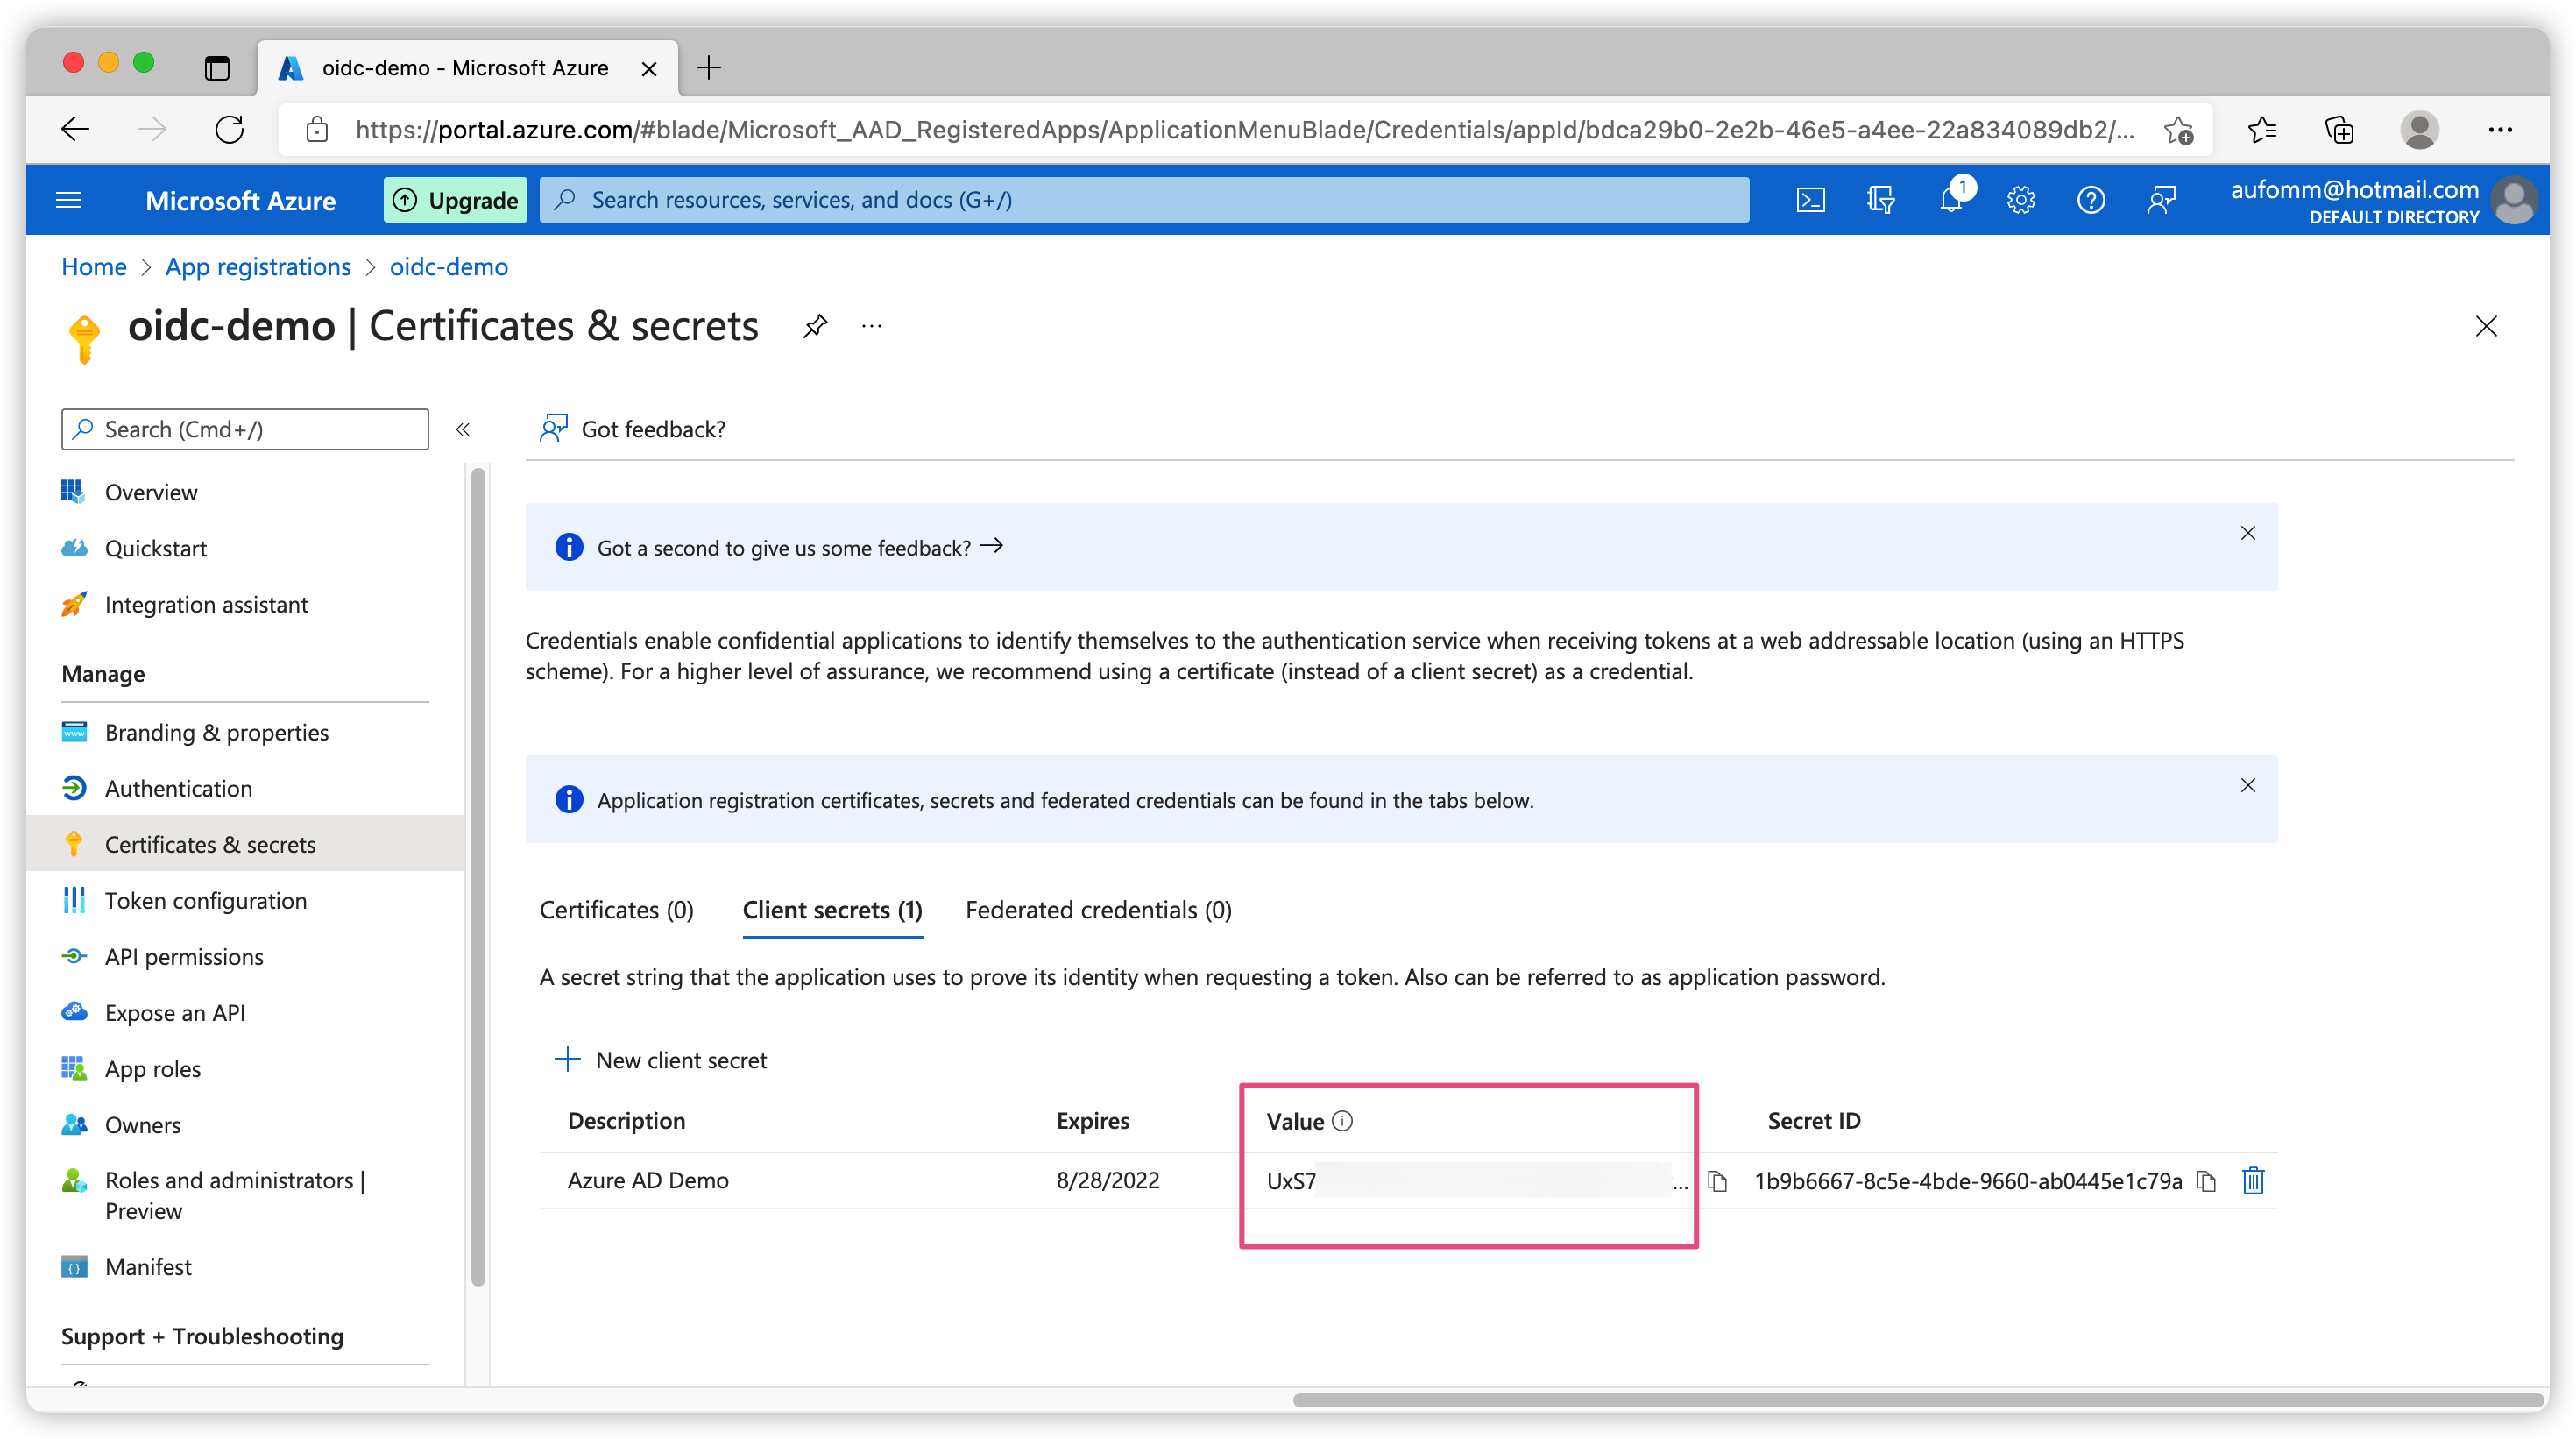
Once it is created, you can see your client_secret in the Value column. Please note this value will only show ONCE, make sure you save it.
Assign permission
The next step is about permissions. There are two methods of adding permissions.
User grant consent
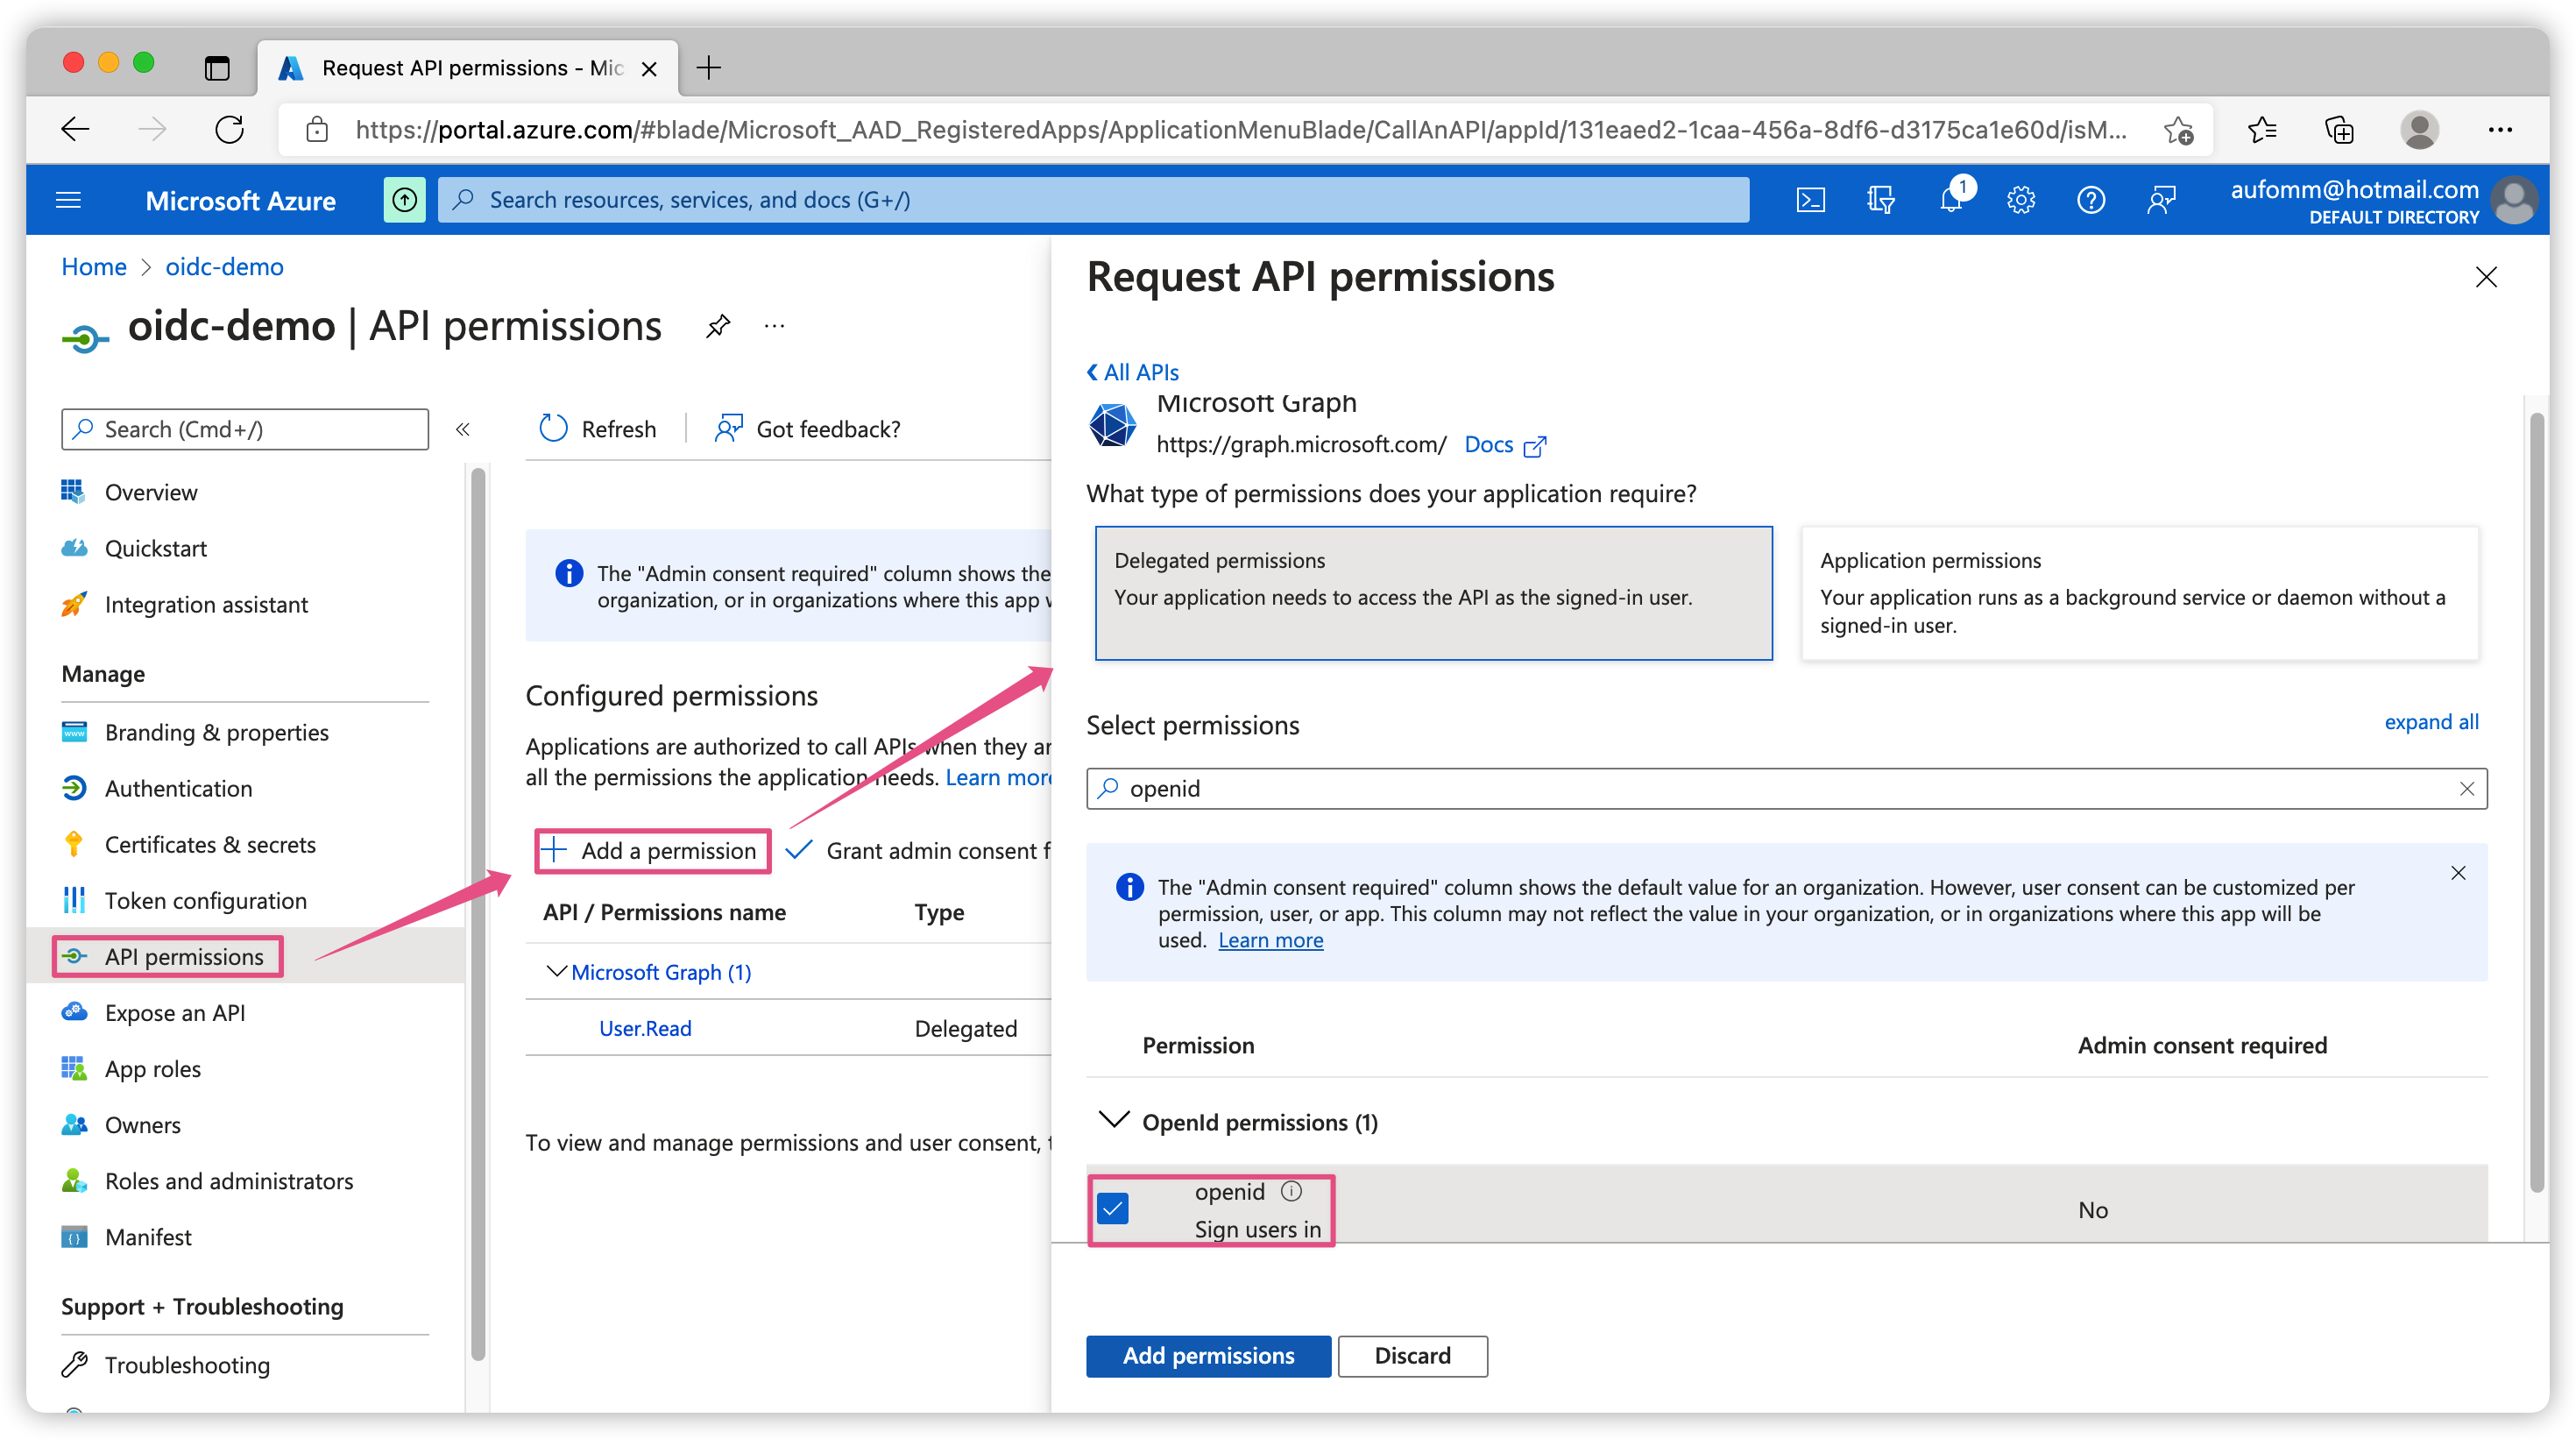
To ask for consent firstly you need to know what permissions you what to ask for. In this case, I will request openid scope. Please go to API permissions on the left sidebar, click Add a permission and then click Microsoft Graph. You can search openid permission. Select and add it.
Next you need to use your application to call authorization code flow (with PKCE). When user hit the authorization endpoint, they will be redirected to IdP to log in and they will see below screen to accept the permission request. (I am using Insomnia to do this job so I don’t need to write my own app for testing)

Grant tenant-wide admin consent
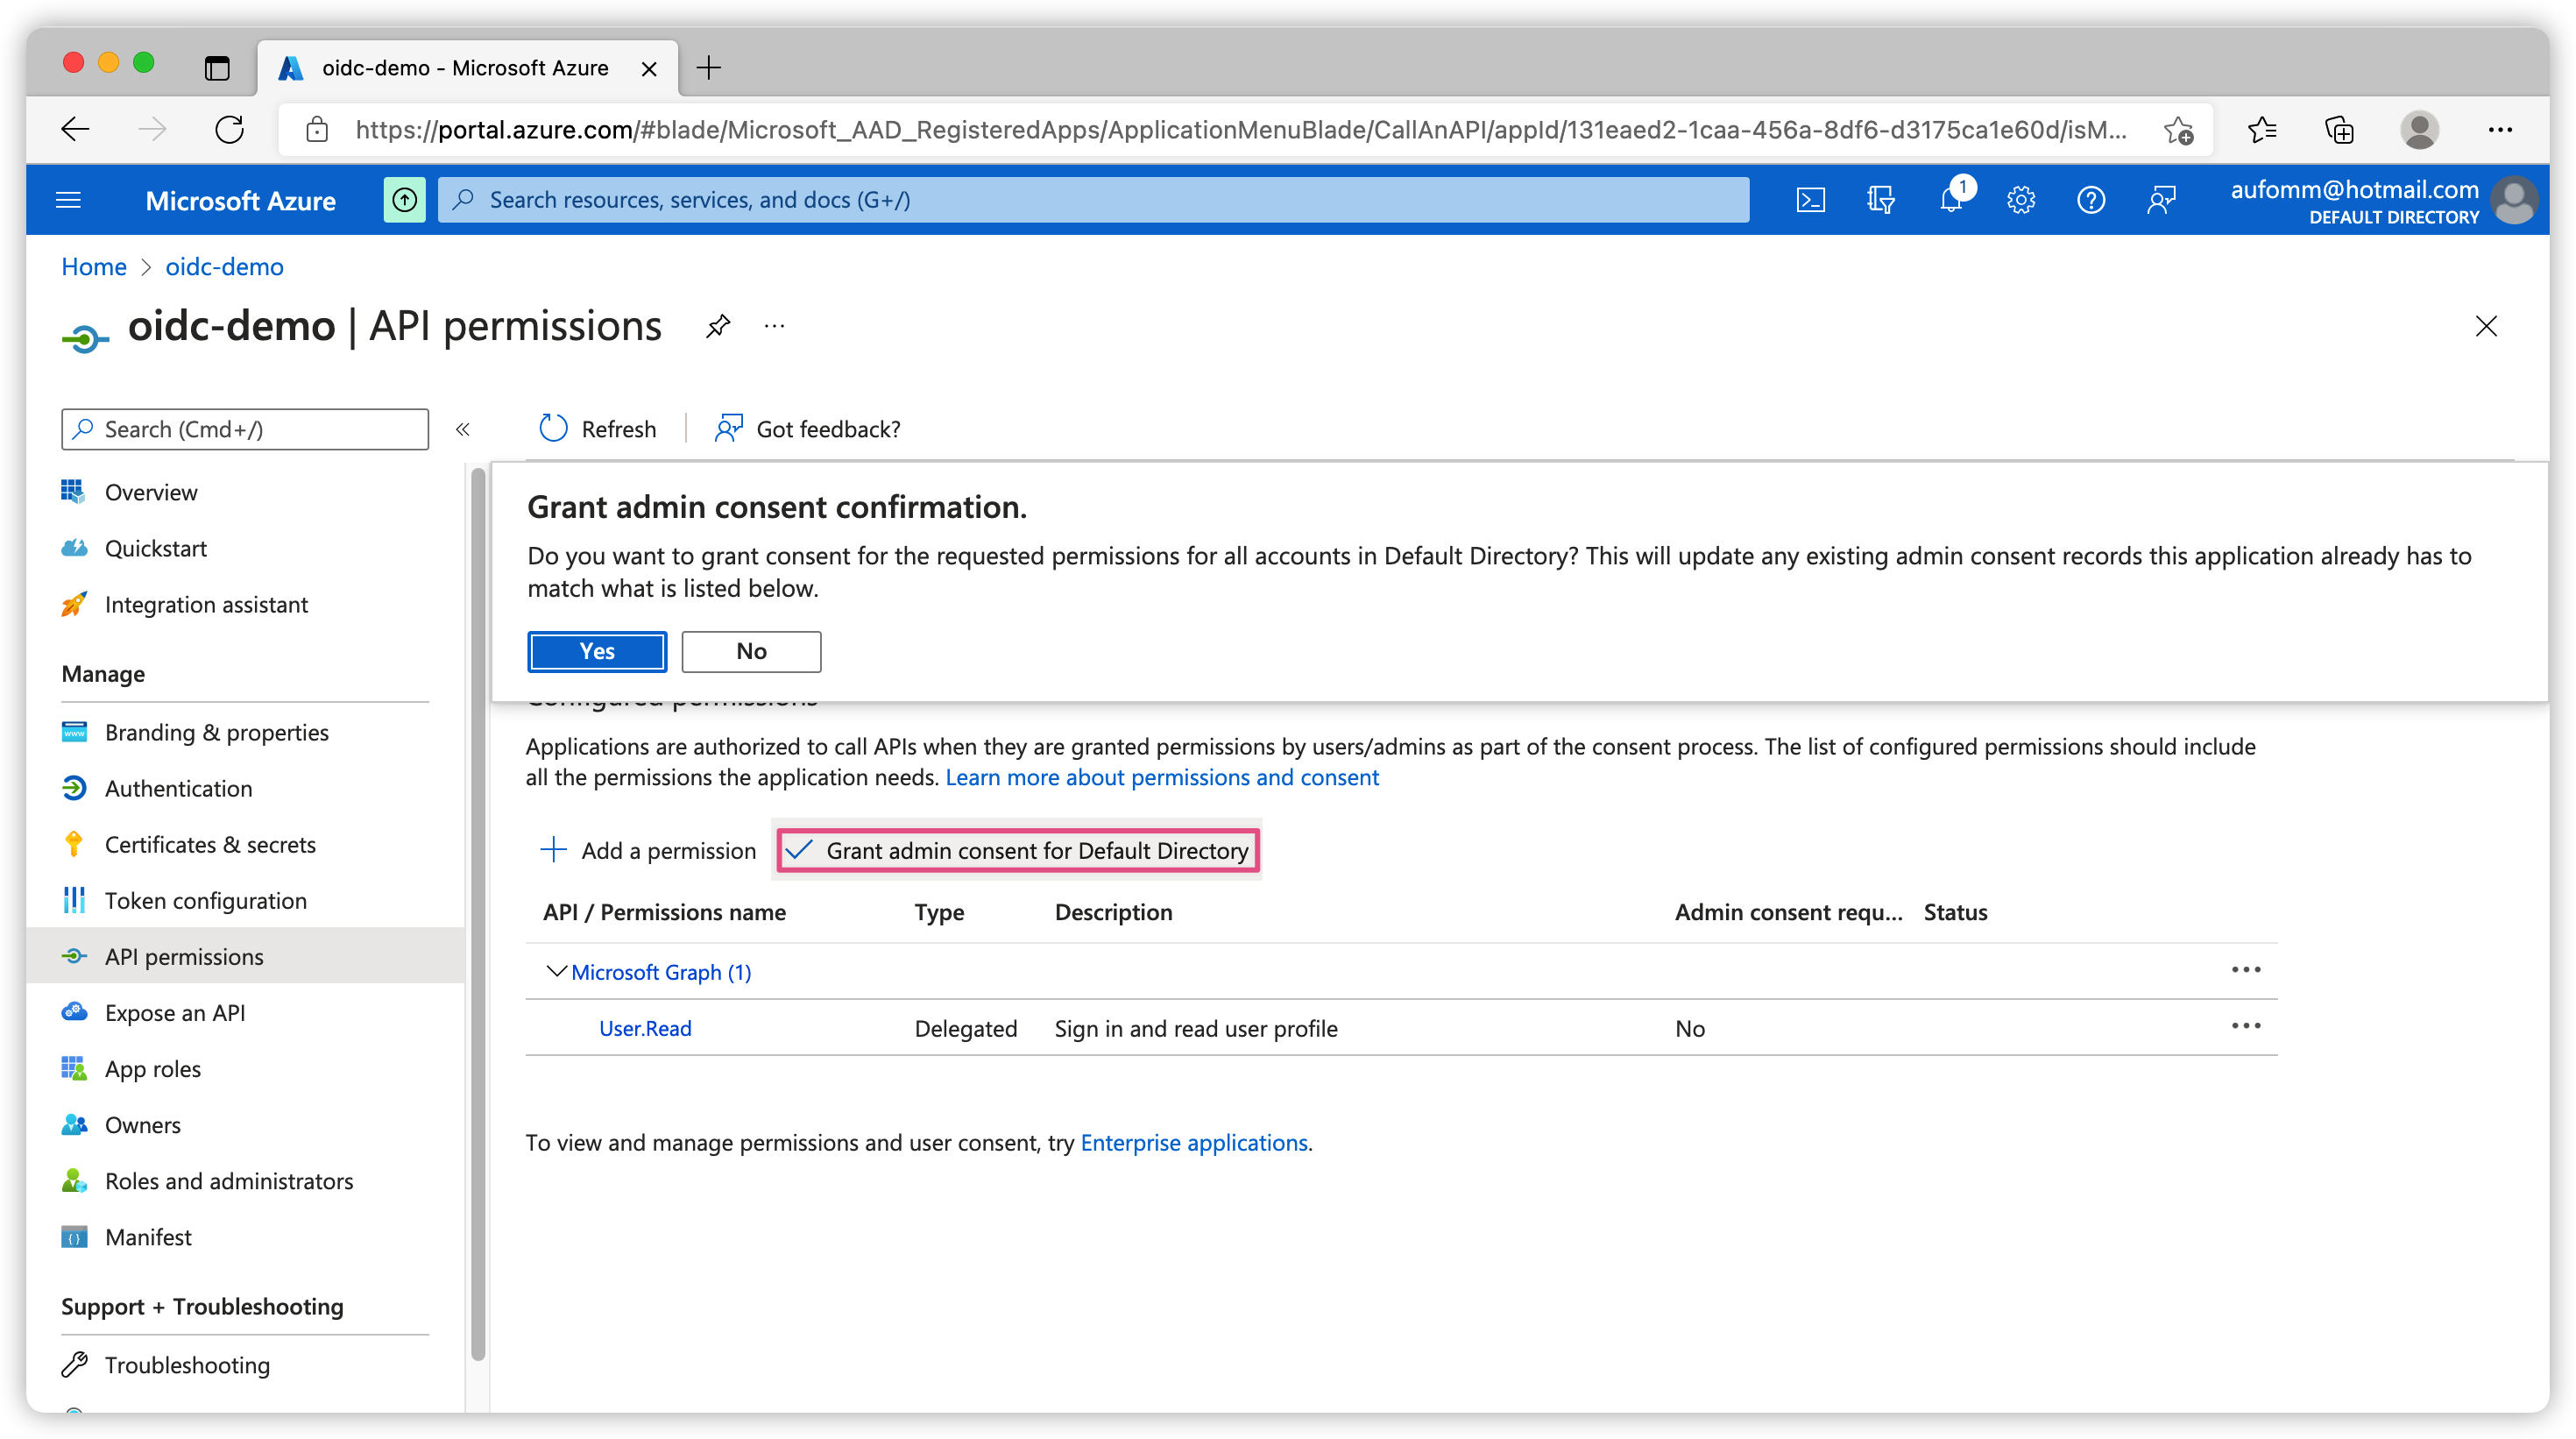
If you are just testing and don’t want to worry about consents you can grant tenant-wide admin consent to your application. Please go to API permissions on the left sidebar, you should see Grant admin consent for Default Directory as shown below. You can use this button to grant tenant-wide admin conent.
For more information, please check official doc here.
(Optional) Custom claims
After the user give their consent, our app can use openid scope to request token. openid scope gives the user an id_token but it does not has user information on the token automatically. If you need user’s email address, you can include email scope in your request. If you need other user information, you need to include profile scope on your request. profile scope has preferred_username, oid and name claims by default. If you need other claims like first_name, last_name or email you can add them to your profile scope.
To add custom claims, click Token Configuration on the left sidebar. Click Add optional claim, select ID and you can see a list of claims that you can add to your ID token.

The first time we click Add we will see a notice. This notice in human readable language means you need to use openid and profile scope at the same time to get these information added to your id_token.

If you follow along to set up everything mentioned above, your Azure AD should be ready for some testing.
Auth flows
Let’s start by preparing some environment variables.
1 | export TENANT_ID= |
Client Credentials grant
As I mentioned before, Microsoft has two token interface v1.0 and v2.0.
If you need a v2.0 access token you can request token with below command.
1 | curl --request GET \ |
If you need a v1.0 access token, you can request token with below command.
1 | curl --request GET \ |
Password grant
If you use multi-factor authentication (MFA) to log in to the application, password grant will be blocked. For more information, please check official doc here.
To use password grant, you need to make sure consent is completed first. Please referred to above section to know more. offline_access scope is optional, this scope gives you a refresh token.
Once your consent is done, you can request token with below command.
1 | curl --request GET \ |
Please note the access_token generated from above call will be a v1.0 token. id_token will still be v2.0.
If you want both of your token to be v2.0, please request token with below command.
1 | curl --request GET \ |
Authorization code grant
This grant can NOT be easily tested using cURL because Azure AD requires PKCE.
I’ve created a insomnia collection to test all these flows, you can import it from https://gist.githubusercontent.com/liyangau/4be85b9dd56e4a1250480aa210c5e05a/raw. Please review before using it.
That’s all I want to show you today.
See you next time.