My NixOS Journey - Intro and Installation
Intro
I switched back to Linux from Mac a couple years ago when I needed to use MetalLB to provision IPs for Kubernetes LoadBalancer Service. PopOS was the distro I settled with. This distro is just SO EASY to use and all the tiny details make it the best distro for anything making a switch.
The big tech companies are collecting outrageous amount of user data nowadays. You should not be forced to register accounts or answer so many questions before using your computer. In my opinion Linux is good enough for everyone even for gamers (Thanks to Proton). Please have a try when you can.
Why Nix
PopOS uses APT package manager by default. I was also using Homebrew to manage software that are not on APT. Homebrew is so easy to use, one single CLI interface handles everything. Because it is more and more popular, many software developers choose to publish their software on homebrew. As much as I want to love homebrew, I notice that it would install and OVERRIDE my default software without me knowing it.
For example, I was trying to integrate gsettings to my scripts for setting up my new VMs and I noticed the commands did not work. After doing some digging, I found that the default gsettings somehow pointing to the one managed by homebrew. After deleting it, the commands worked as expected.
The feeling of losing control of my machines is REALLY REALLY scary. I was looking for alternative right away and that was how I found Nix.
Good
I don’t think I can explain the benefits better than this blog post.
Nix is a very special package manager that allows user to install and configure software declaratively. This means these configuration files can be version controlled and everything is reproducible. Currently I am using dotfile and some scripts to install software and symlink configurations as a disaster recovery plan. Nix can do a much better job here.
Another reason is how packages are built. Ever since Apple released their computers with M1 chip, there are more demands for applications to be built for ARM based processor. With Nix, even when developers do not provide a binary for ARM, you can install and use the app on ARM based computer the same way as you would with Intel or AMD.
Bad
- Nix is HARD to learn and its documentation is a mess. Not many people are willing to read the whole manual (especially it is so big) to start using something. IMO a good software should have an easy entry point to get people to start. These users will learn whatever they need when they use it.
- Most docs, blog posts or YouTube videos are either too simple, too difficult, outdated or use Nix the wrong way. For example, you may find a lot of docs talking about using
nix-envto install packages. However,nix-envshould be avoided according to this discussion. - Being declarative is good but it also means the GitHub repos you can find are someone’s COMPLETE solution. It is very hard for new users to understand and learn from those repos.
Most likely you will end up being frustrated over and over again. There are many discussions out there, this Hacker news post should give you some ideas.
Why am I still using Nix
I am a fighter and not a quitter! 🤡
Seriously though, the benefits Nix brings are just too tempting.
Enough talking, let’s start using Nix.
Installation
In the demo I will install NixOS 22.11 on a Proxmox VM.
Installation is pretty straight forward. I downloaded the ISO with GUI from official site, you should be able to follow the prompt to install and set up your initial user successfully.
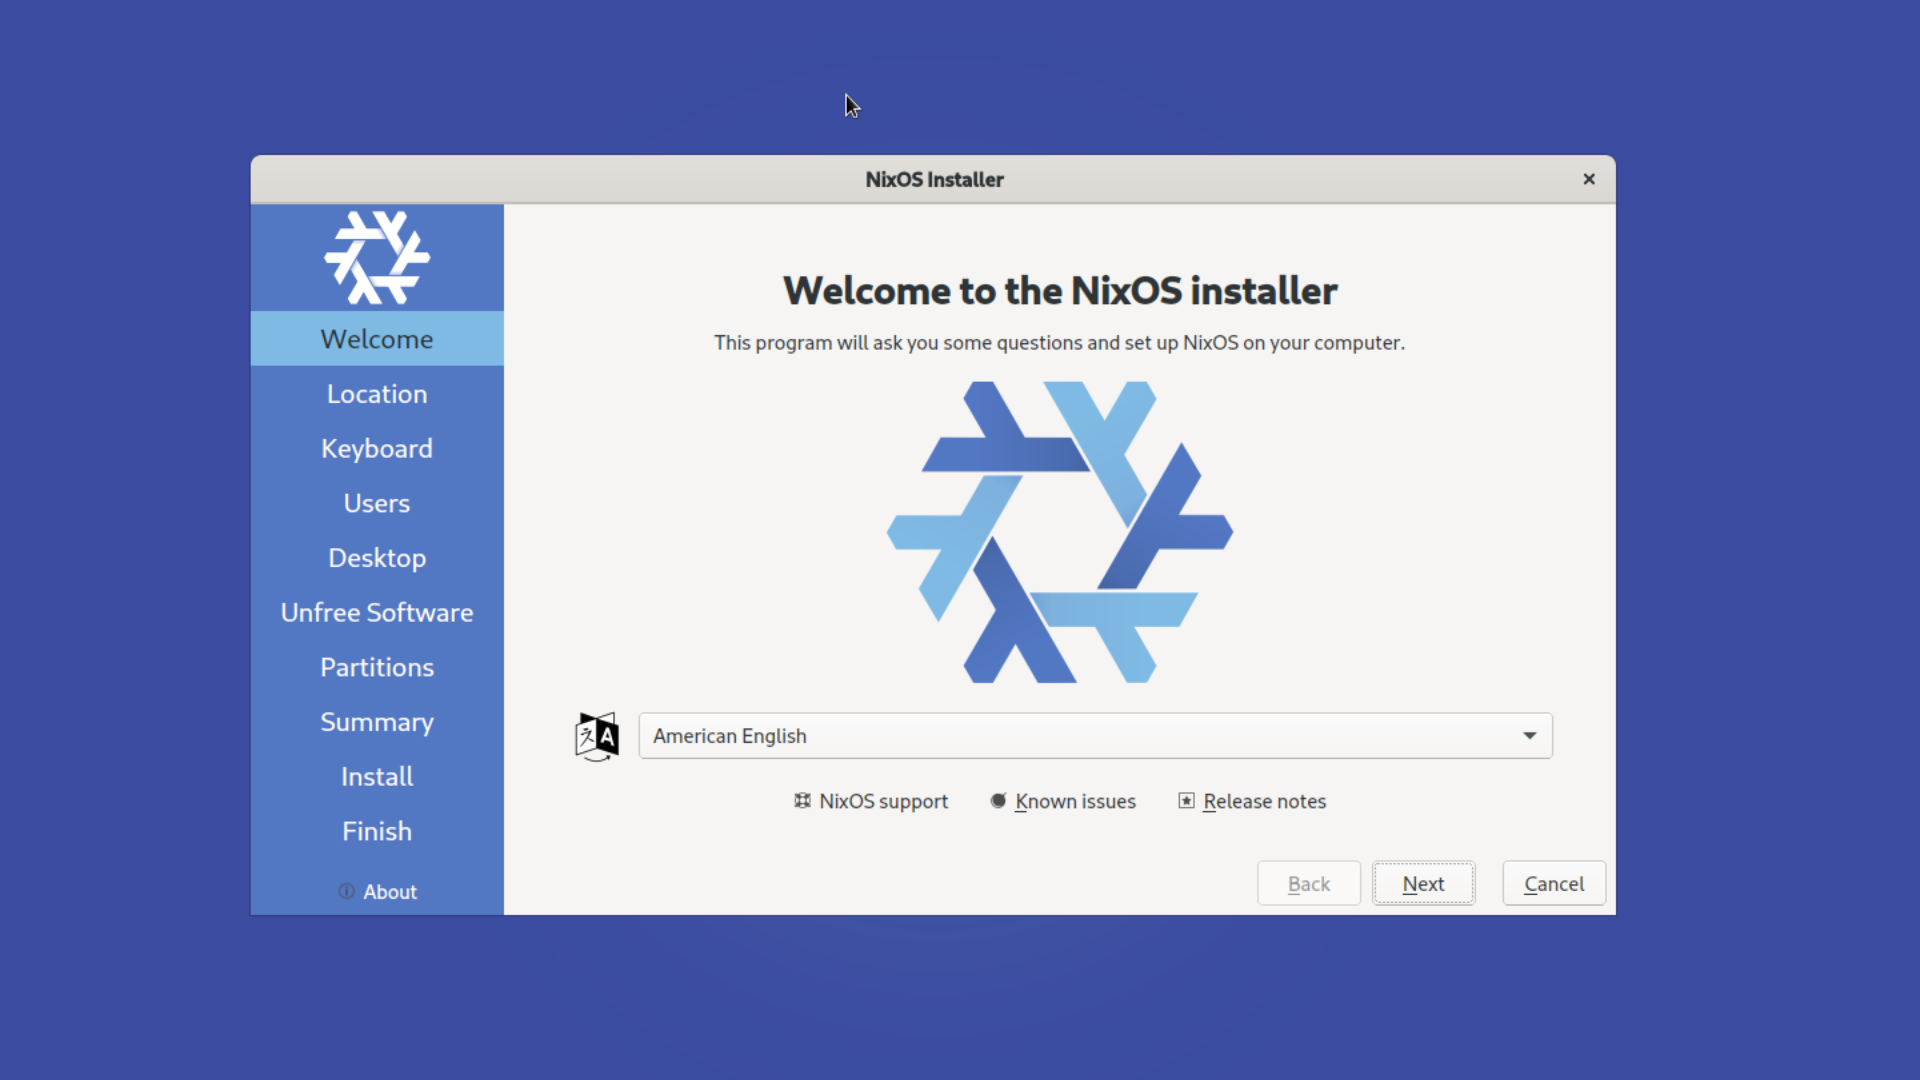
It doesn’t matter what Desktop you want to use, in the demo I am going to install with option No Desktop.

Getting Start
Initial set up
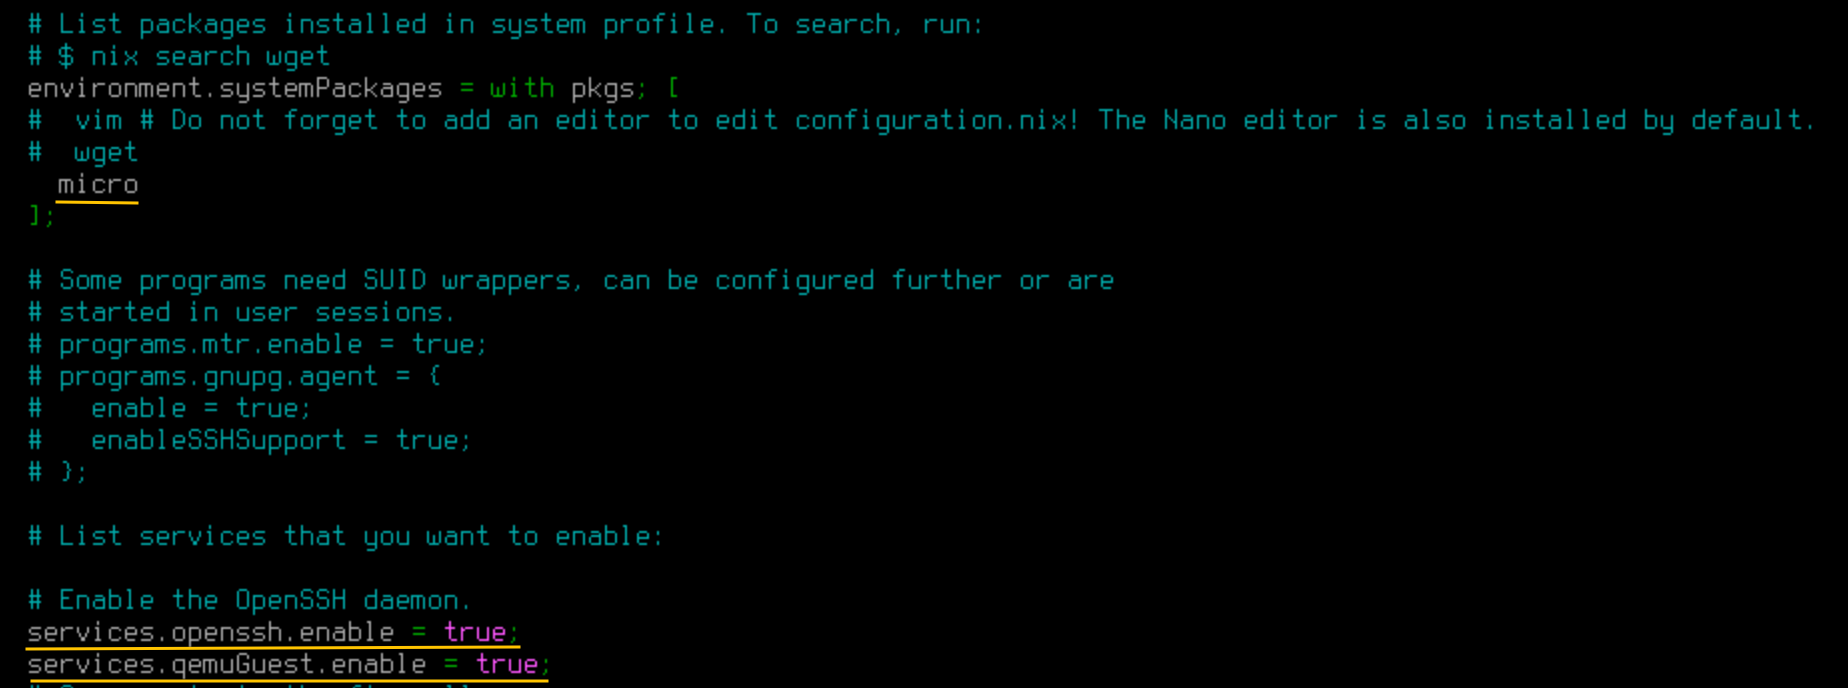
The first time we log in to NixOS, we need to install a few packages to help us use the system. Let’s Navigate to /etc/nixos directory and open the configurations.nix file with the nano editor as root.
We should see a lot of staff on this file. Here are the things we will do.
- Install editor
I will install Micro editor. Let’s put micro underenvironment.systemPackages. - Enable sshd
This allows me to ssh into the VM via our own terminal. We just need to uncommentservices.openssh.enable = true;. - (Optional) Enable QEMU Guest Agent
This helps us to control VM via Proxmox UI. Let’s addservices.qemuGuest.enable = true;toconfigurations.nix.
Once we’ve done, we should see something similar like below.
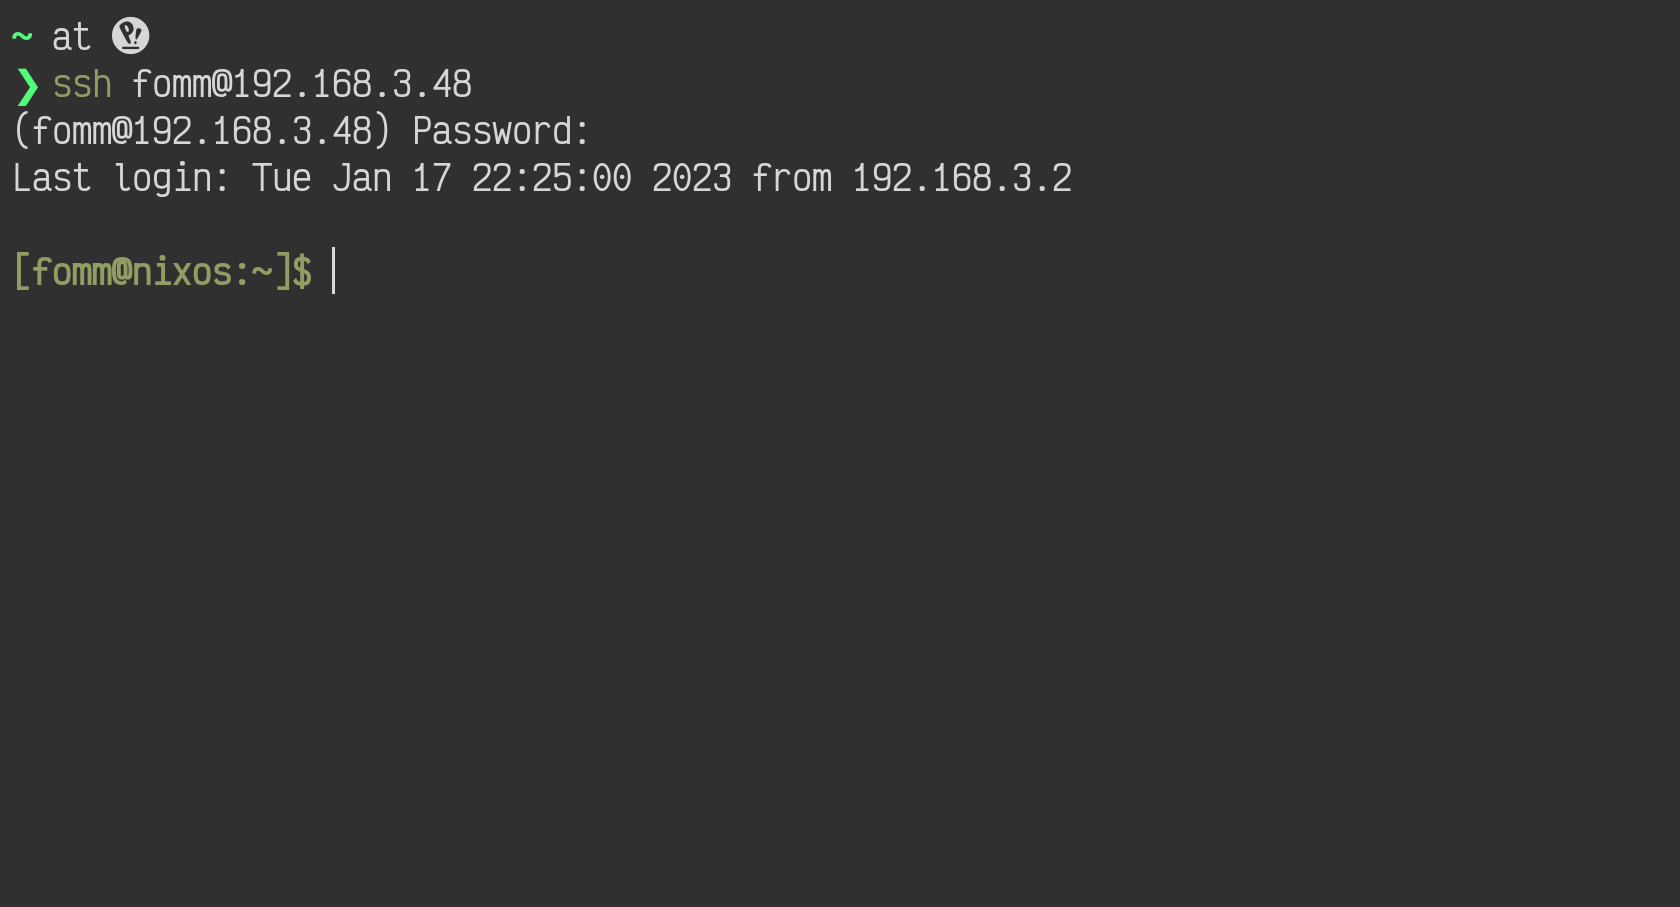
Let’s press Ctrl + s to save and then Ctrl + x to exit. Next we need to run sudo nixos-rebuild switch. This command will apply and activate the changes.
Once it is done we can ssh to our server.
Packages and configs
Let’s take a look at /etc/nixos folder first.
1 | . |
We can see we’ve got two files here, configuration.nix and hardware-configuration.nix. Normally you don’t need to touch hardware-configuration.nix. We already learn that we can put packages names in configuration.nix to install them. How do we know the right package names to use? What if I need to change some user settings like adding SSH key?
Packages name are normally consistent with what we know them for, for example, micro, htop, vim etc. However, there are cases that the package names are different. For example, helm (k8s package manager) is called kubernetes-helm on Nix.
Let’s bookmark Nix package search page. This is where you can find nix packages names. For example, if I want to install htop, I can search htop and see if it is available. After confirming the package name, we can put it under environment.systemPackages to install it.
Please note, packages we install under
environment.systemPackagesare automatically available to all users. For user specific packages, we can put it underusers.users.<name>.packagesor you can also use Home manager.
You may also notice the NixOS options tab on the website. This is where you can find NixOS settings.
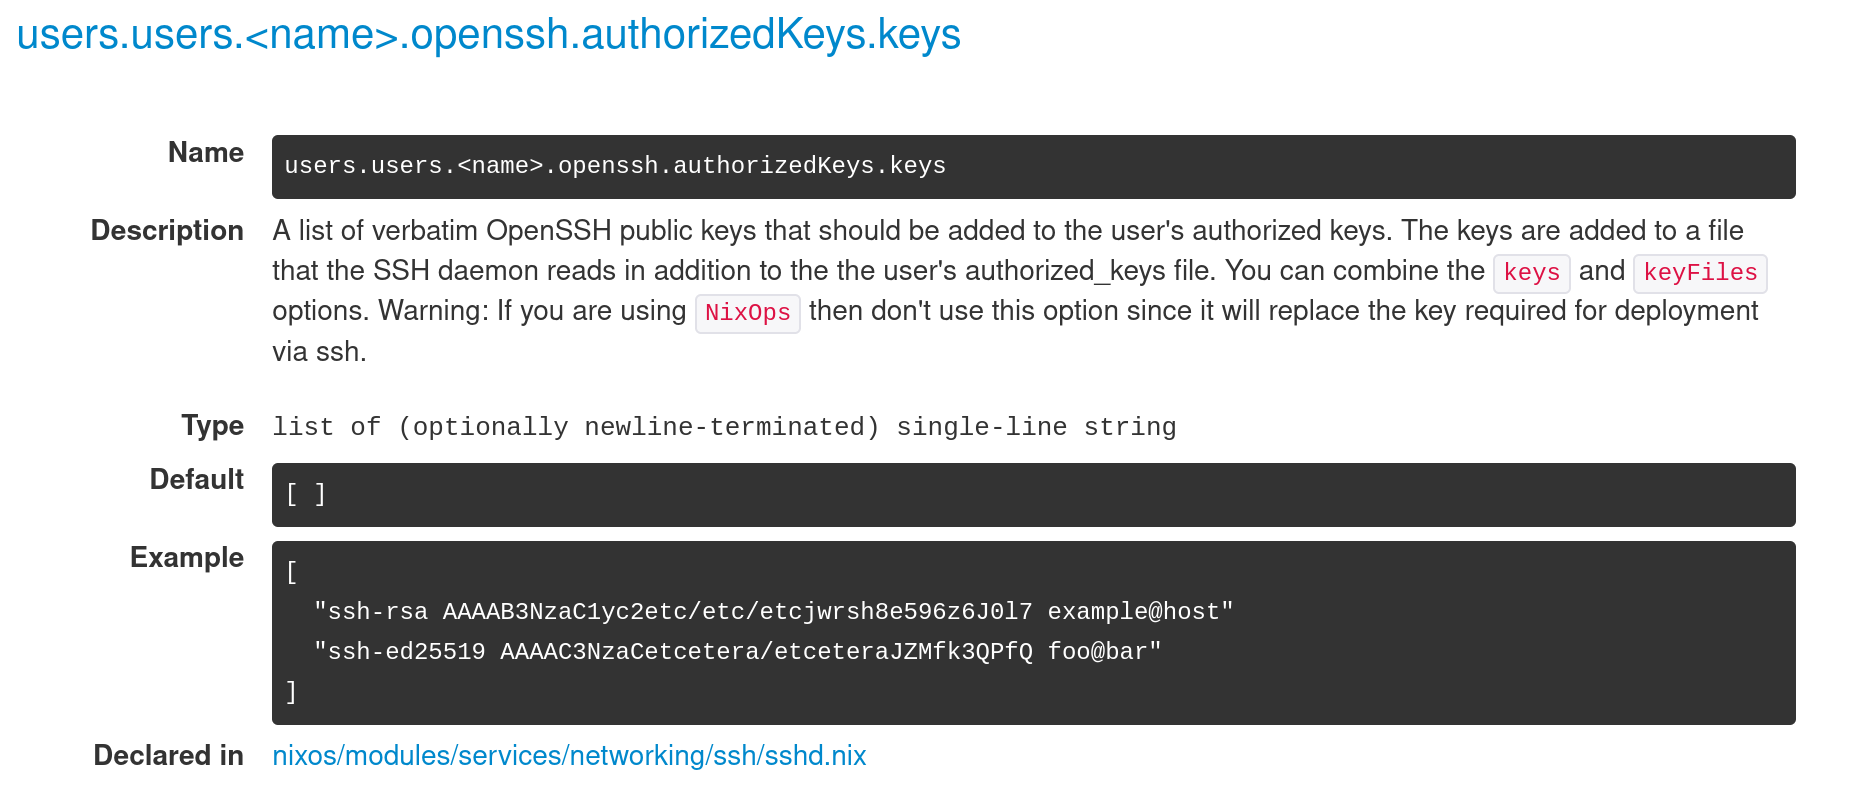
Add authorized SSH keys
To add SSH public key to my user, let’s search users on the Options page and I can find users.users.<name>.openssh.authorizedKeys.keys. Let’s expand this option and we can see this is exactly what we are looking for and there is even an example on the doc.
Let’s open /etc/nixos/configuration.nix again and we can see there is a users.users.<name> section already. Let’s add our public key under openssh.authorizedKeys.keys.
1 | ... |
Disable SSH password login
Now that we’ve added our keys for ssh log in, we probably want to disable SSH password log in. If we search openssh, we can find services.openssh.passwordAuthentication and this seems to be the right option. Let’s modify /etc/nixos/configurations.nix and add services.openssh.passwordAuthentication = false;.
If you still remember, we uncommented services.openssh.enable = true; in the initial set up. Because both options start with services.openssh, we can group them together as below
1 | ... |
Install Docker
I am a big fan of docker and I need docker on all machines that I use. You might be thinking docker, docker-compose are both software so we probably should search them from the packages site, right? That’s correct but we also want docker to be running as a service on our machine. Let’s try searching docker on the Options page and we will find virtualisation.docker.enable there. Let’s try this option and see what it does.
We can add below at the bottom of /etc/nixos/configurations.nix.
1 | ... |
Disable password for sudo
If you’ve used some VPS from cloud provider before, you might notice you don’t need to put in a password when you run commands with sudo. How do we achieve the same on Nix? I can’t seem to find anything on NixOS package/options page. Let’s try NixOS forum and see if anyone asked this before.
Luckily someone asked the same question before and it is marked solved which means there is a solution there. Great!

The solution is to add below to our config on /etc/nix/configurations.nix. (Please remember to change <name> to your user name)
1 | ... |
Now that we have all we need, let’s run sudo nixos-rebuild switch to apply the changes.
Verify config
Once it is done, let’s verify our settings above.

We can see password log in is disable, ssh with certificate works but docker does not. The error message suggests we need to make sure our user has the privilege to use docker. This is mentioned on docker official doc Docker Engine post-installation steps. What we need is to add user to docker group.
It is very simple to add users to a group on nix. What we need is to add docker in users.users.<name>.extraGroups.
1 | ... |
Let’s rebuild and verify again.

As we can see everything works as expected now, docker error is gone and both docker and docker compose are installed.
Upgrade packages
You might be wondering how you can update packages on NixOS. By default nixos use nixos-22.11 channel. We can find this info with sudo nix-channel --list.
1 | [fomm@nixos:~]$ sudo nix-channel --list |
To update, we simple need to run sudo nix-channel --update to update channel packages first and then we use sudo nixos-rebuild switch to update all packages.
That’s all I want to cover today, see you next time.